")
Hi everyone. Today I’m joining #WeekendCoffeeShare. I originally wanted to write another post first, but got distracted by a dozen other ideas. It’s 9PM here, so no more coffee for me. I need to drink plenty of water because I have some extra fluid in my right leg. Let’s have a glass of water and let’s chat. Or if you’d like coffee, fine by me too.
If we were having coffee, first I’d talk about the weather. For most of the week, it’s been quite rainy and too chilly for my liking, even though the daytime temperature was probably still higher than it should be. Today though, we have sunshine and a daytime high of 25°C.
If we were having coffee, then I’d share that I haven’t been as physically active as I’d have wanted to be. Like I said above, I have some unwanted fluid in my right leg. My leg also hurts from muscle knots. I had a dry needling treatment at the physical therapist’s on Tuesday and am having another one next Wednesday. I am not 100% sure it’s working, as on Thursday my pain was worse and besides, I don’t know which pain or limitation is from the muscle knots and which is from the fluid build-up.
Today was a good day in the walking department though. Next week is the institution’s four-day walking event. I’m going to take part in the 3km walk, but I’ll be allowed to sit in a wheelchair as needed (thankfully, this event isn’t as strict on walking as some others are). That way, I can take part in the festivities and enjoy the experience but don’t need to overexert myself.
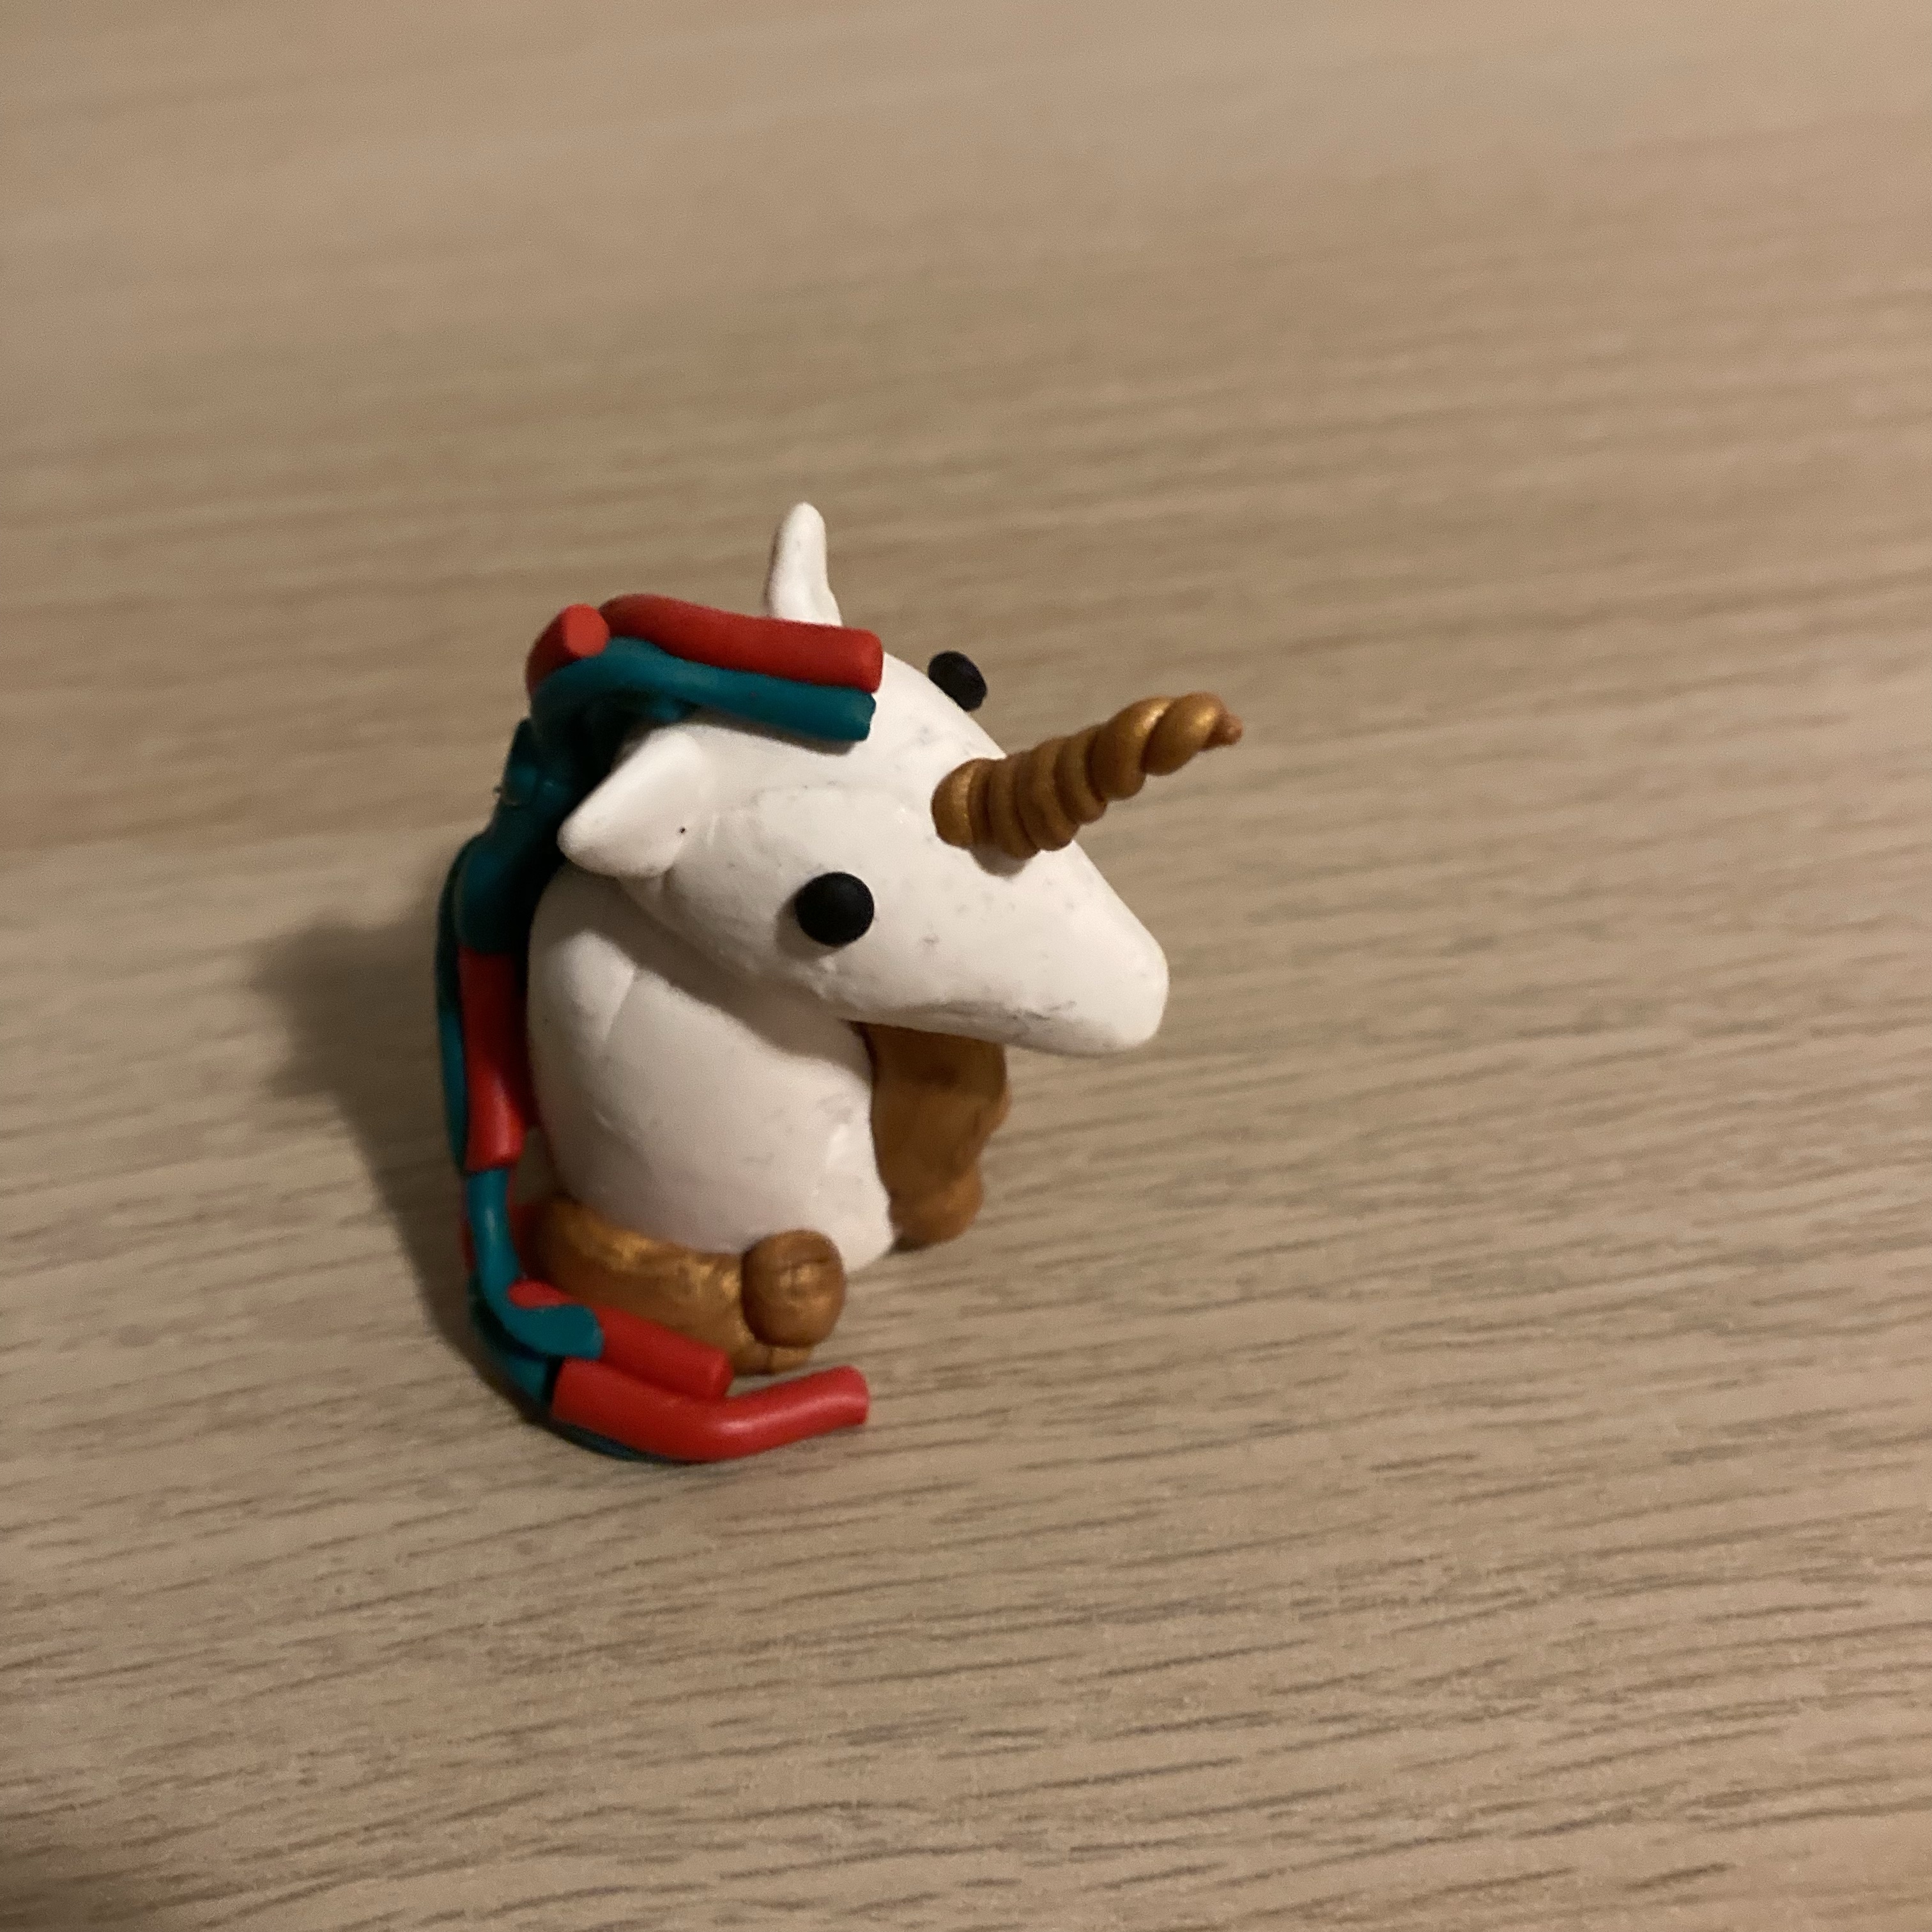
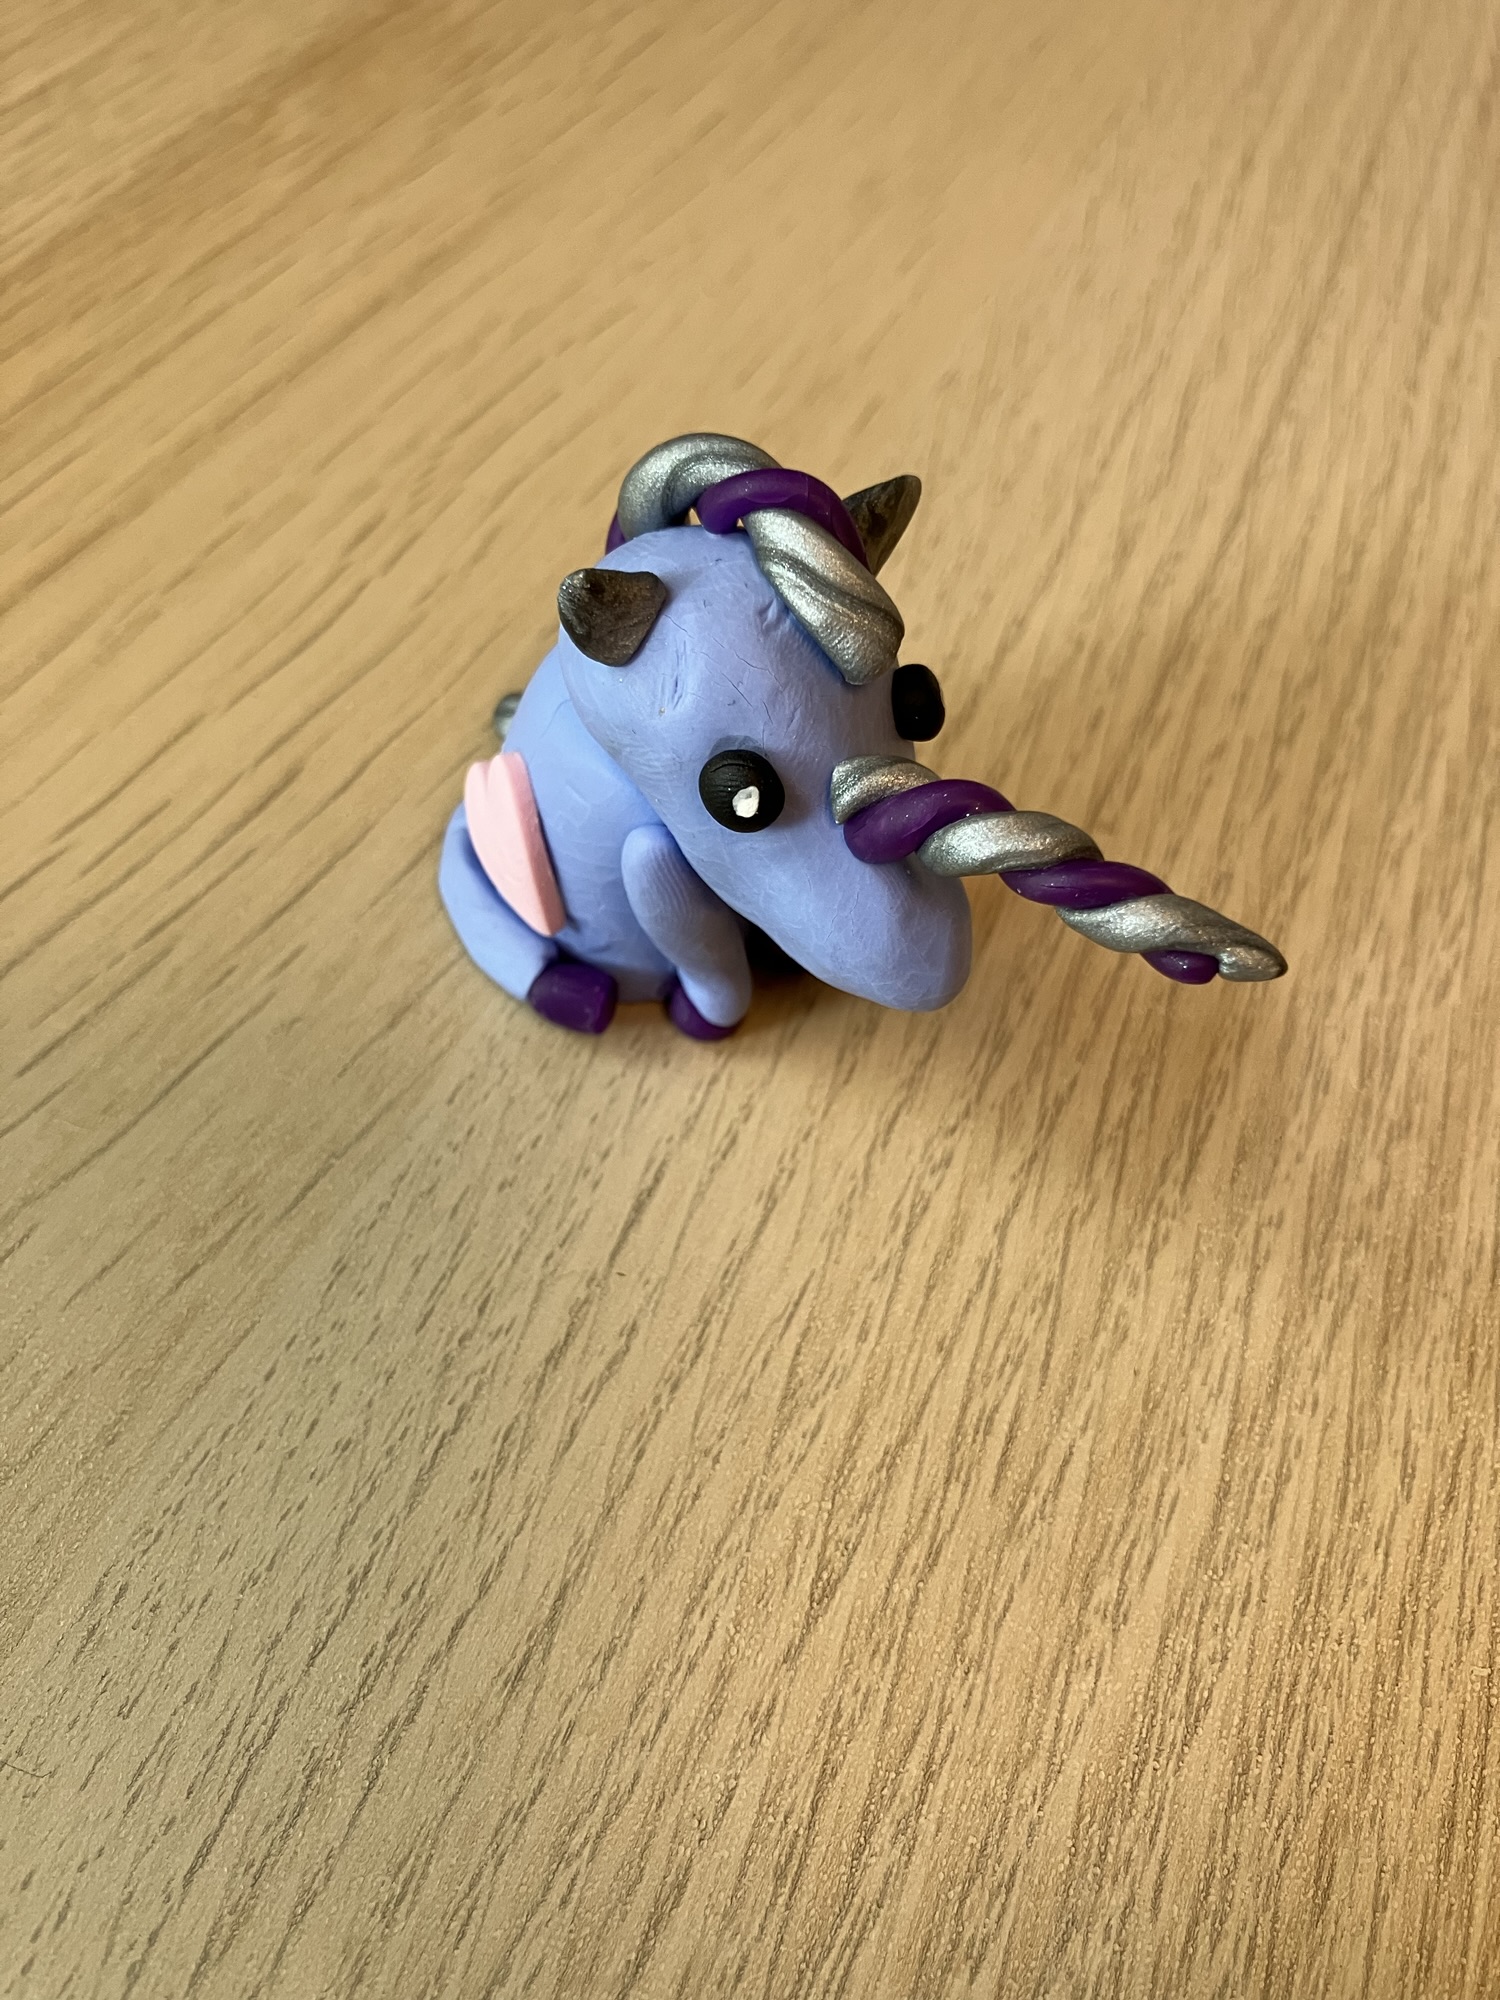
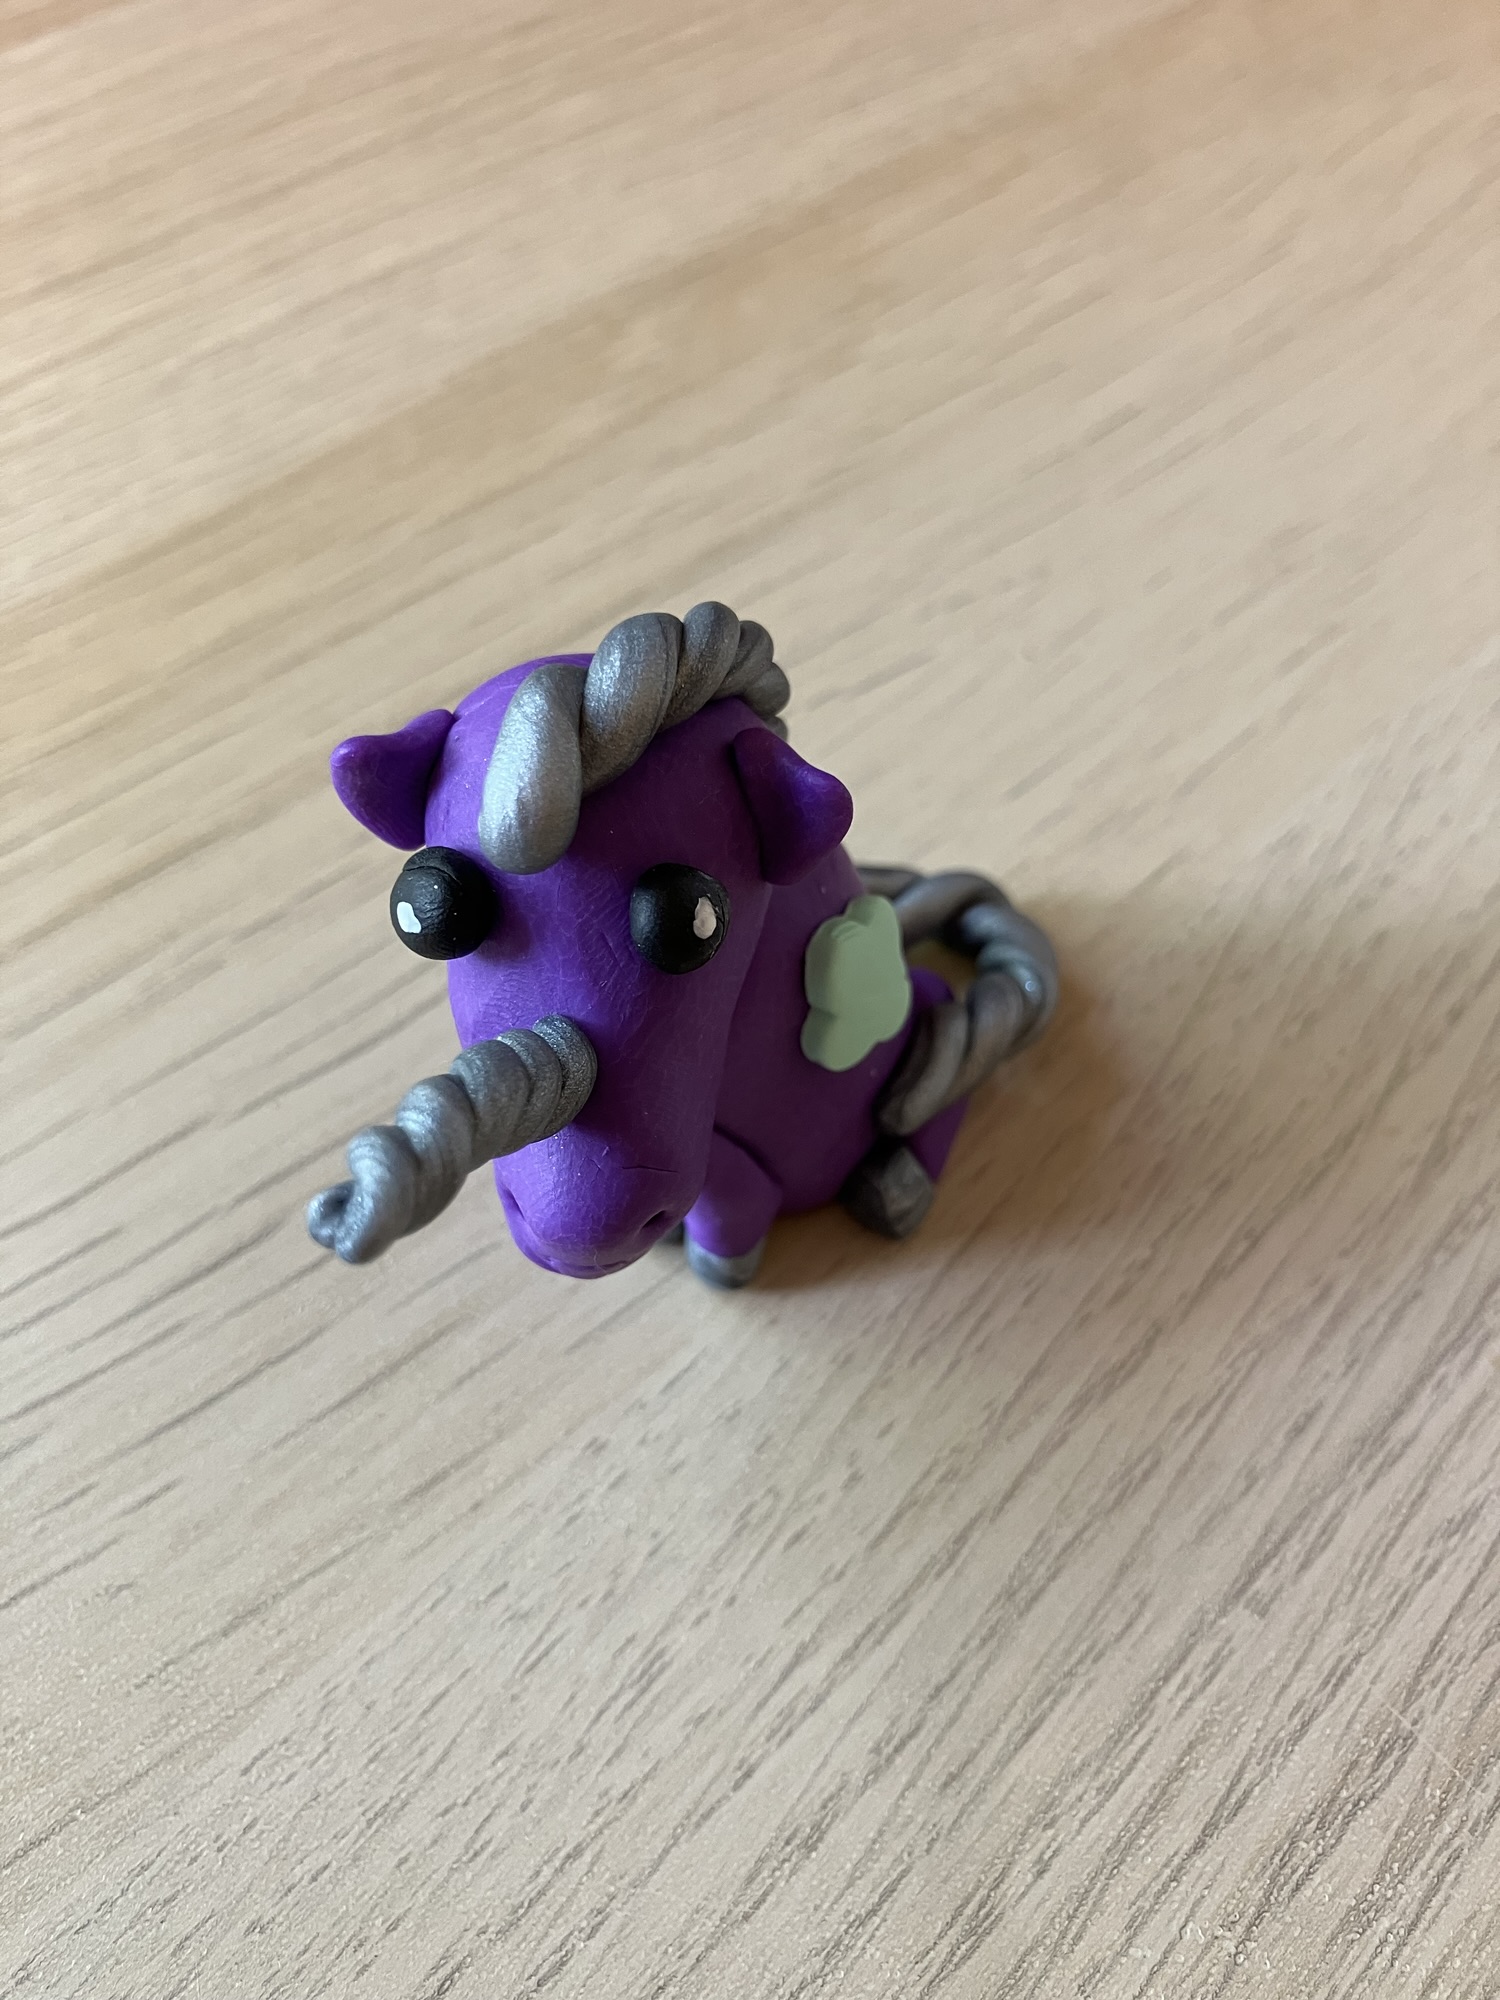
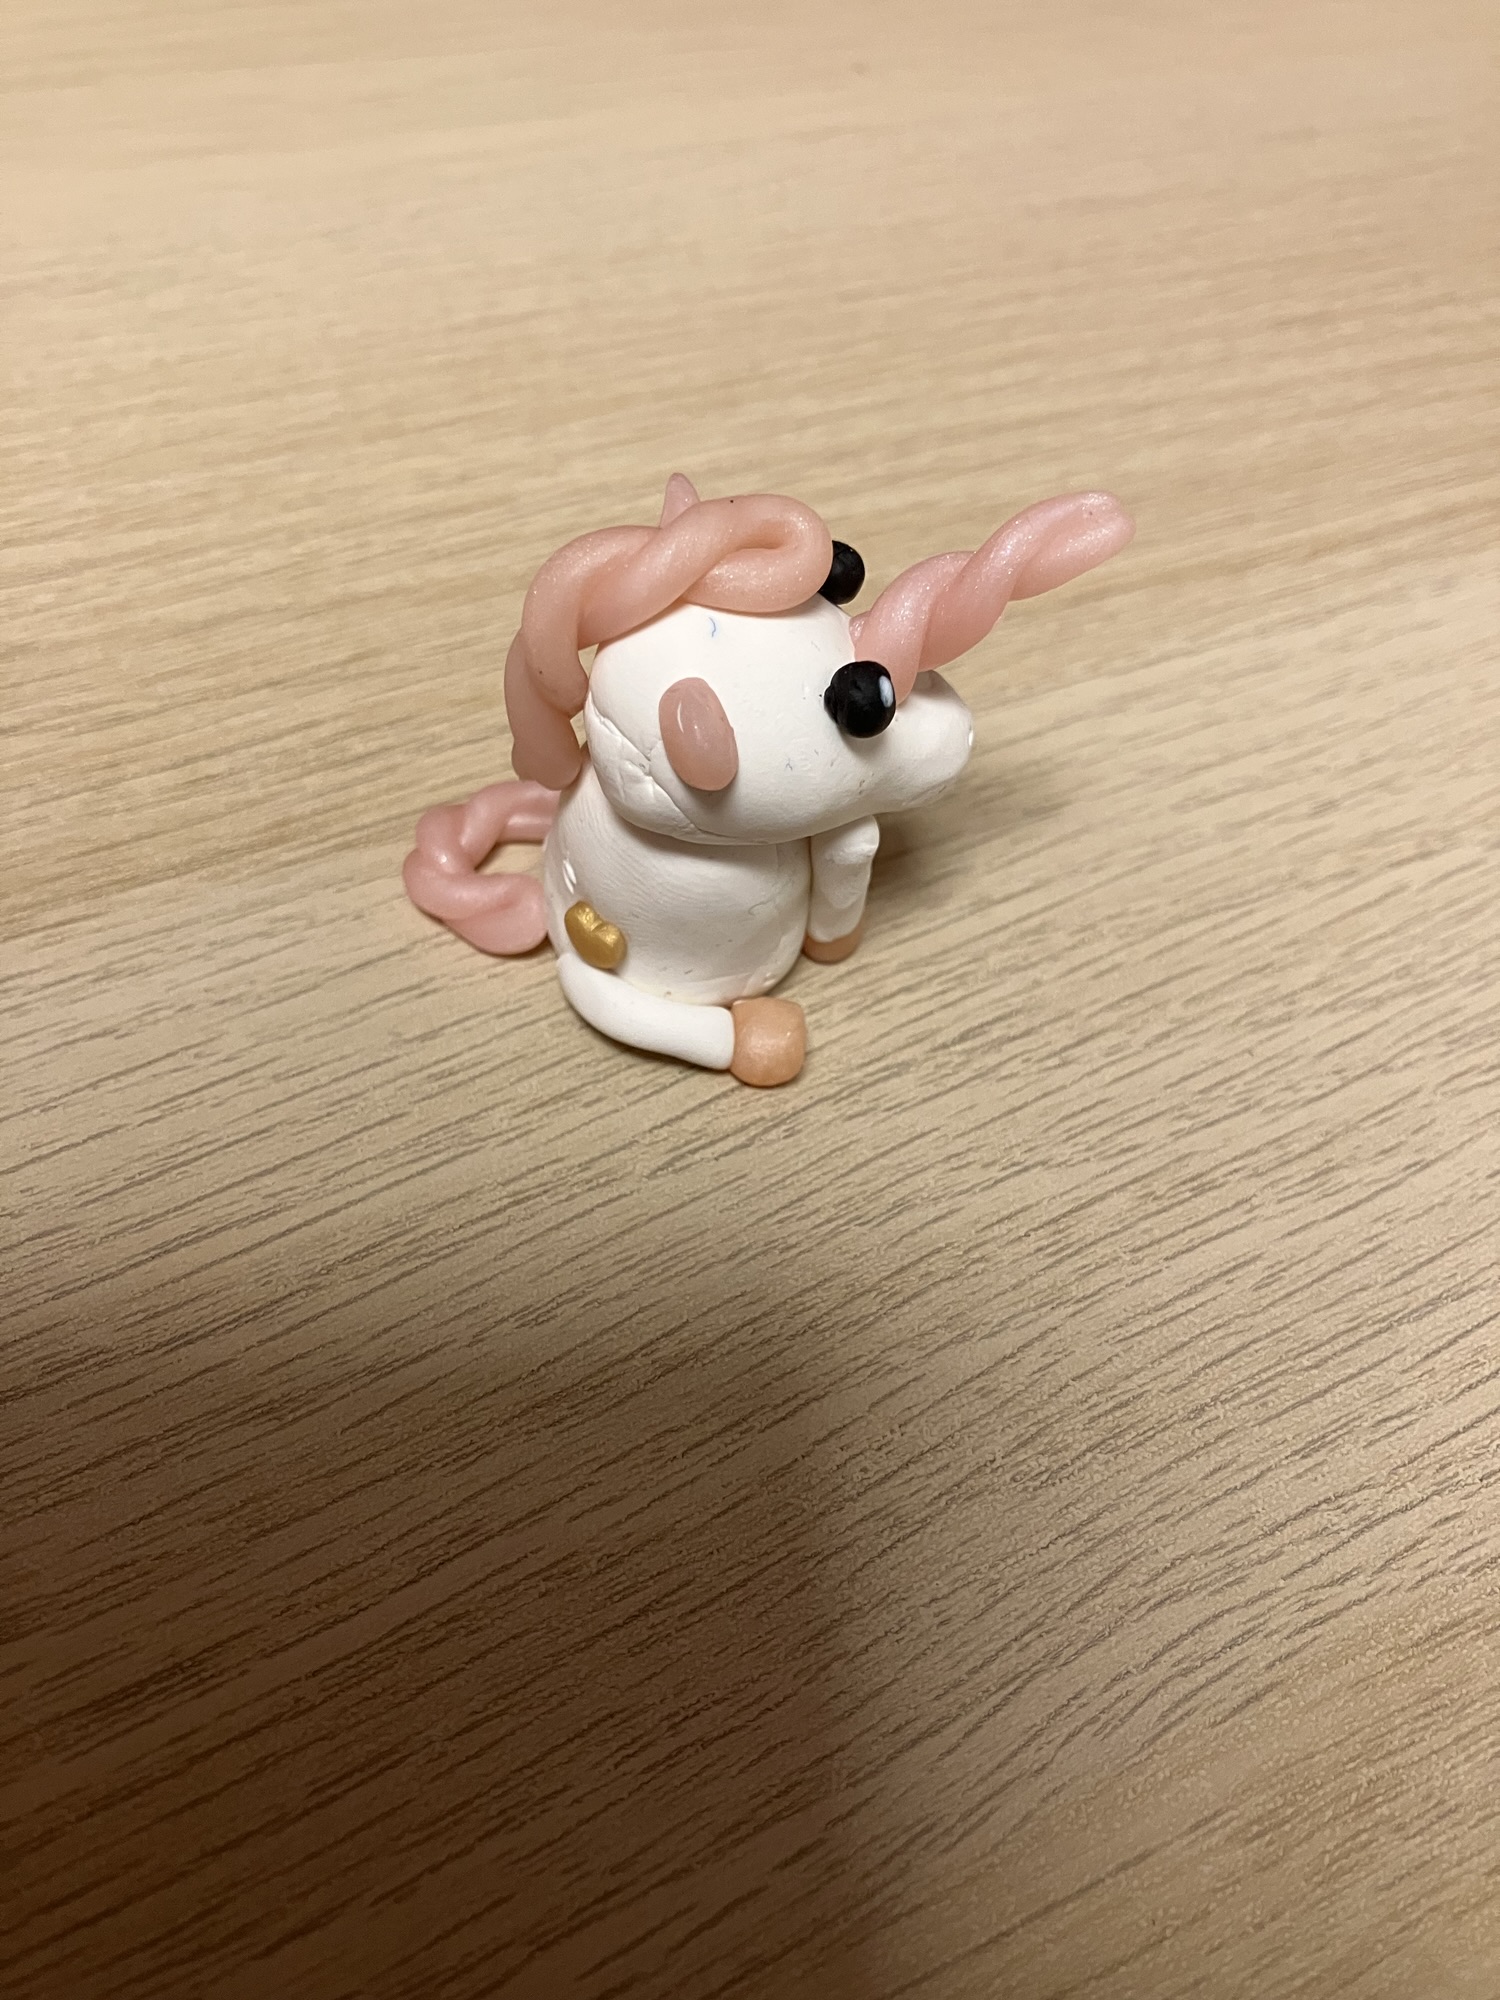
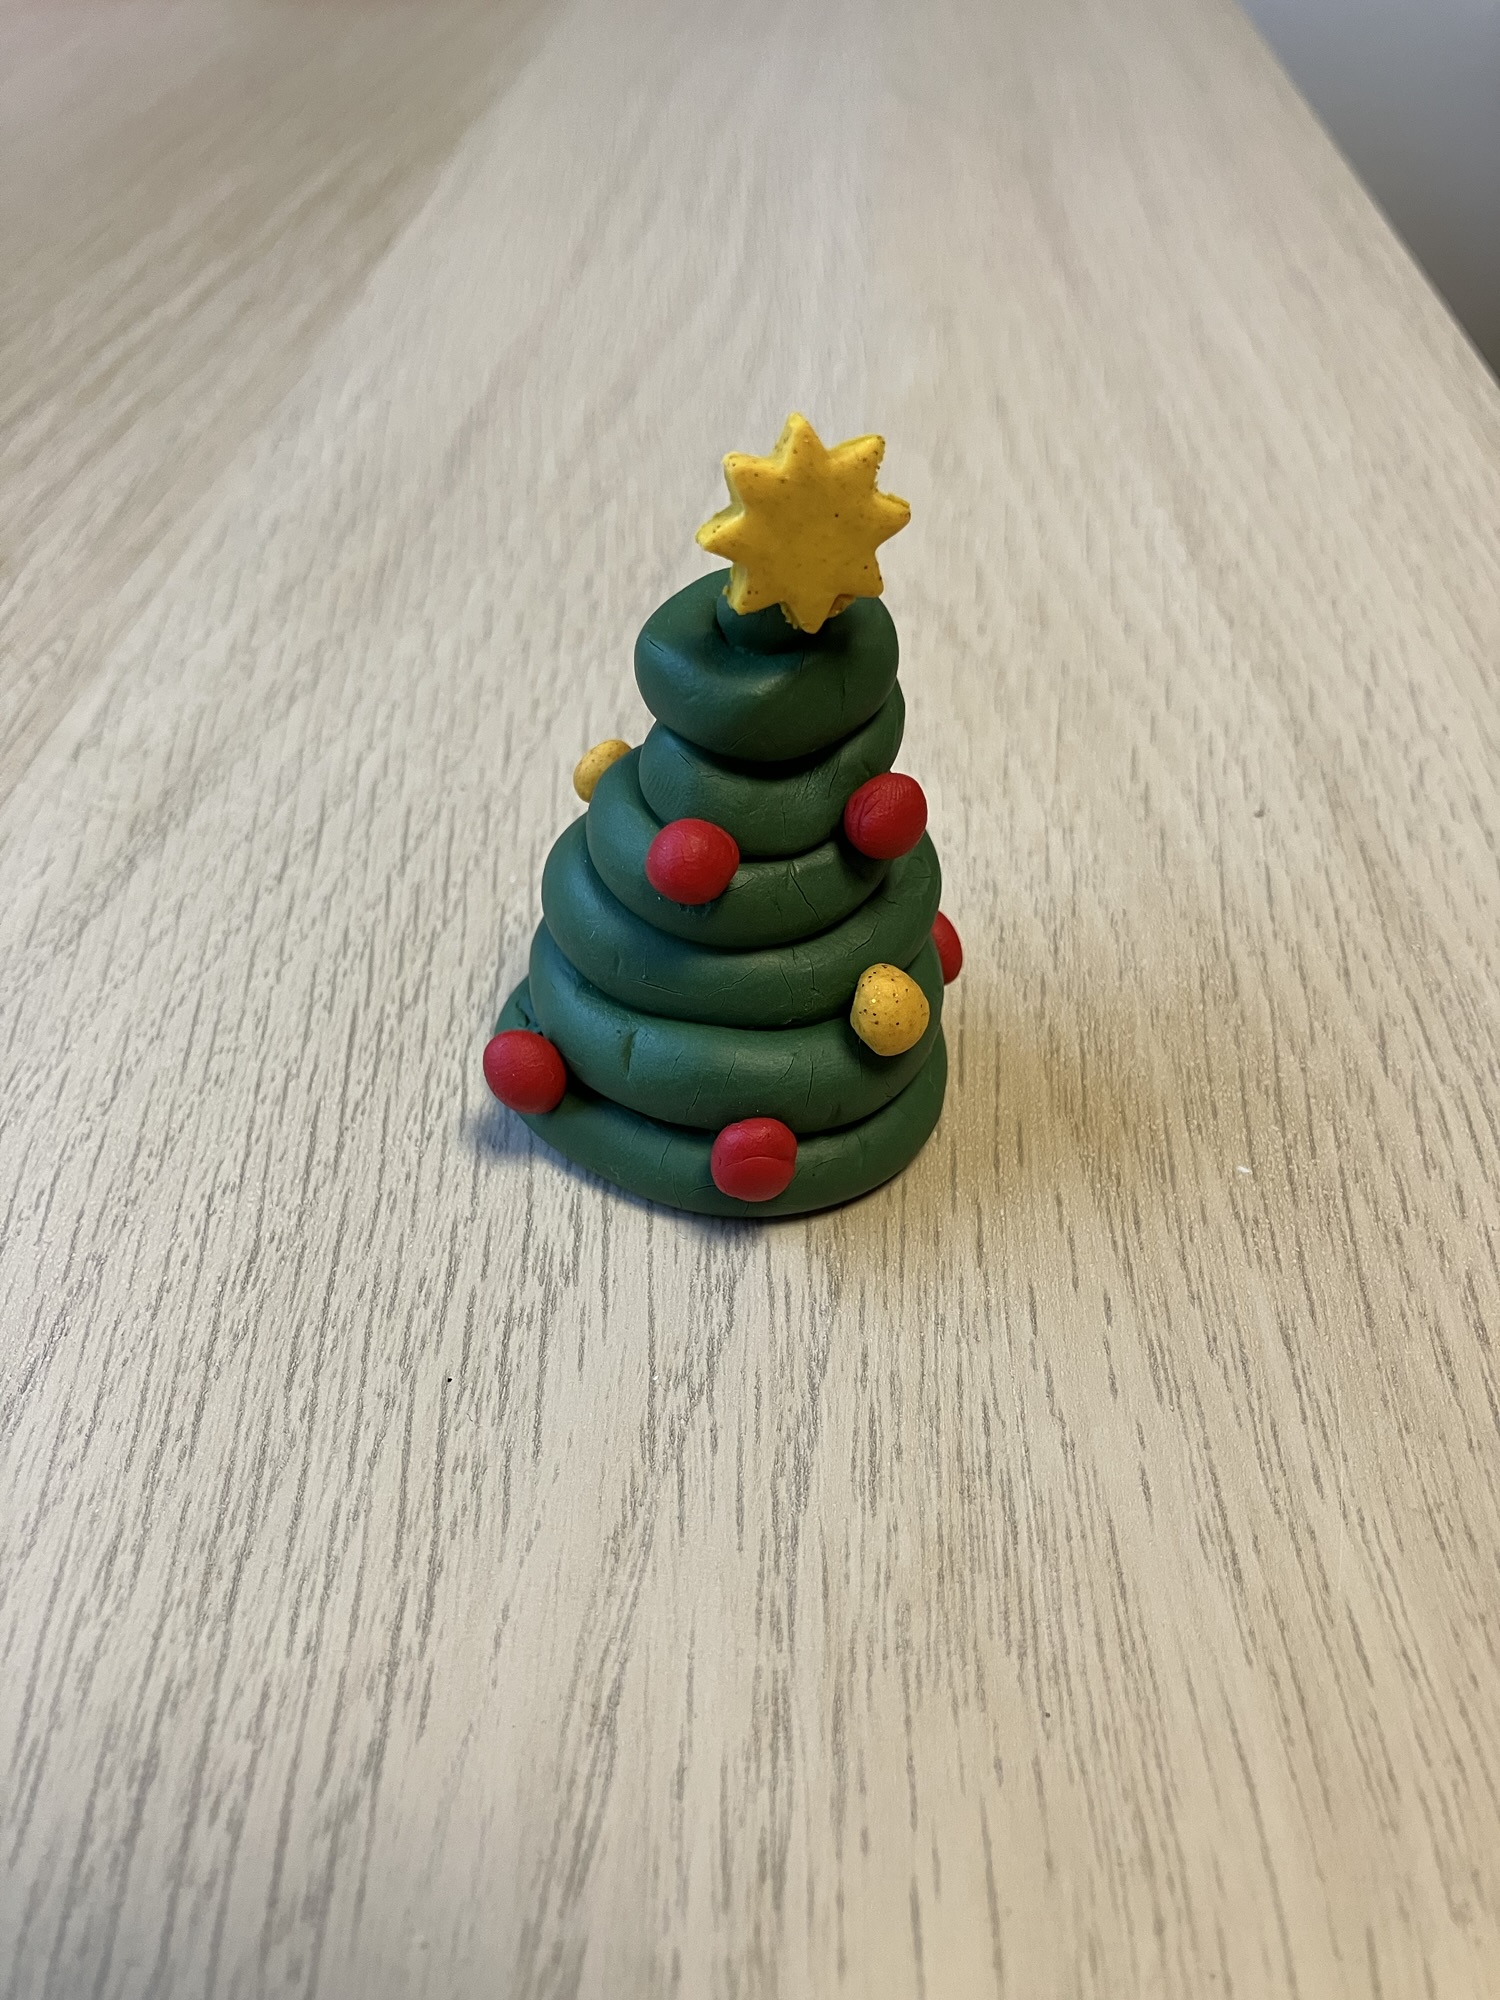
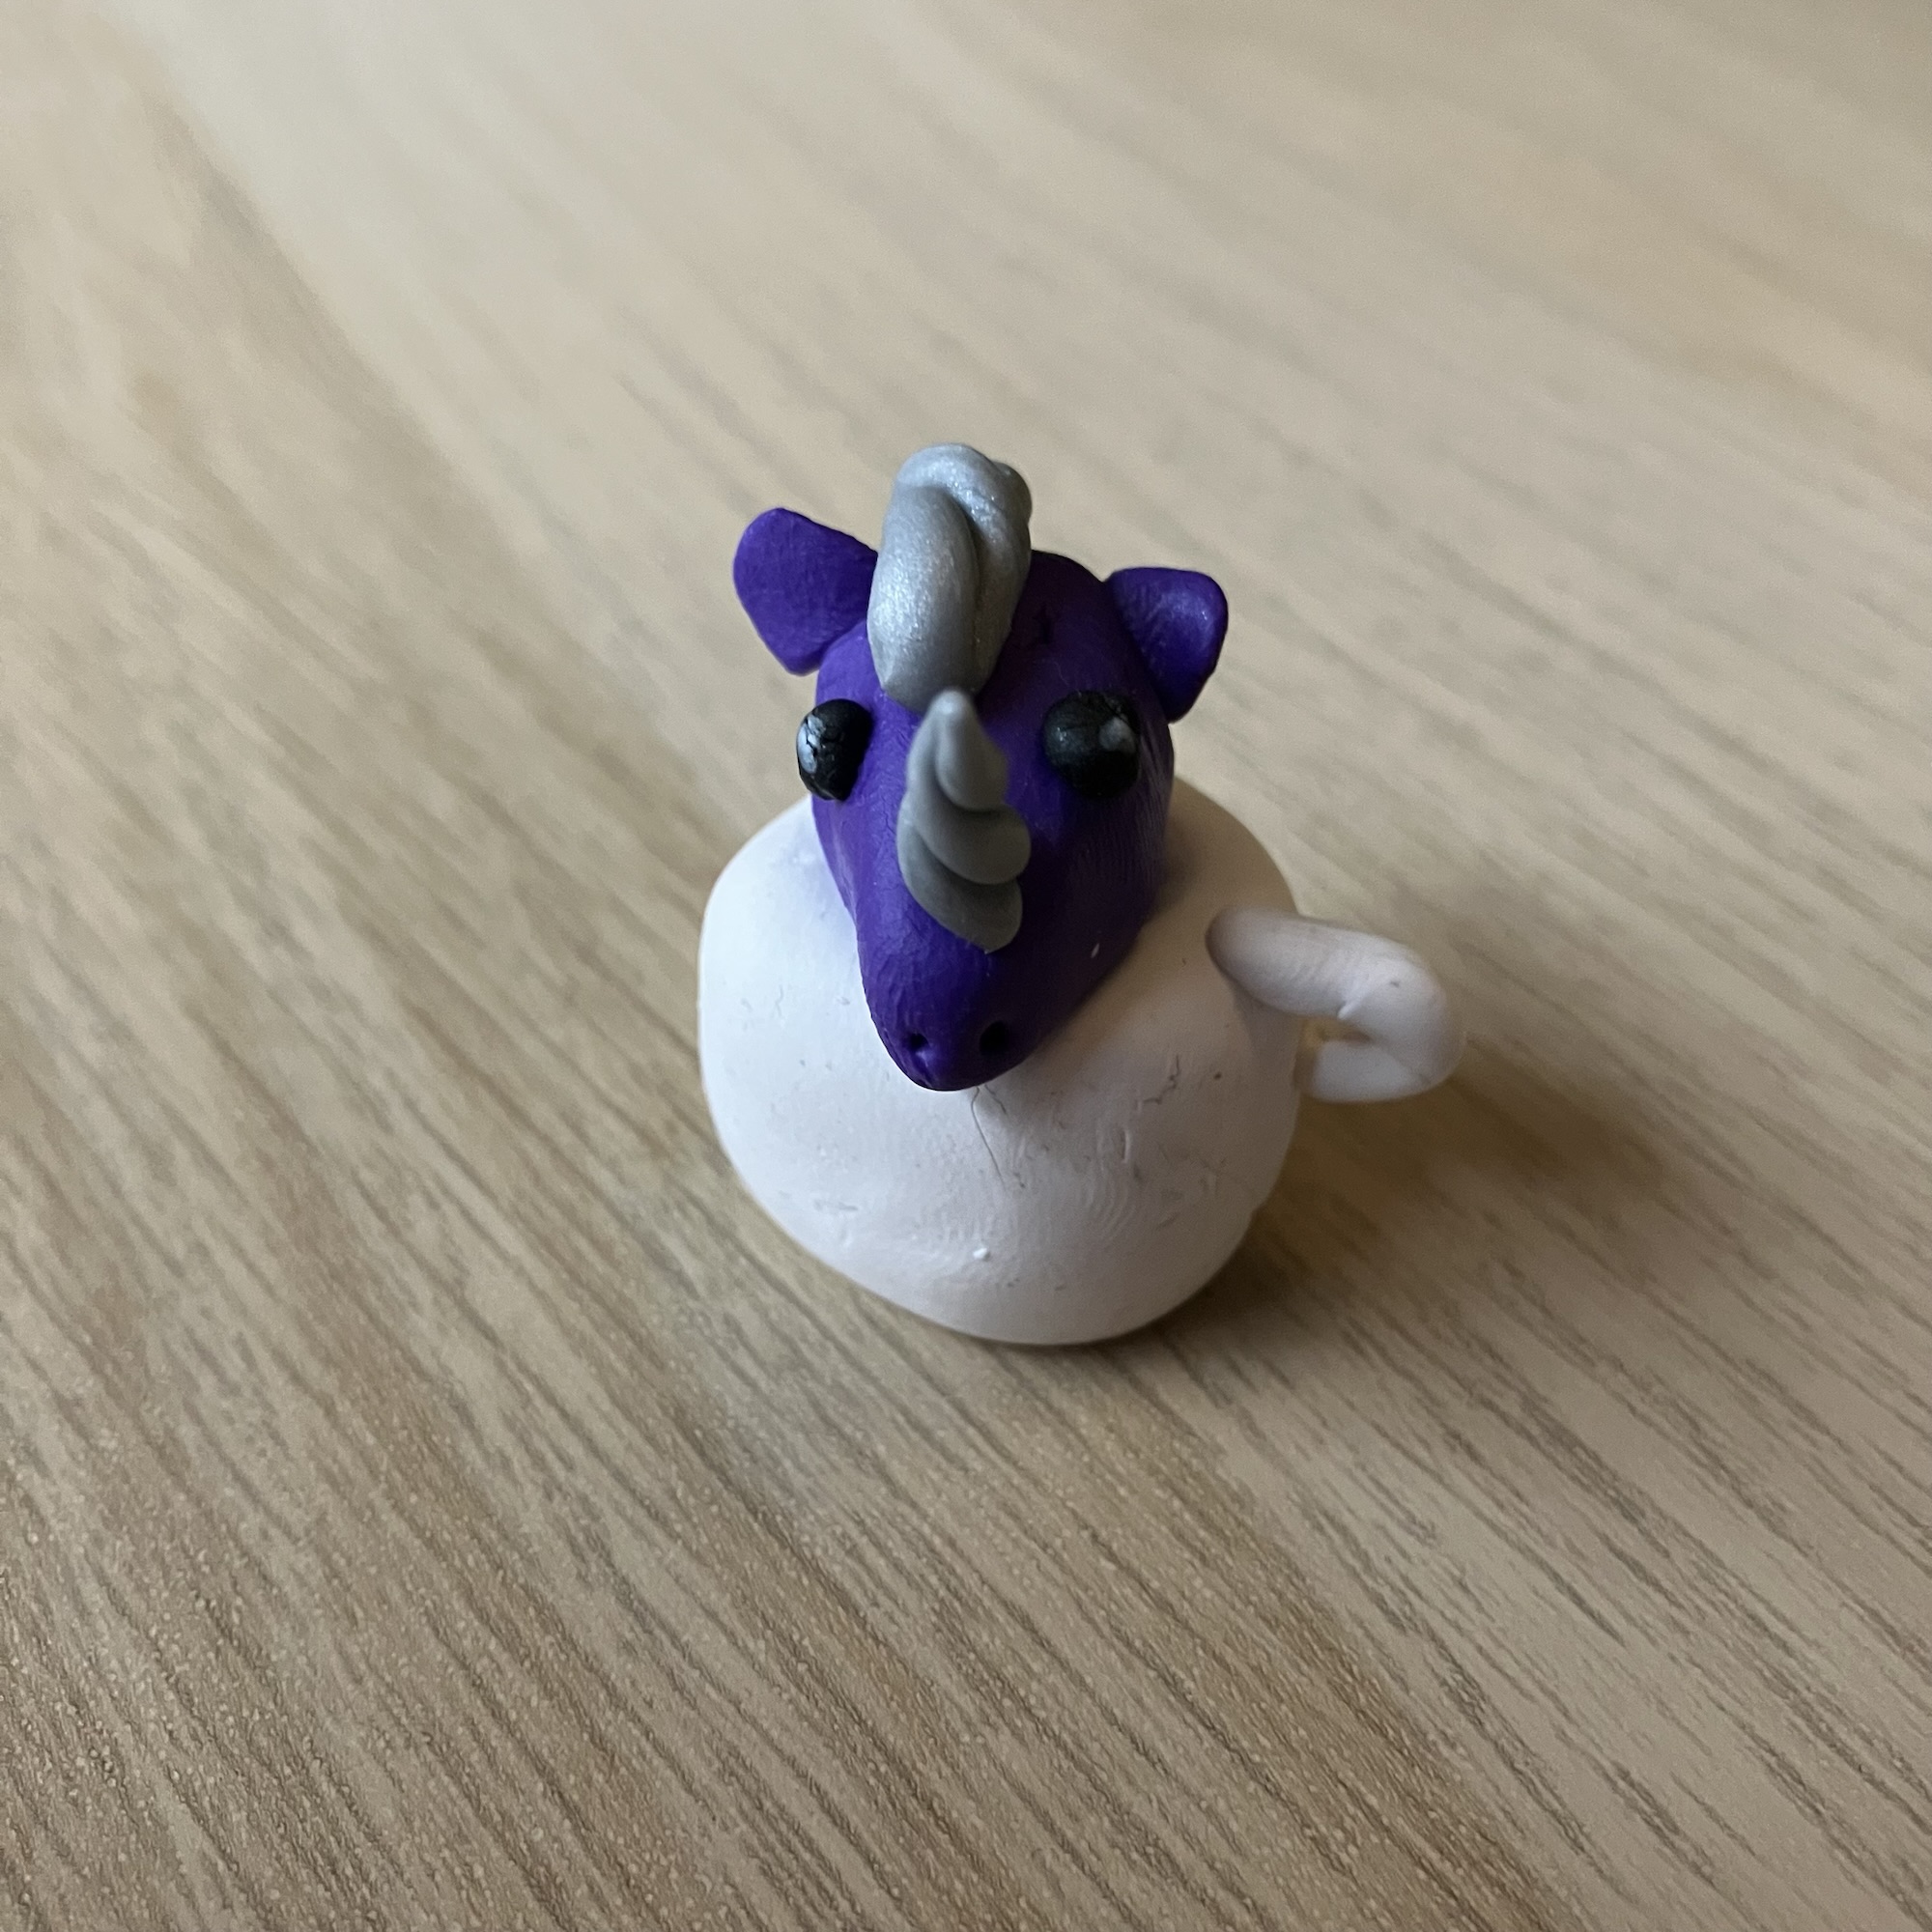
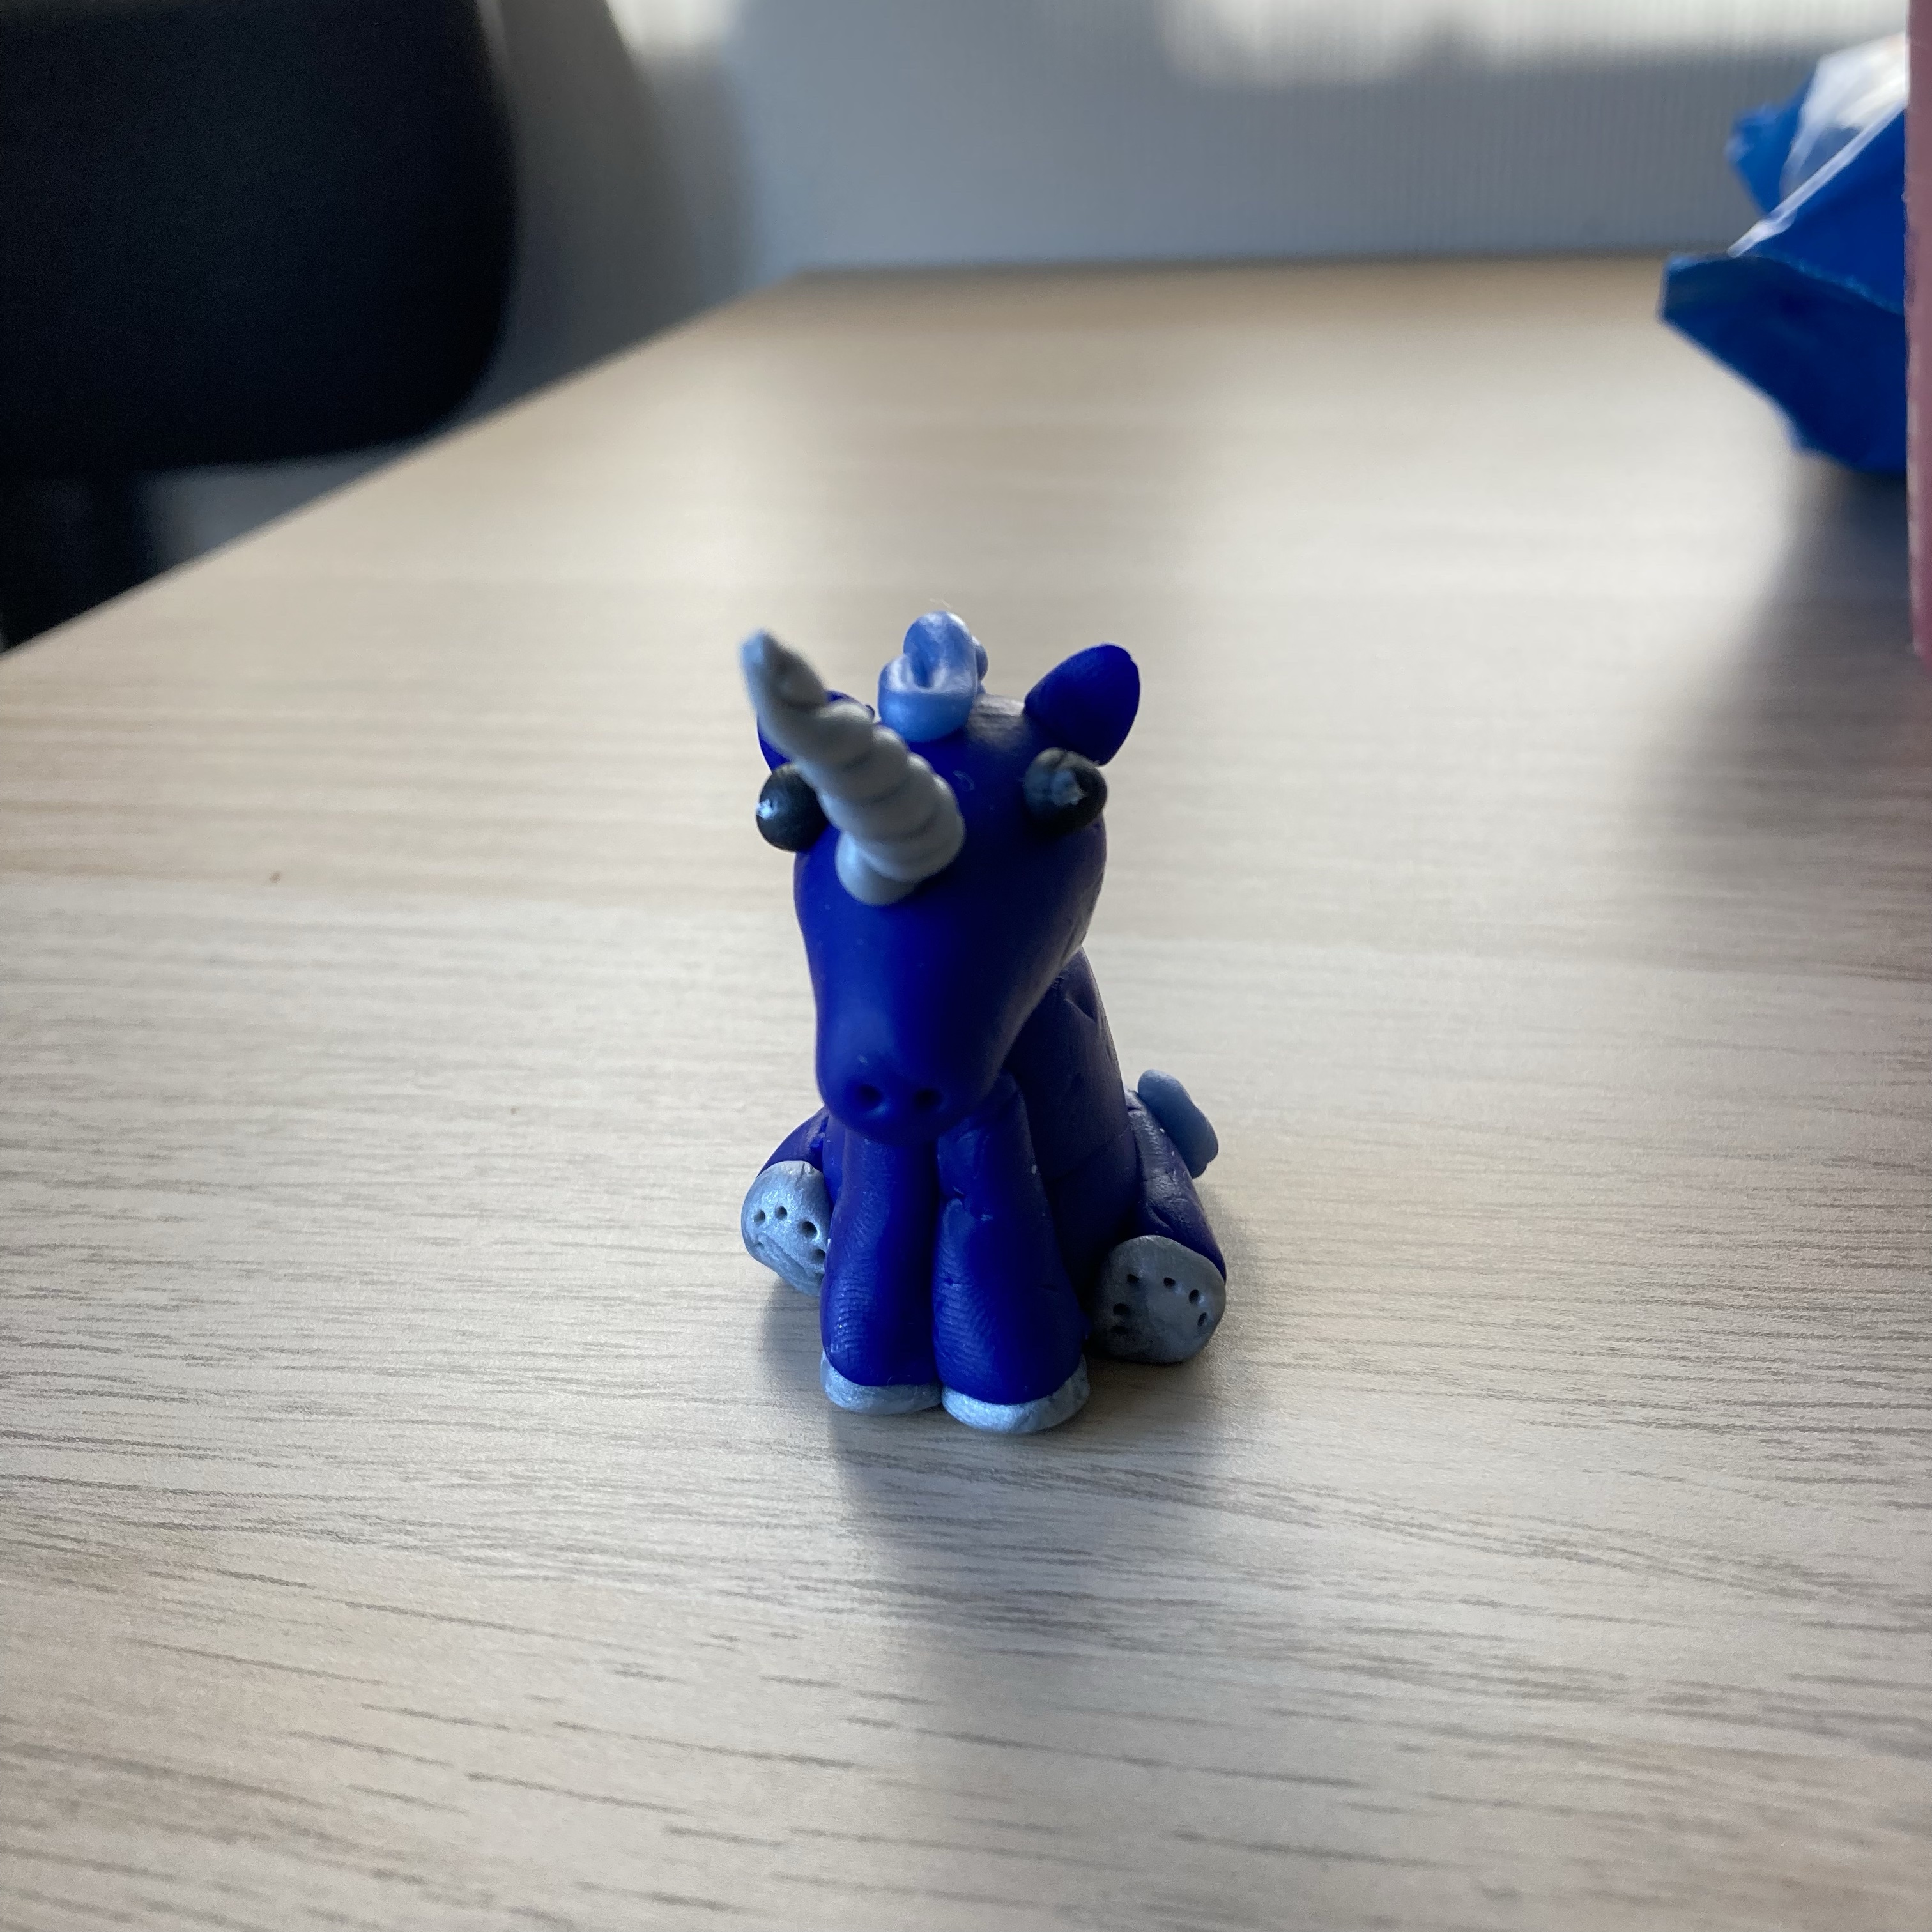
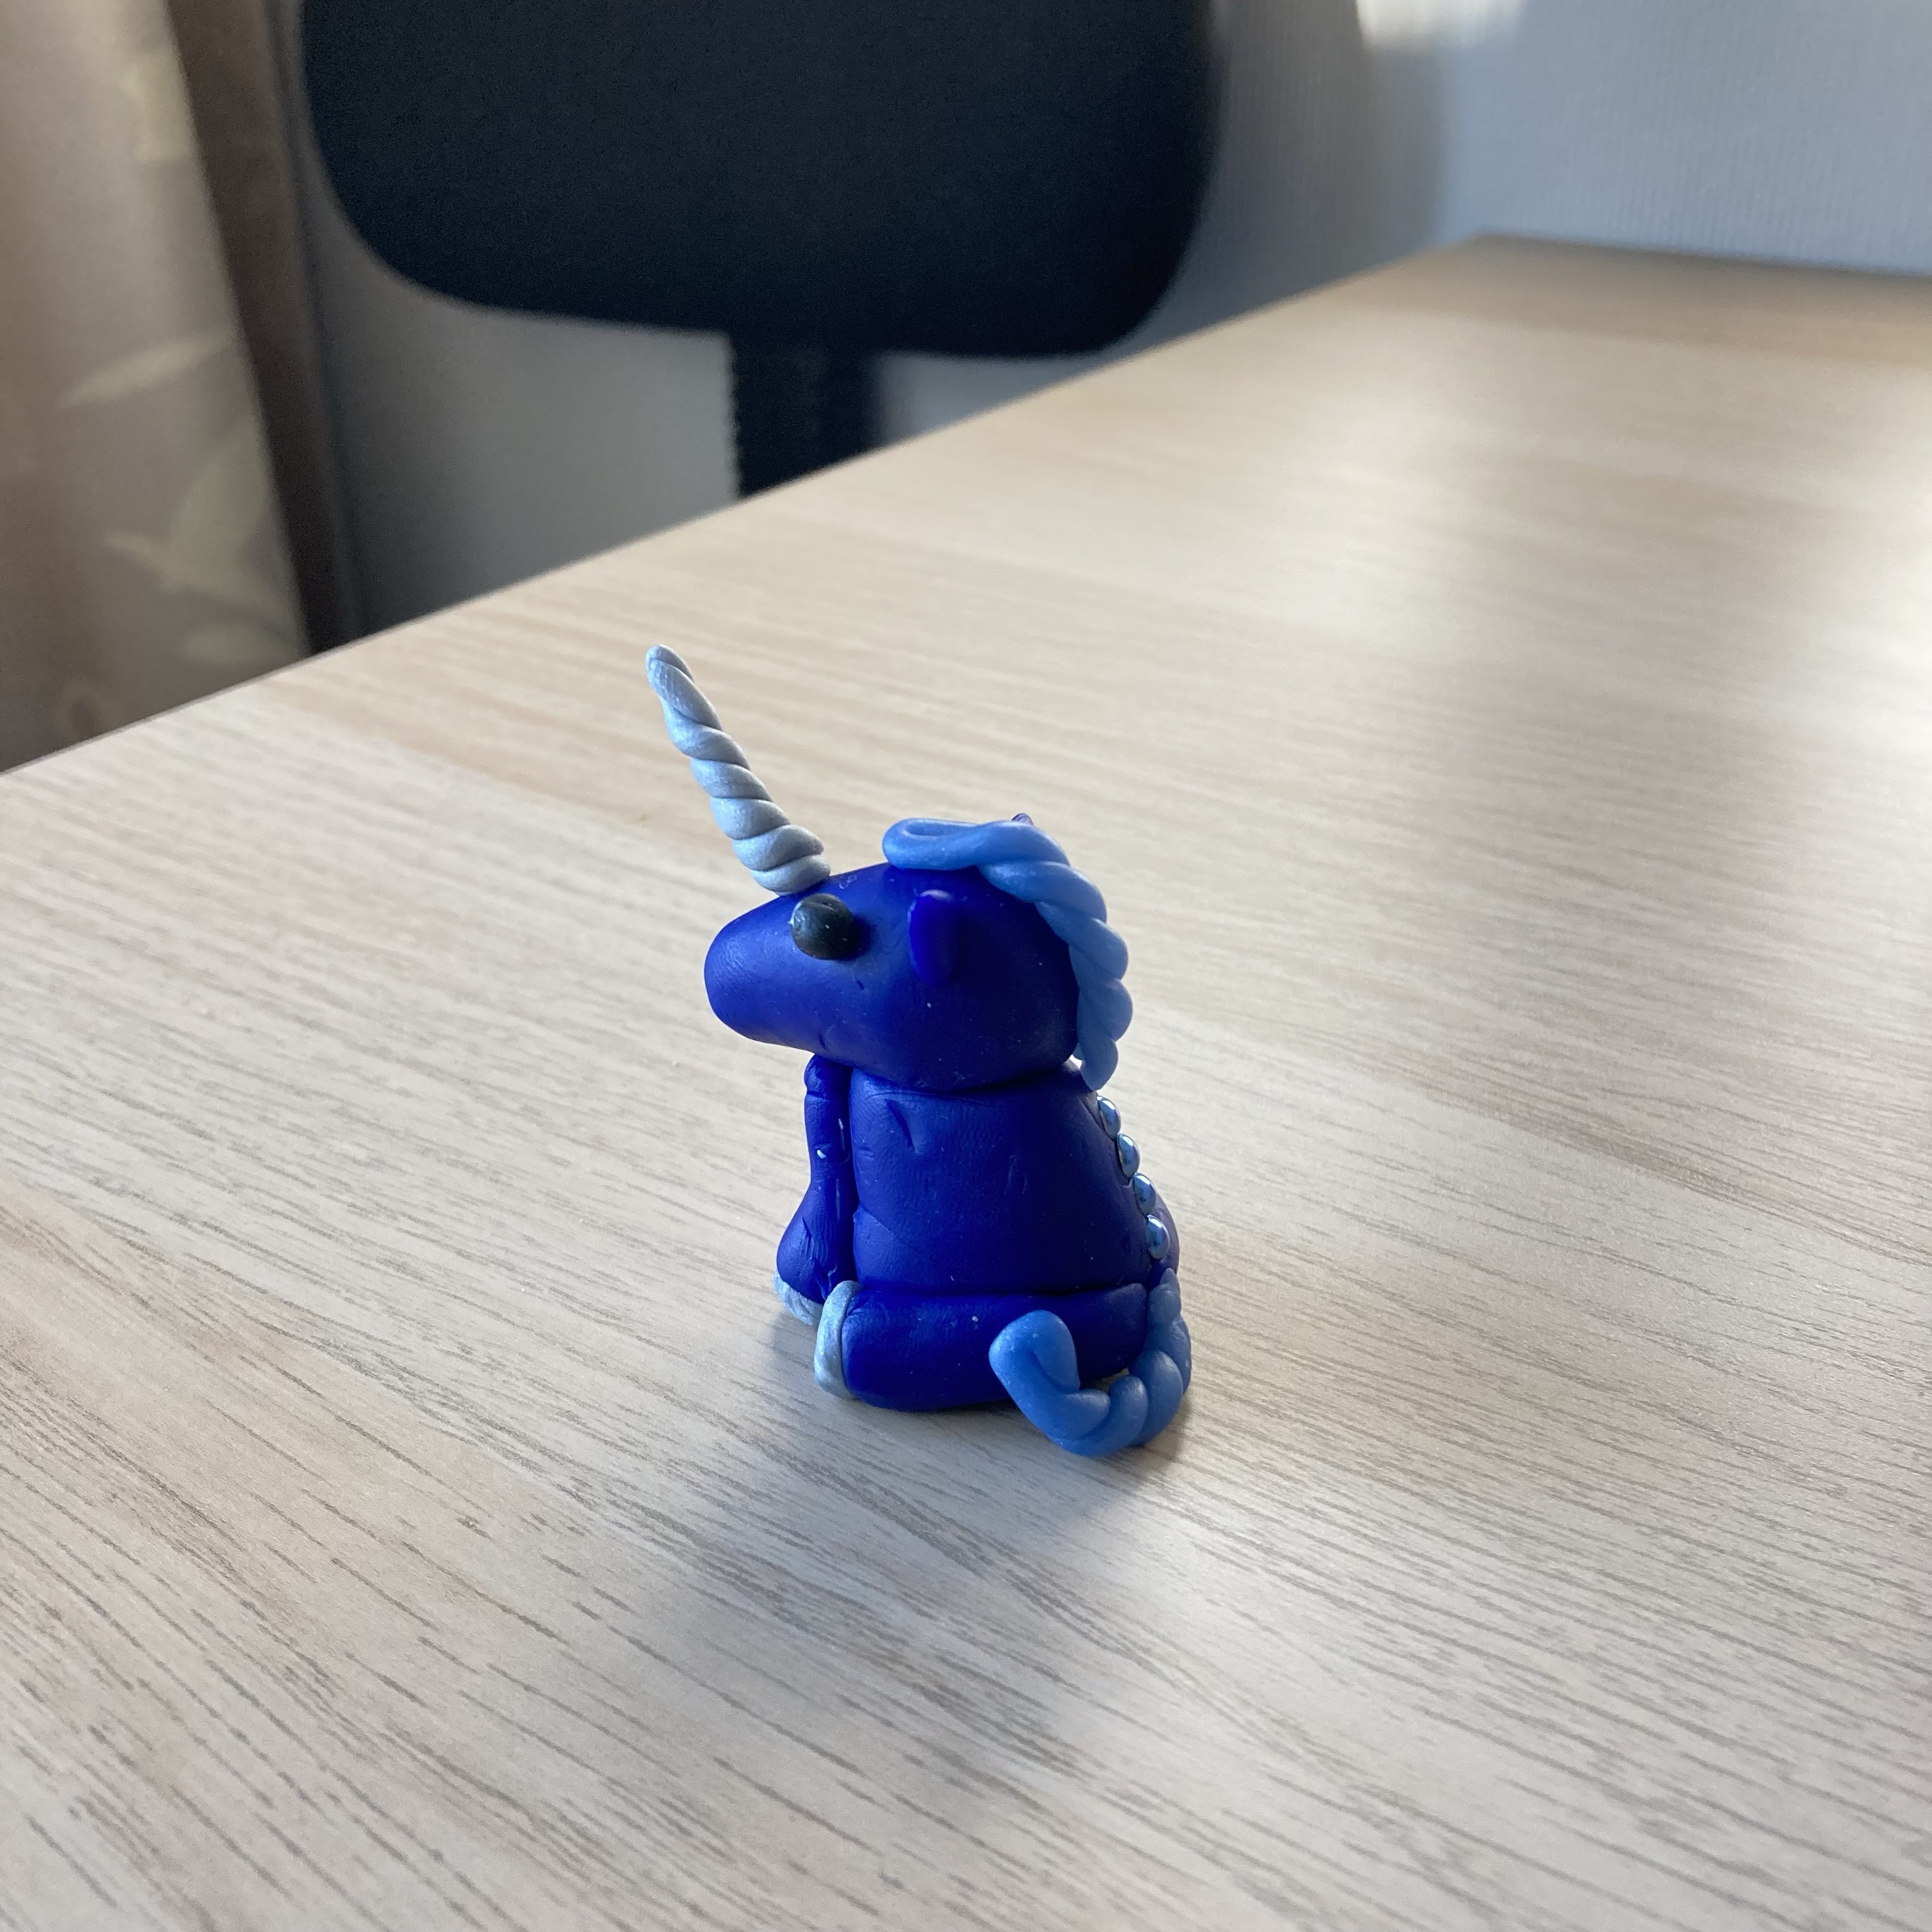
If we were having coffee, then I’d tell you about my creative endeavors over the past week. I finished two unicorns for the home’s volunteers on Monday.
That day, I also found out that one of the student staff would be leaving. He didn’t work with me, but I know him because he used to be a student staff at the care facility in Raalte before coming here. Back then, we used to go on walks together, taking his camera with us and snapping pictures which my image description app could then describe. The app wasn’t nearly as advanced as it is now, so I might want to look up some of these pictures and run them through Be My Eyes now.
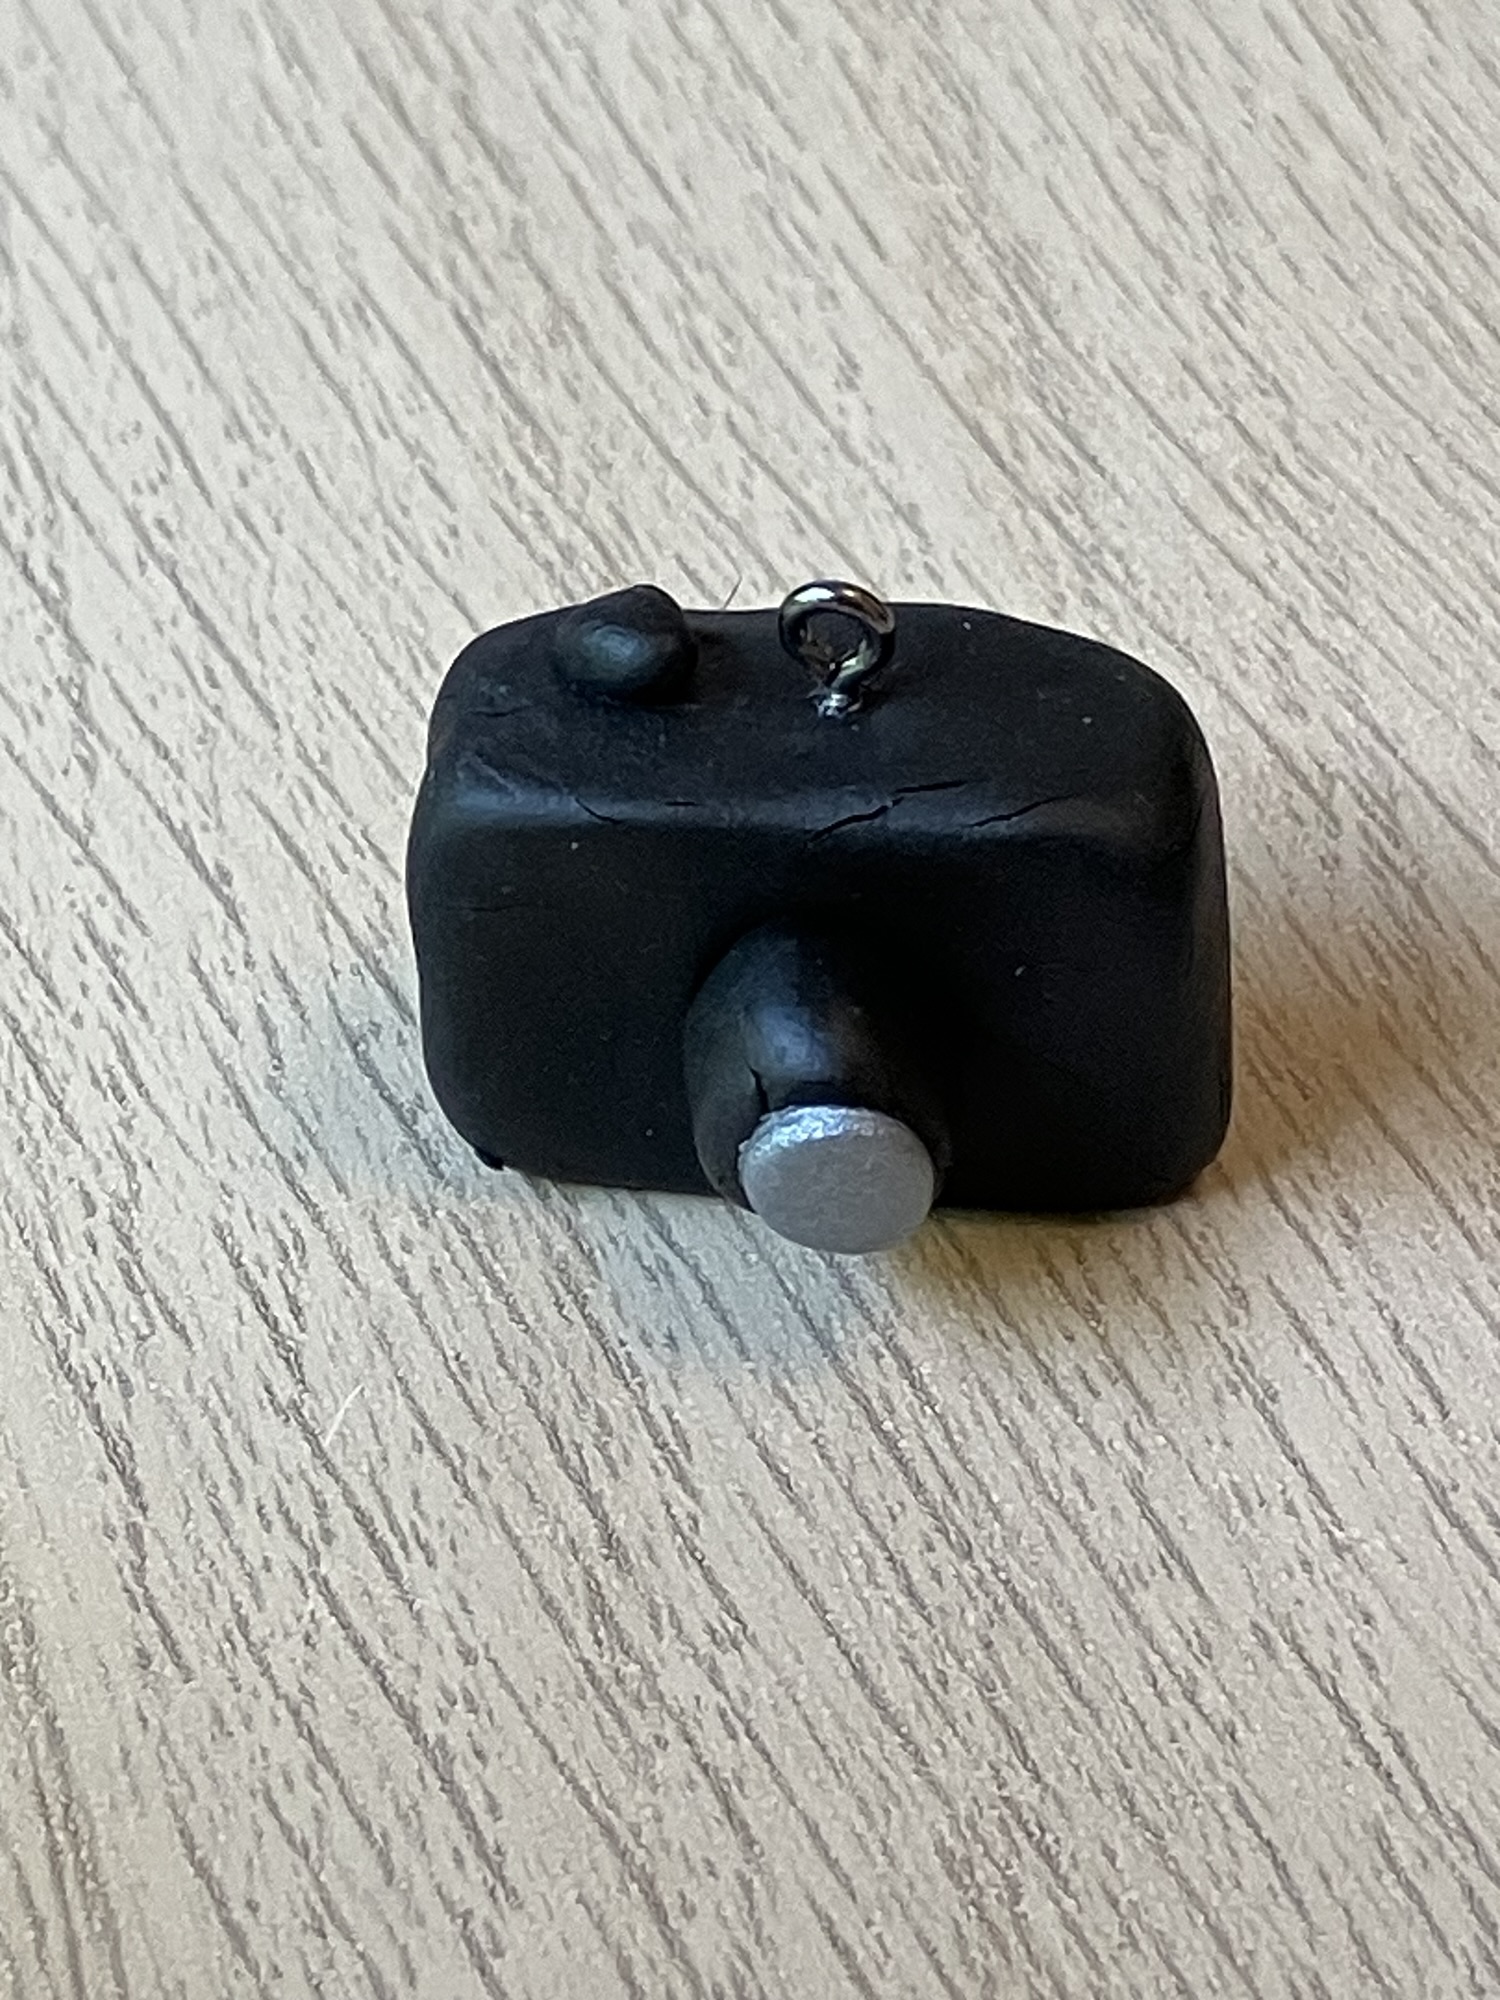
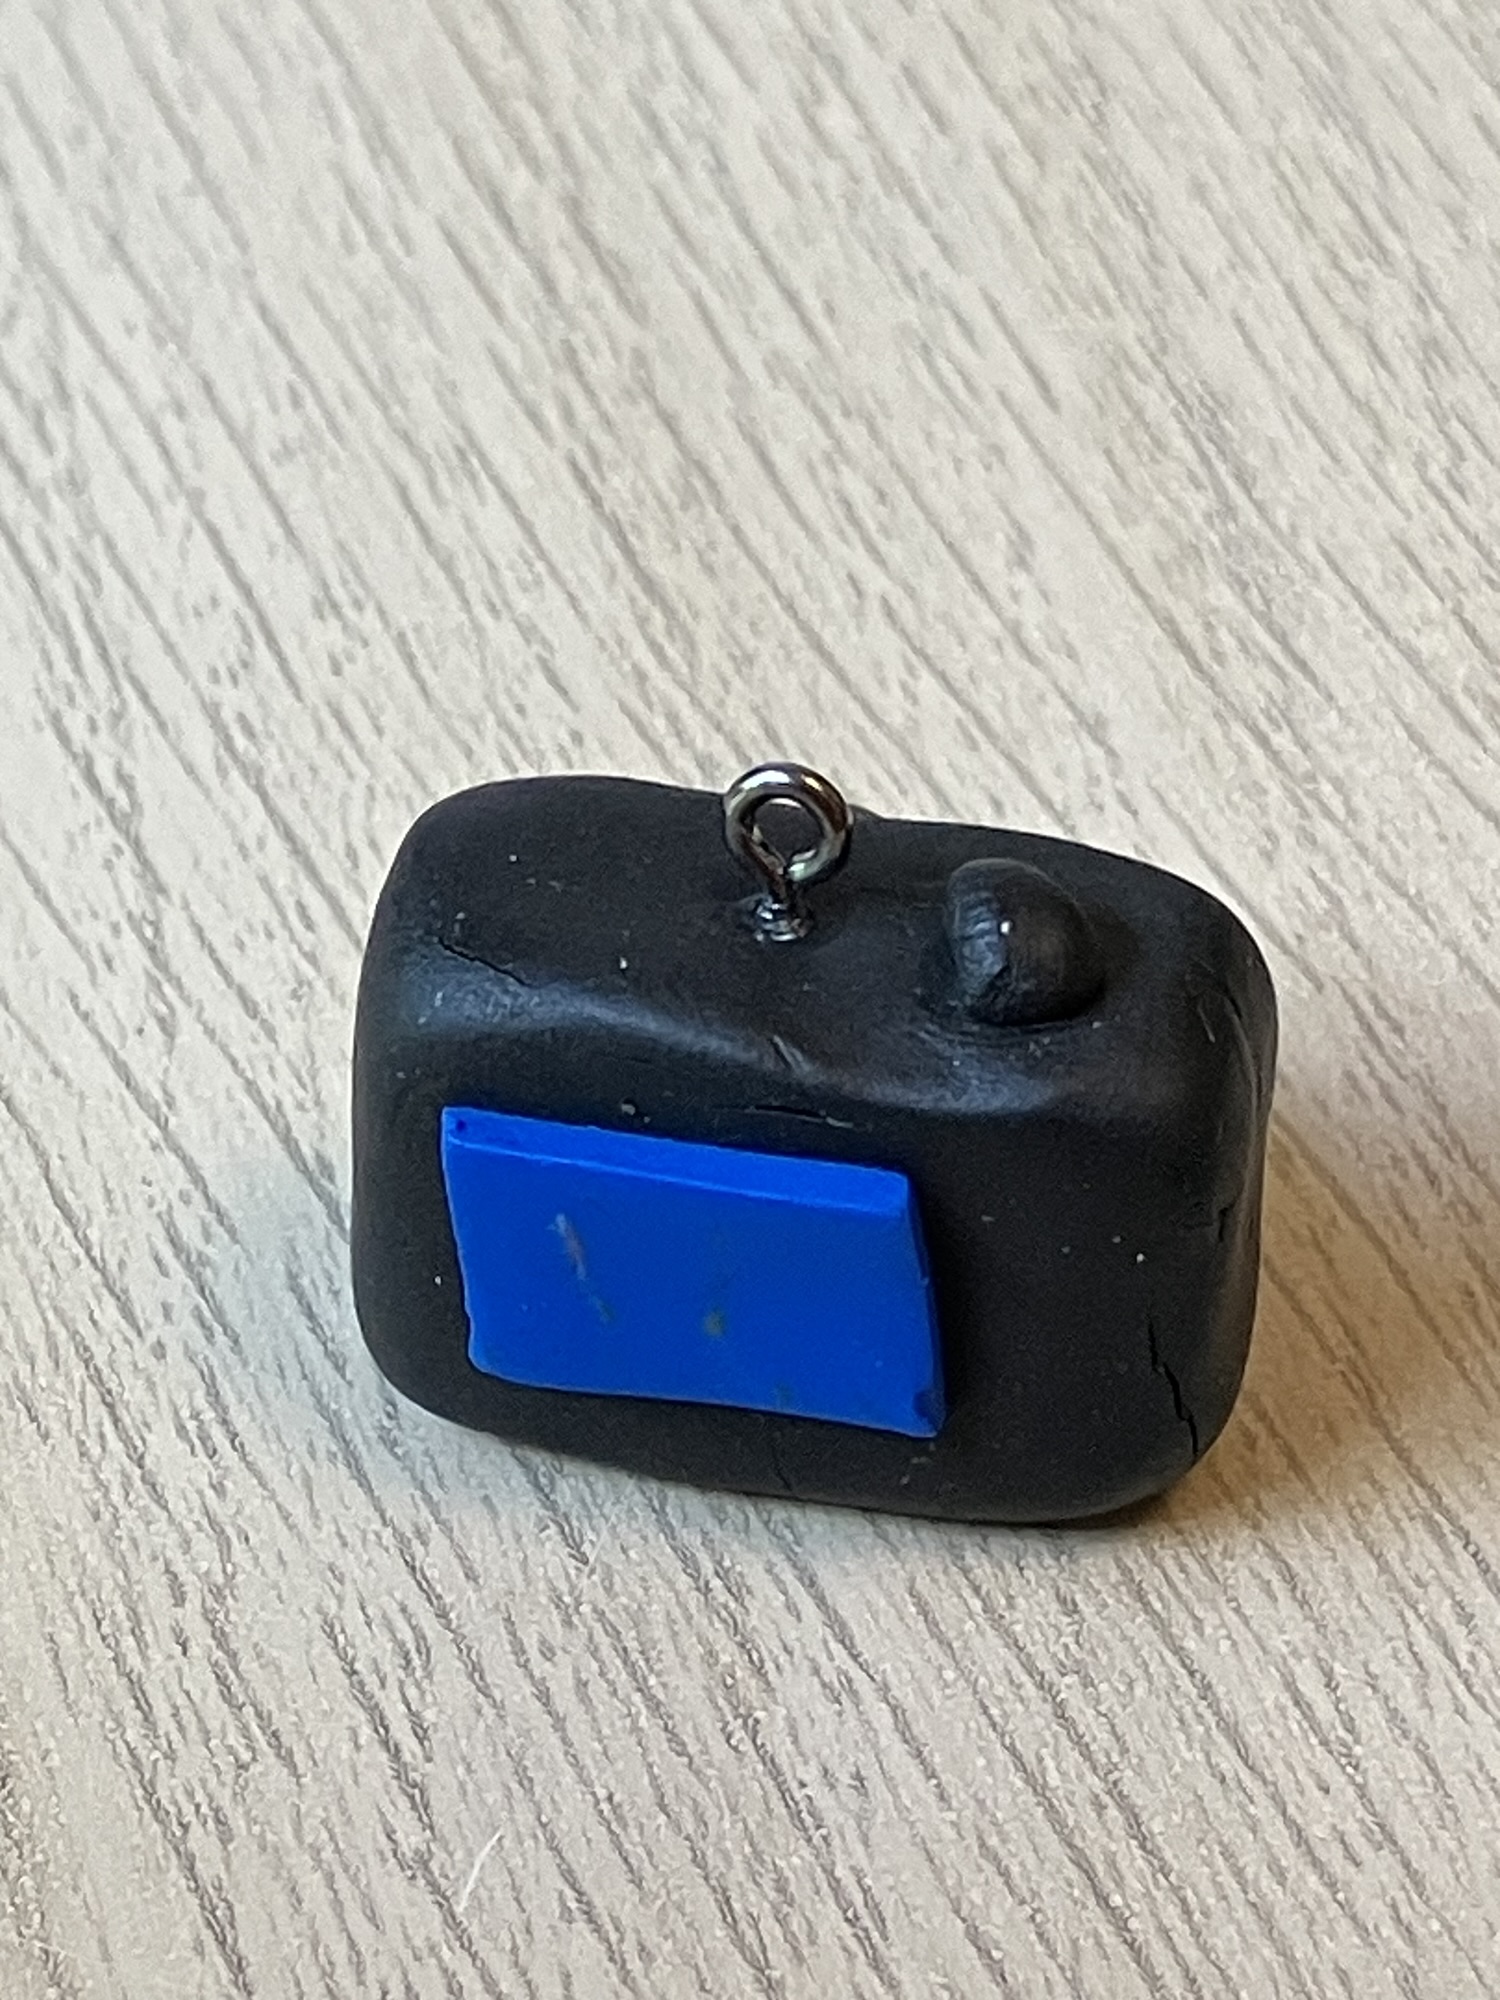
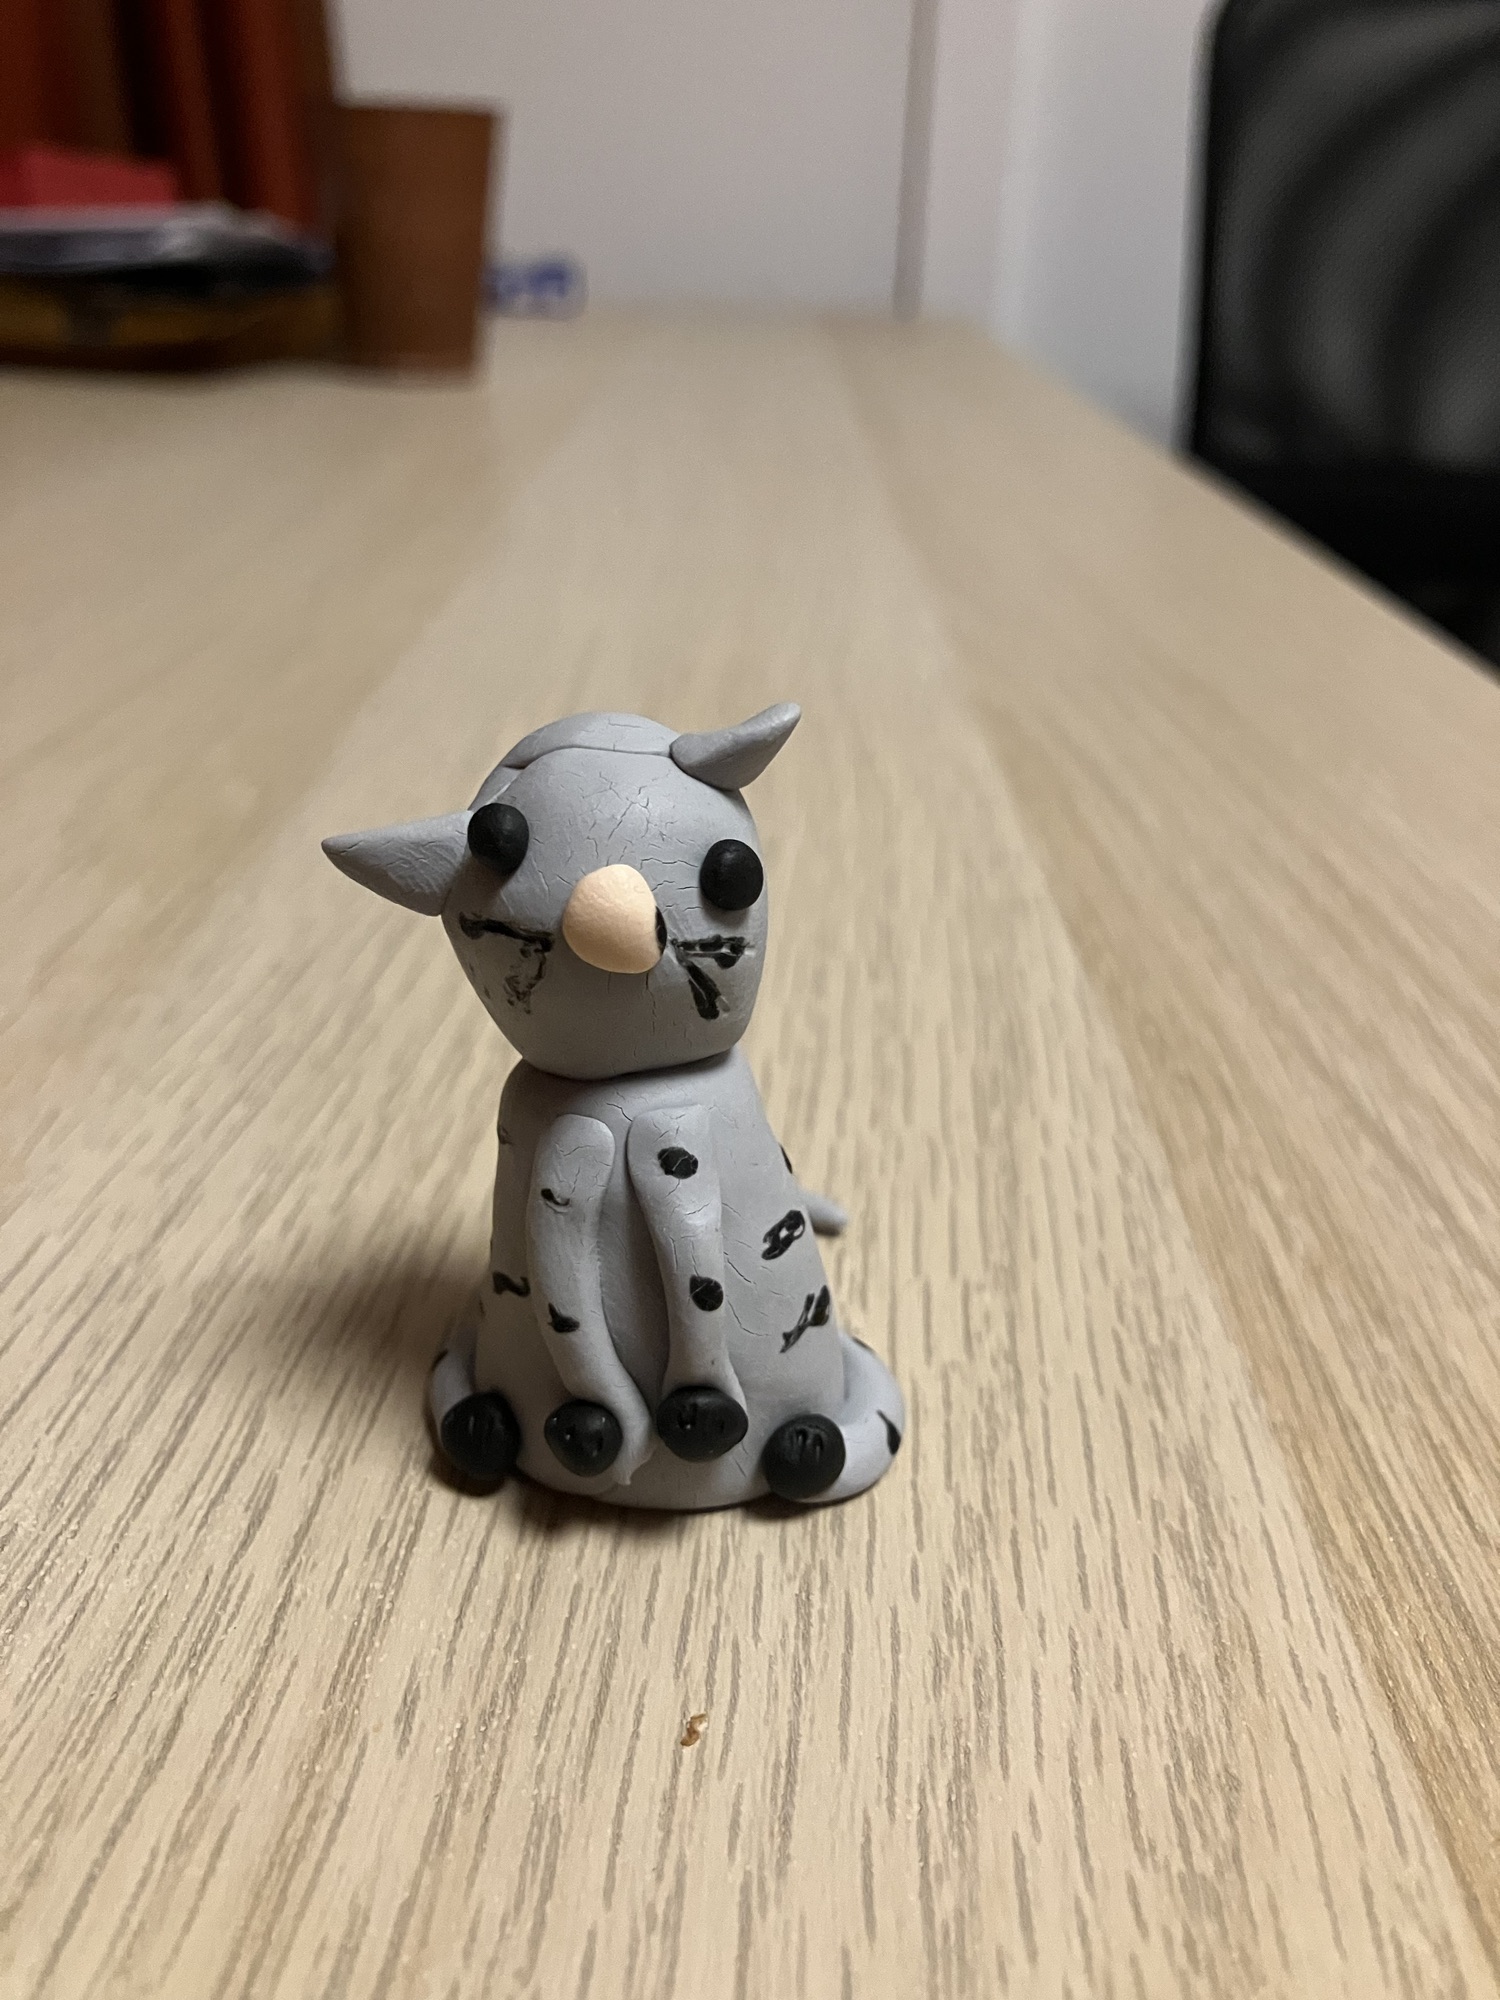
Anyway, I wanted to craft something for him but didn’t know what until my best friend asked me what his hobbies are. I initially said that I don’t know, then remembered our photographing adventures back in Raalte and said “photography”. My best friend immediately suggested I craft a camera. I had never done so, but my best friend gave me some suggestions. Here’s the result. Be My Eyes recognized it immediately and even said that the photo of the back I took might be of a miniature camera.
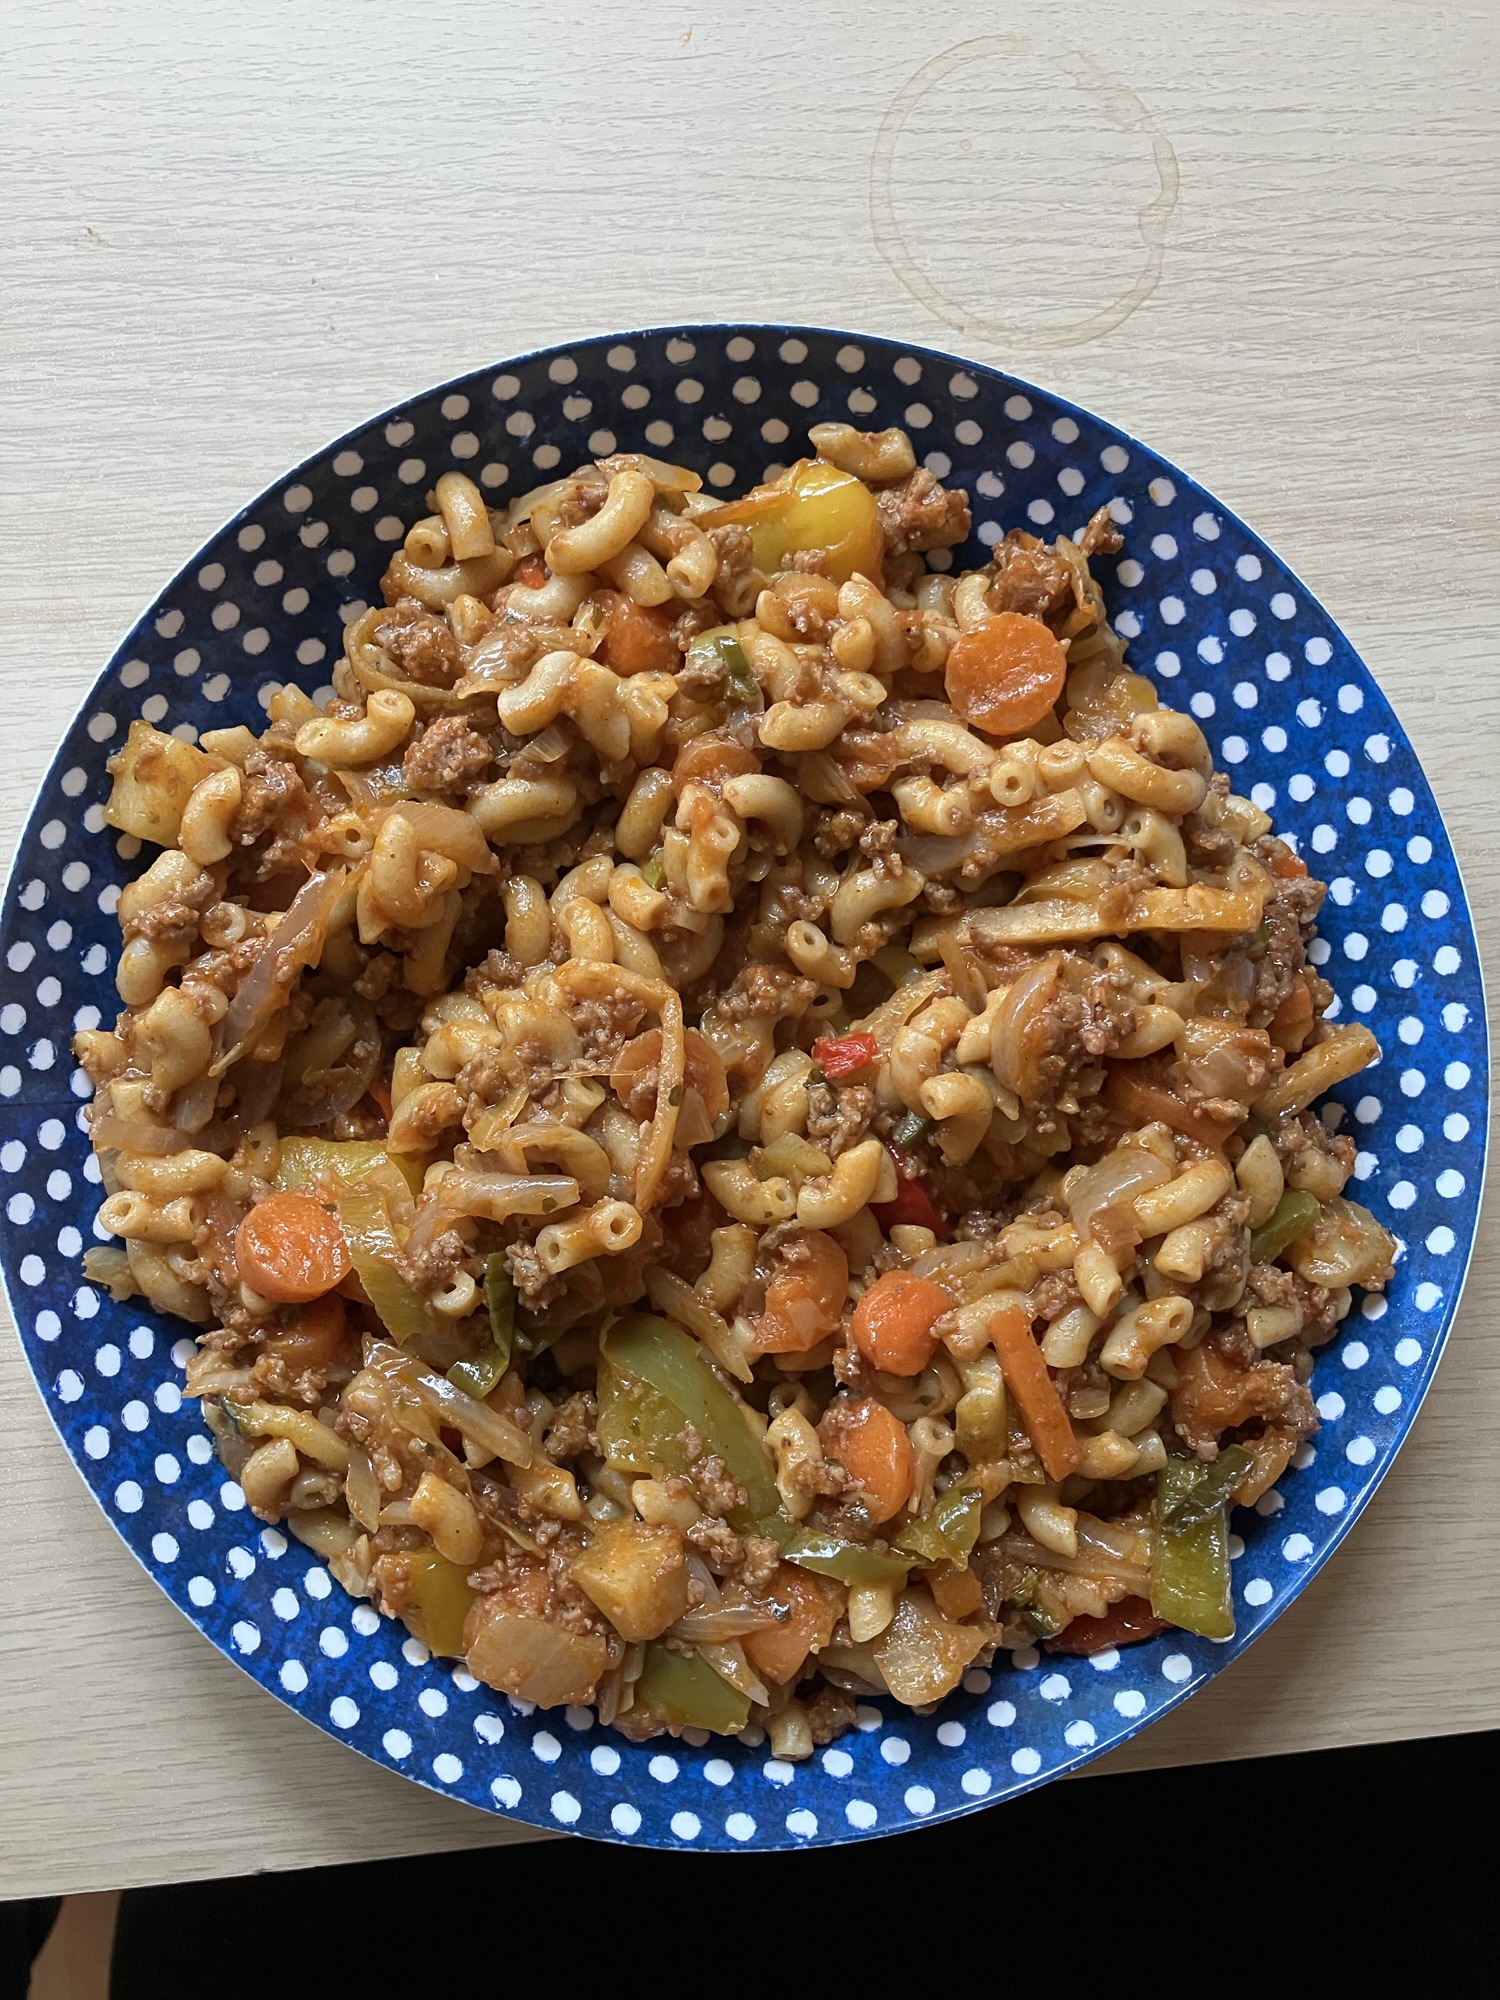
If we were having coffee, then I’d share that I cooked pasta for my fellow residents on Thursday. It wasn’t as good as it could’ve been, because the veg had been overcooked and generally speaking the meal was a bit bland. Better luck next time.
If we were having coffee, lastly I’d share that yesterday, on the student staff’s last shift, I played DJ again at the other side of the home. I initially played some Dutch-language songs that were apparently not well-known, but finally I chose “Oerend hard” by Normaal and that had my fellow residents loudly singing along.
Overall, this week was a good one except for the pain.

: An Active and Creative Day")
")


 #WeeklySmile")