Hi everyone. It’s nearly 11PM as I type this and I originally didn’t intend on writing a blog post today. Then, however, I learned that WordPress is intending on phasing out the classic editor (thanks Di for the heads-up) I almost exclusively use the classic editor, so I’m, well, quite a bit upset. Now I’m having to learn not only to write blog posts without using my Braille display, but also in the dreaded block editor. I could turn this into a challenge though and see what I can still do. For this reason, I’m writing a post in the block editor. And to make it extra challenging, I’m writing a crafty post, so that I’ll have to include images.
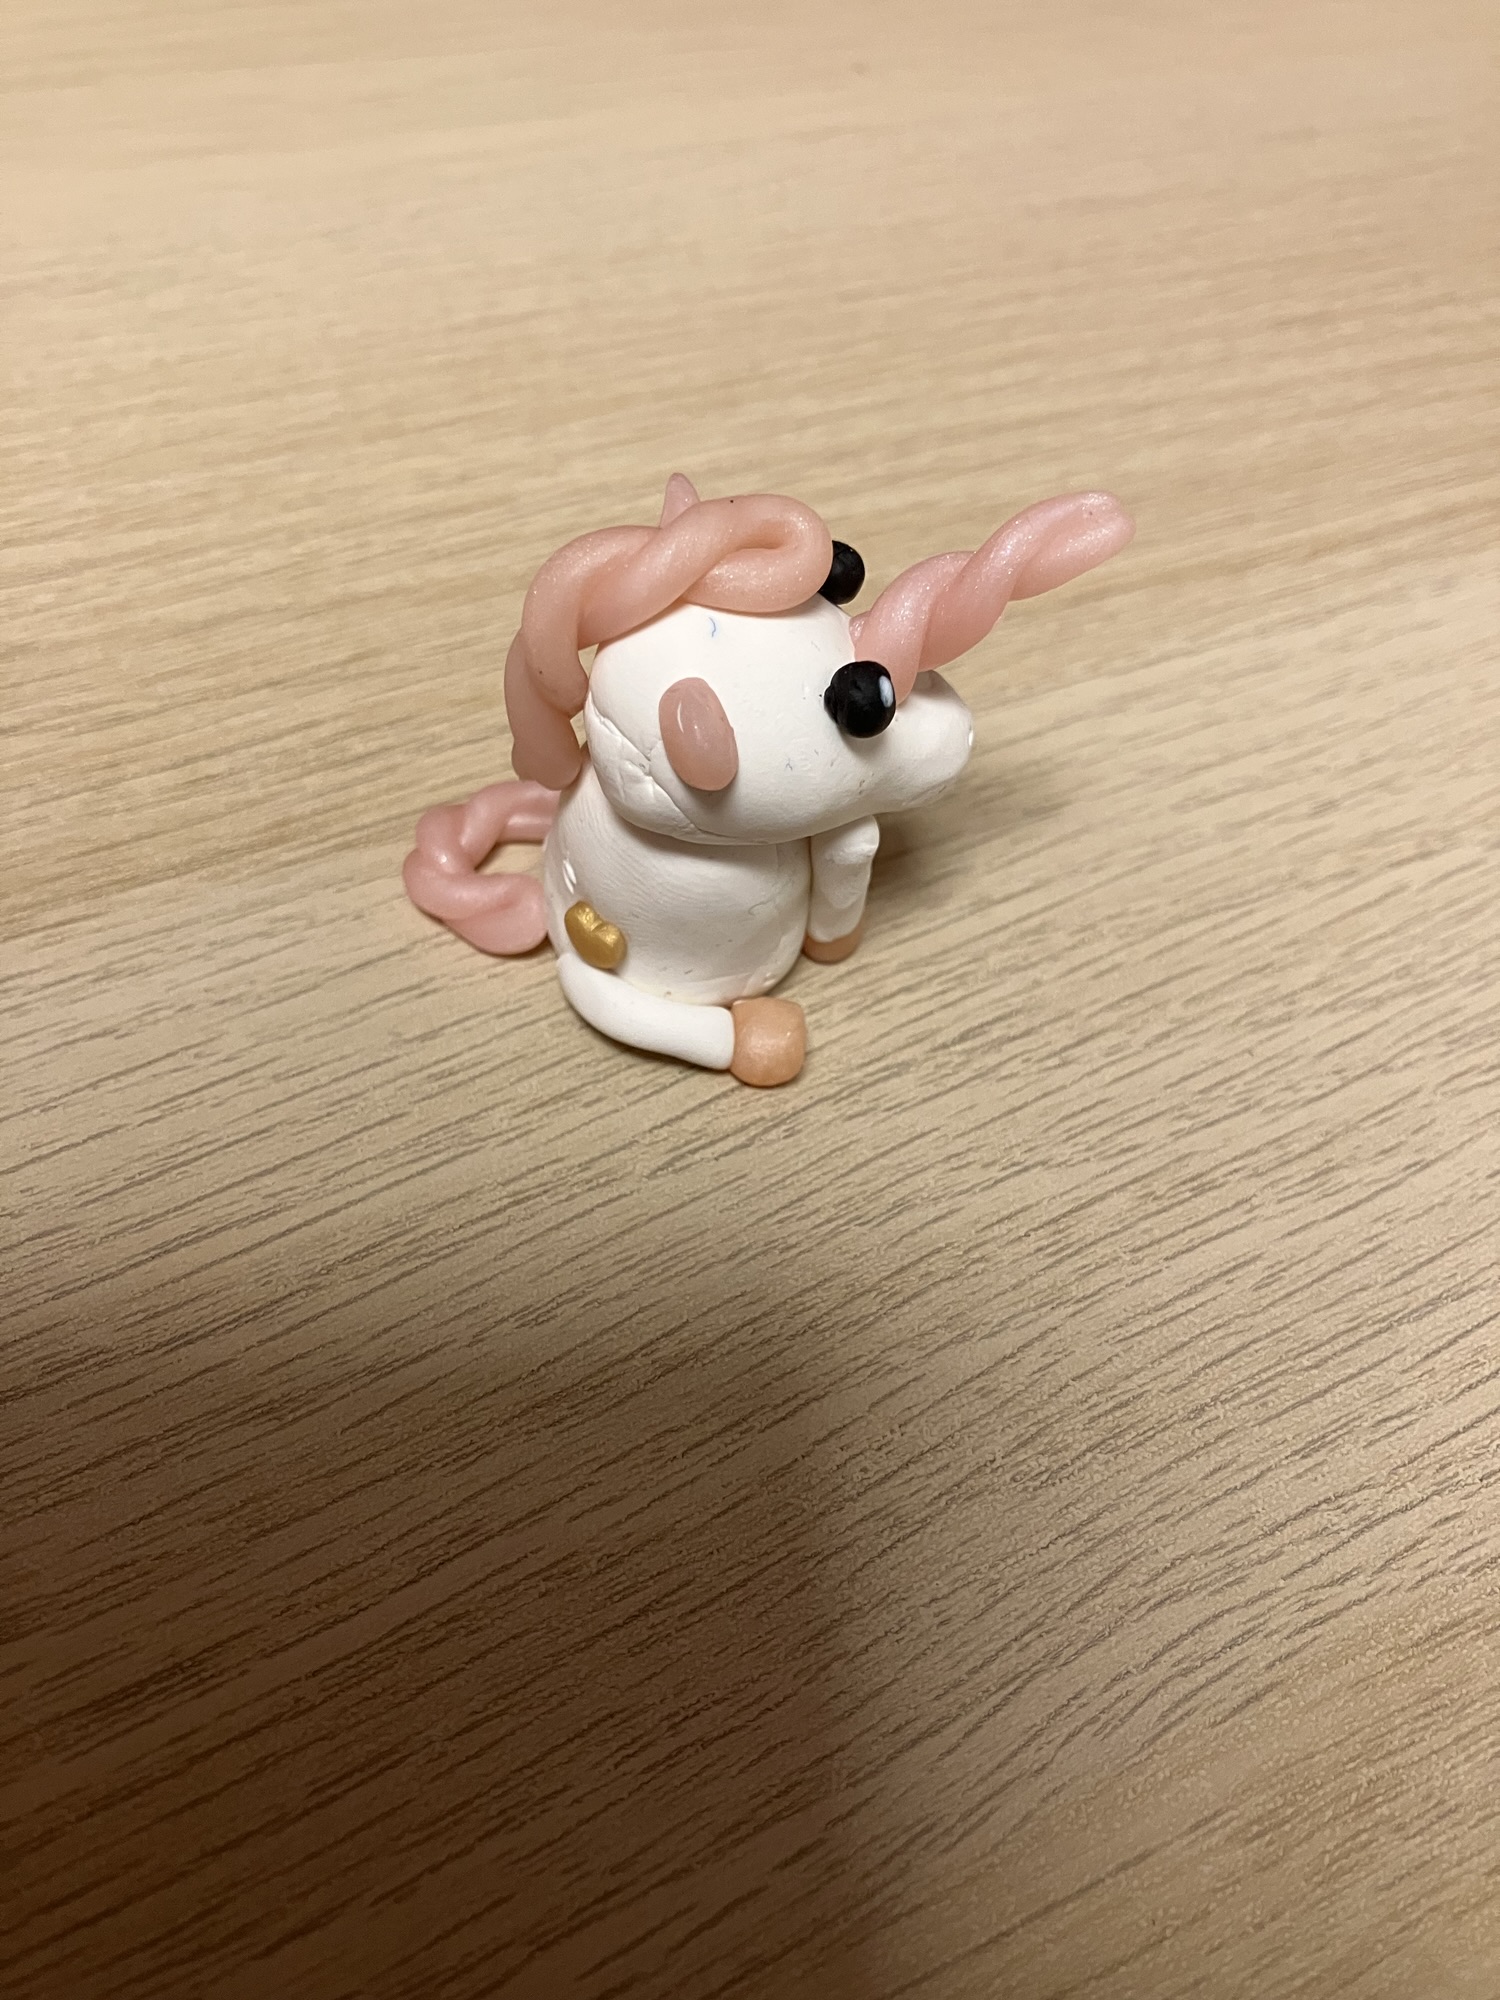
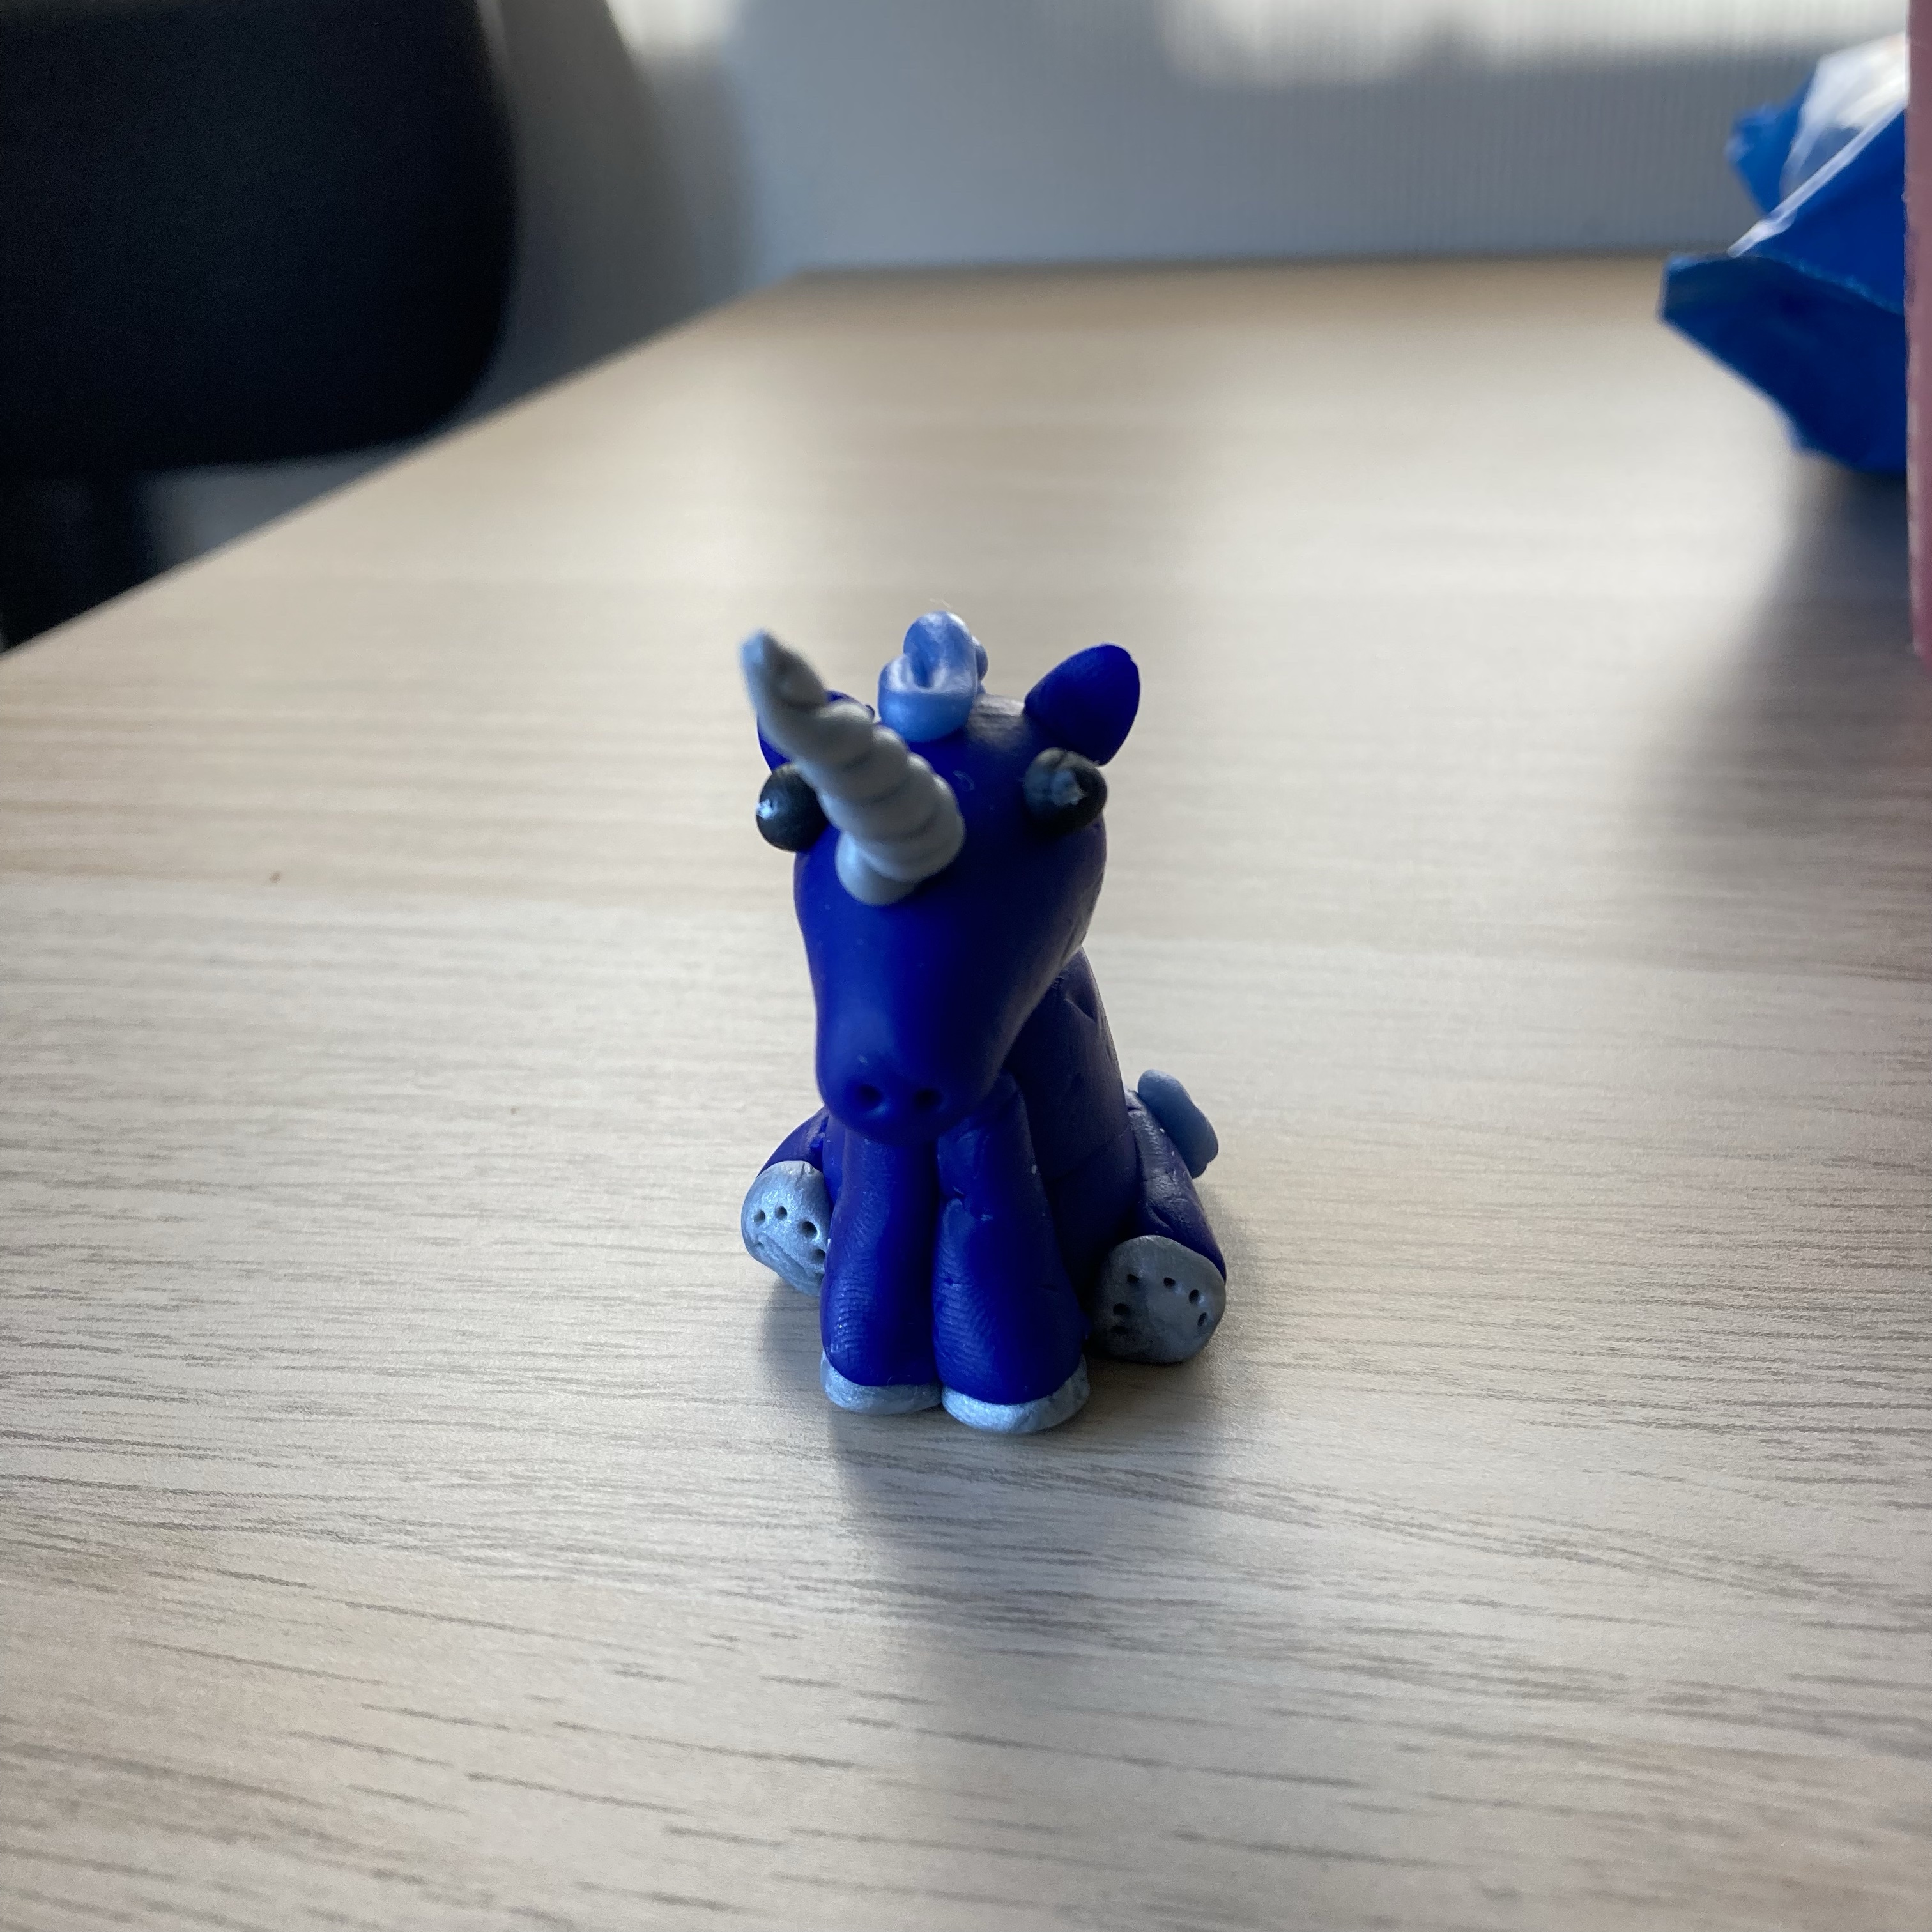
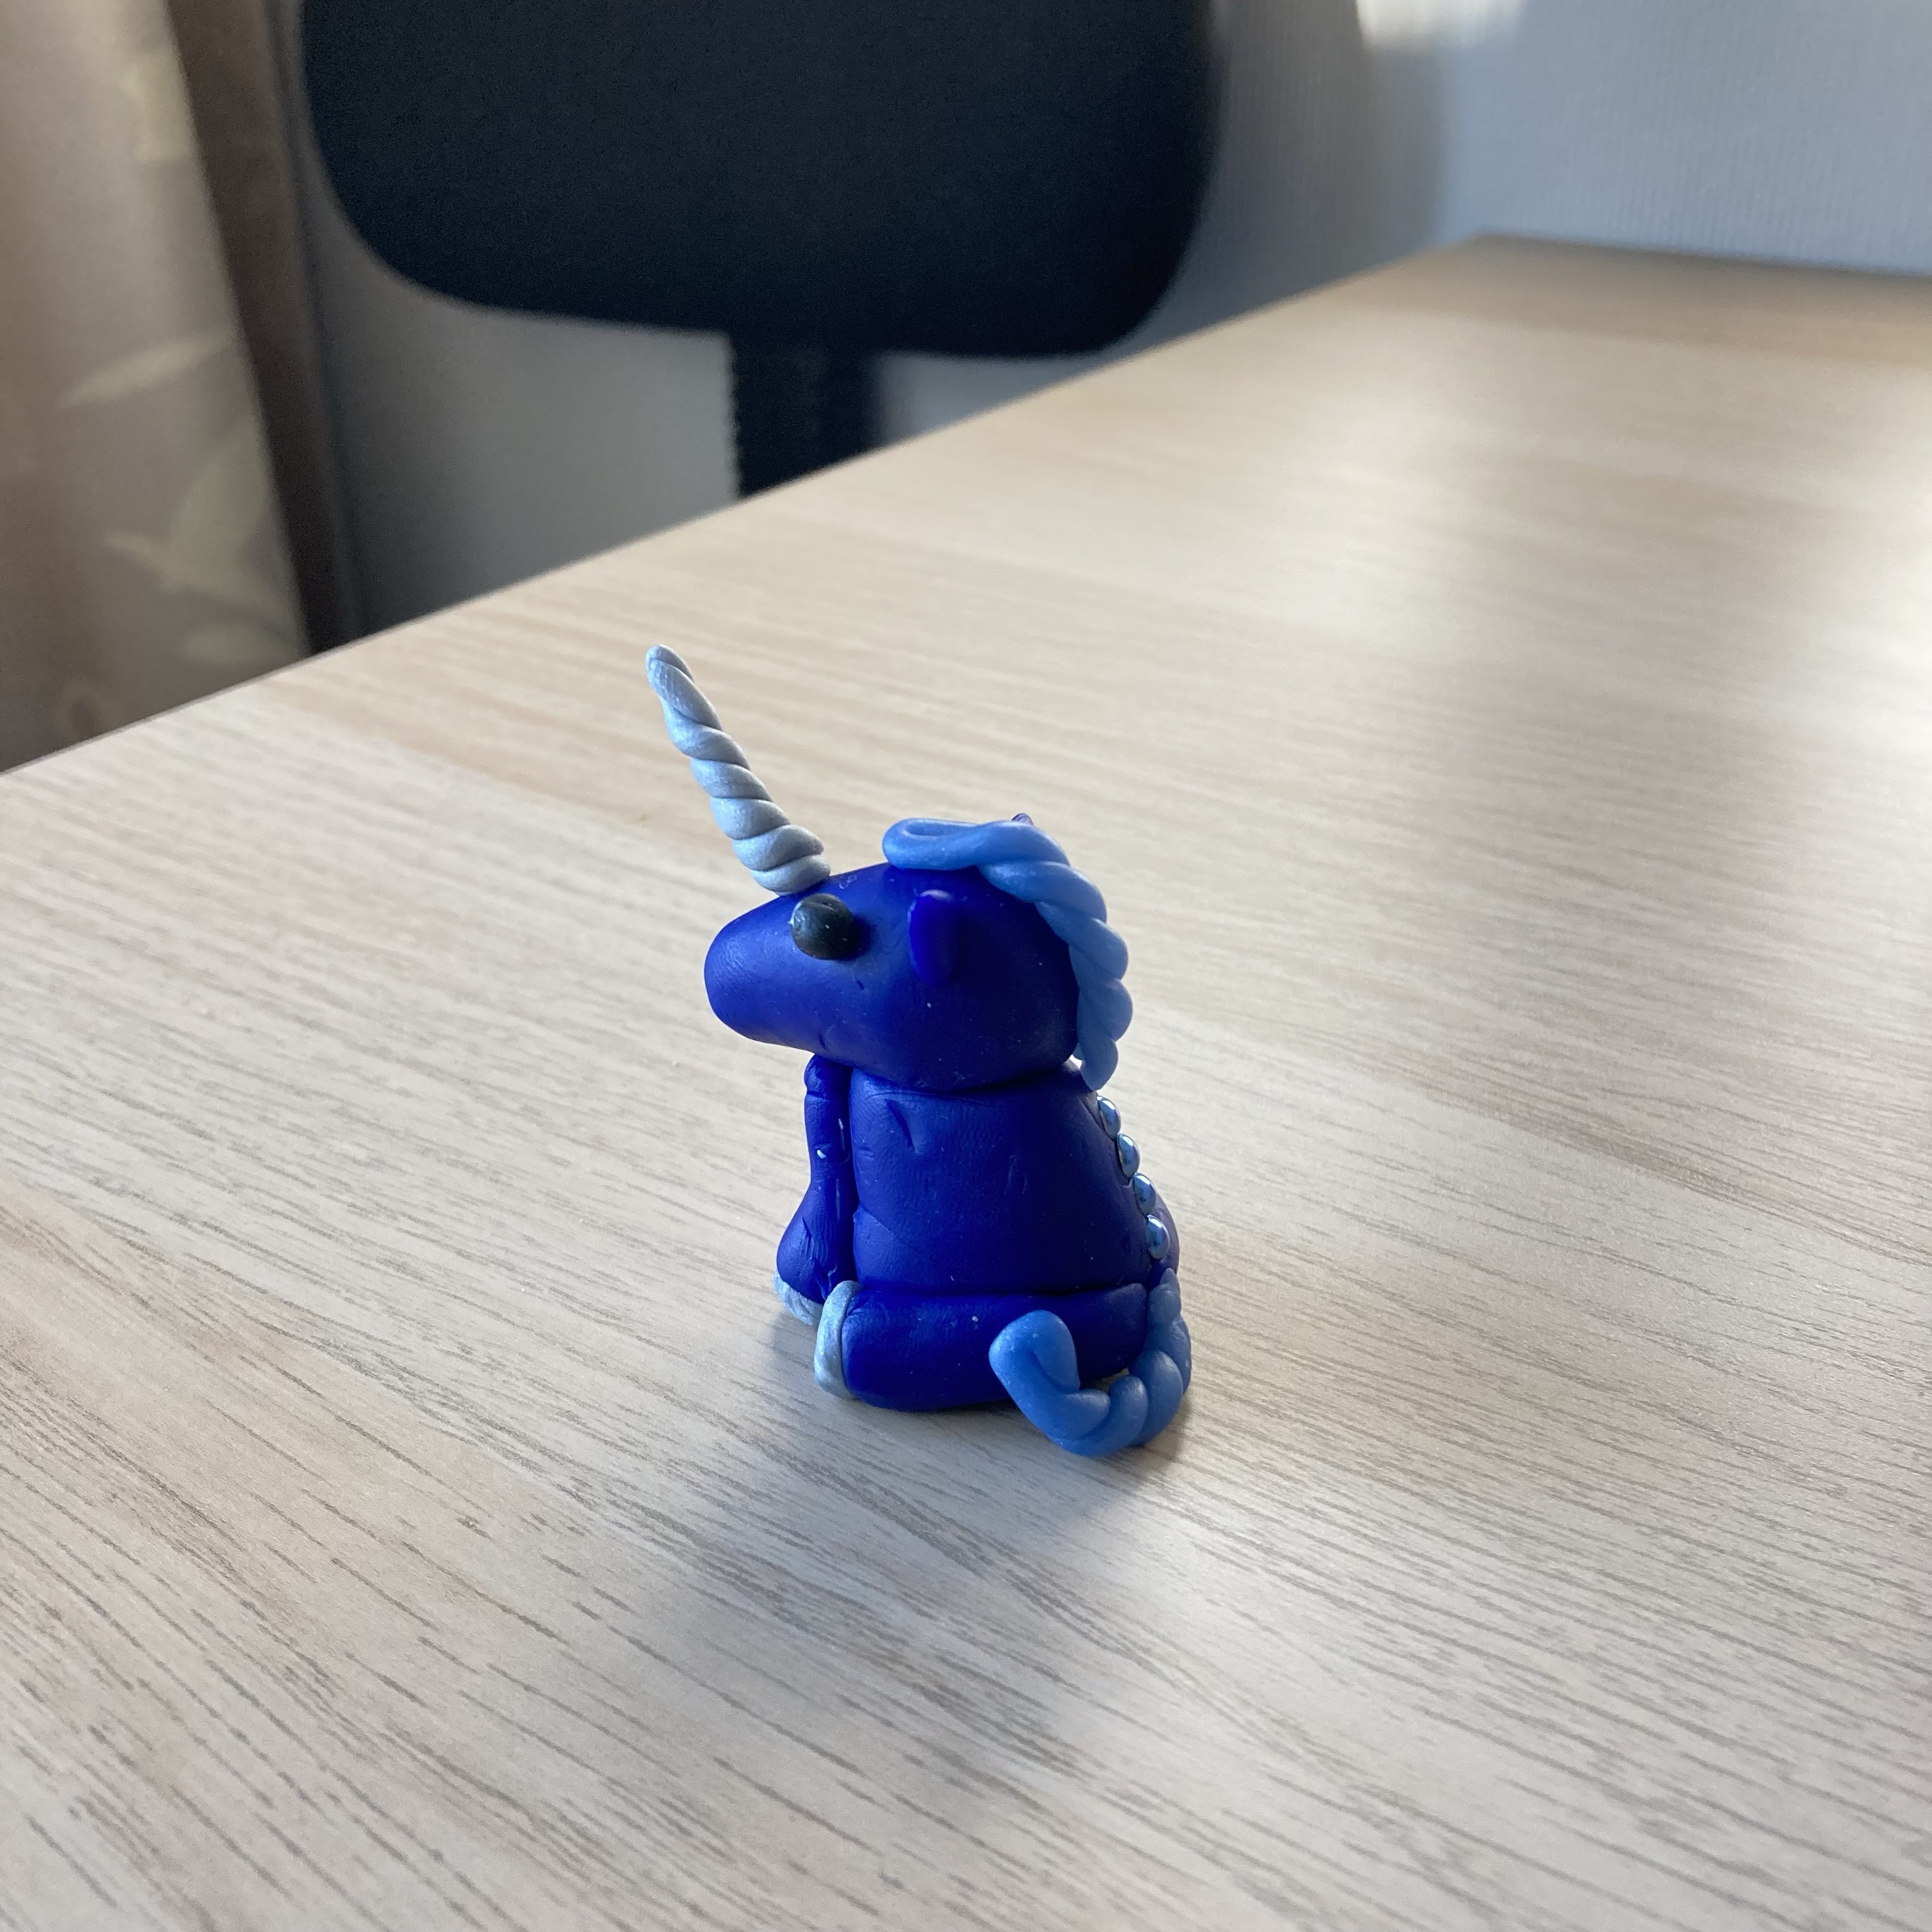
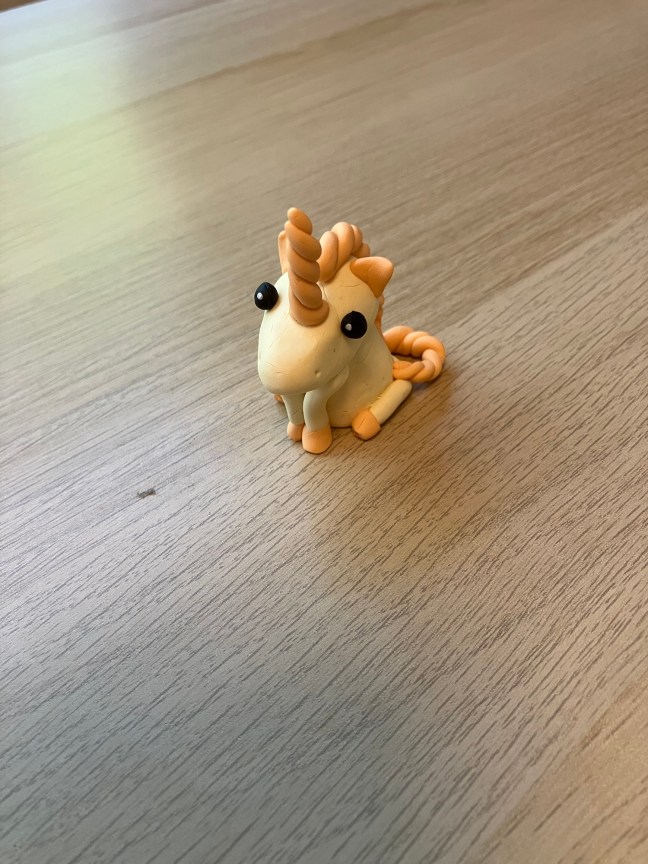
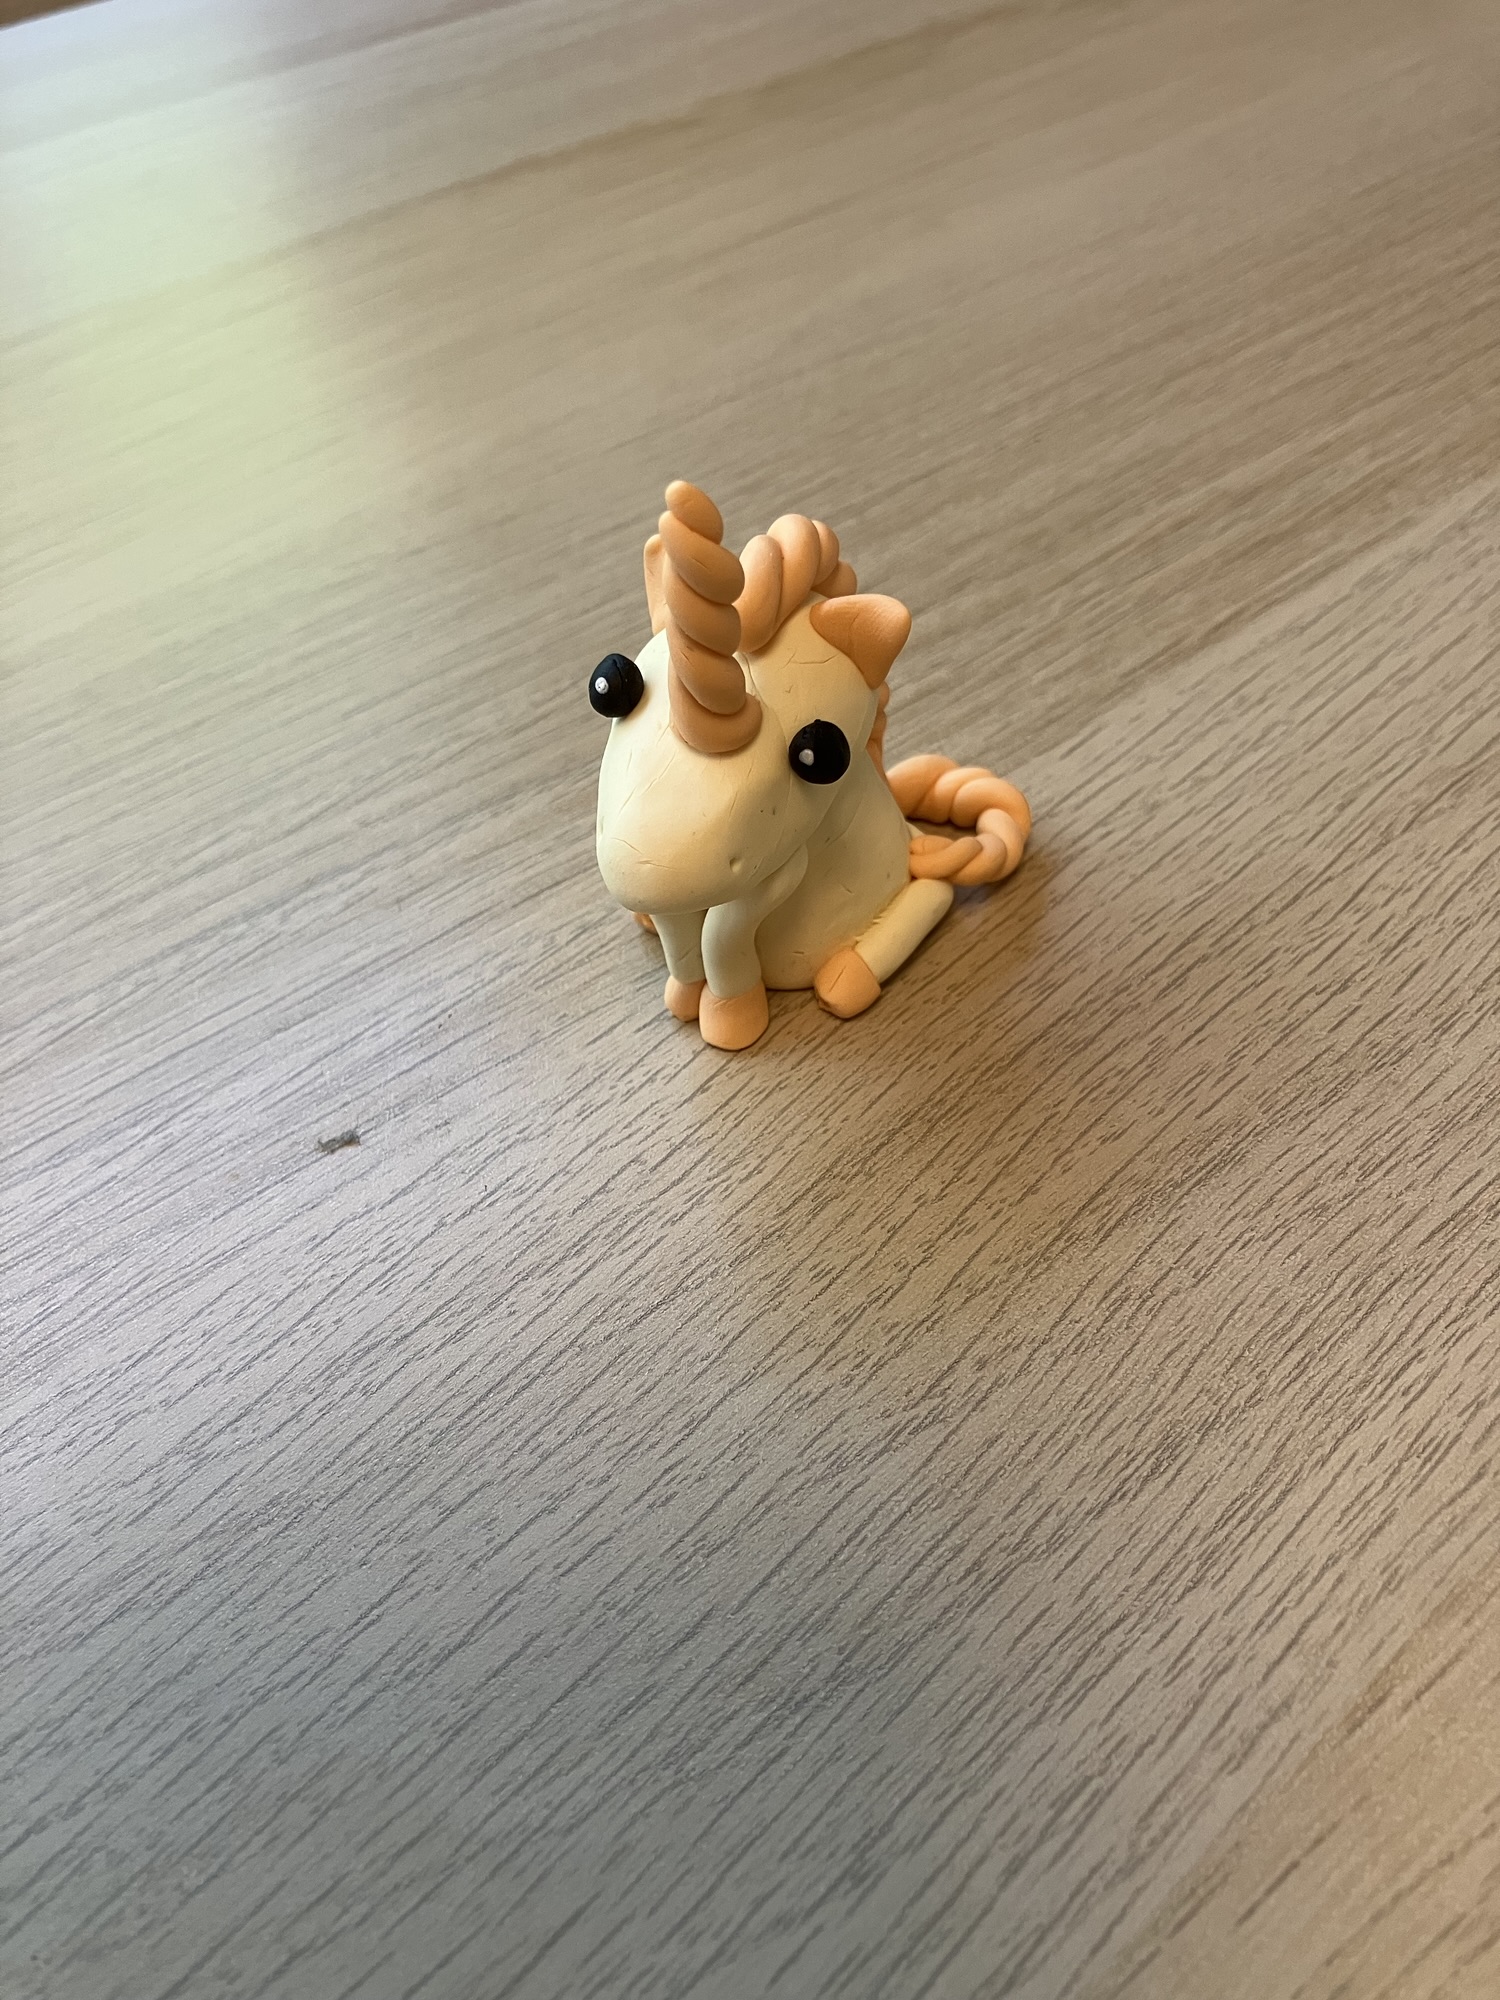
In truth, I haven’t been all that crafty lately. However, last week, a new staff was being oriented to me. The regular staff accompanying her is a great crafter, so I made use of this fact and decided to do polymer clay again. I started out making a unicorn. It’s the same style I usually use, but I did get compliments on the color combination, which I chose. The body is done using Fimo Soft in the color pastel vanilla and the horn, mane and tail are done using Fimo soft in the color pastel peach. The unicorn has a decorative flower on its side in the color pastel light pink, but I don’t think the picture captures it.
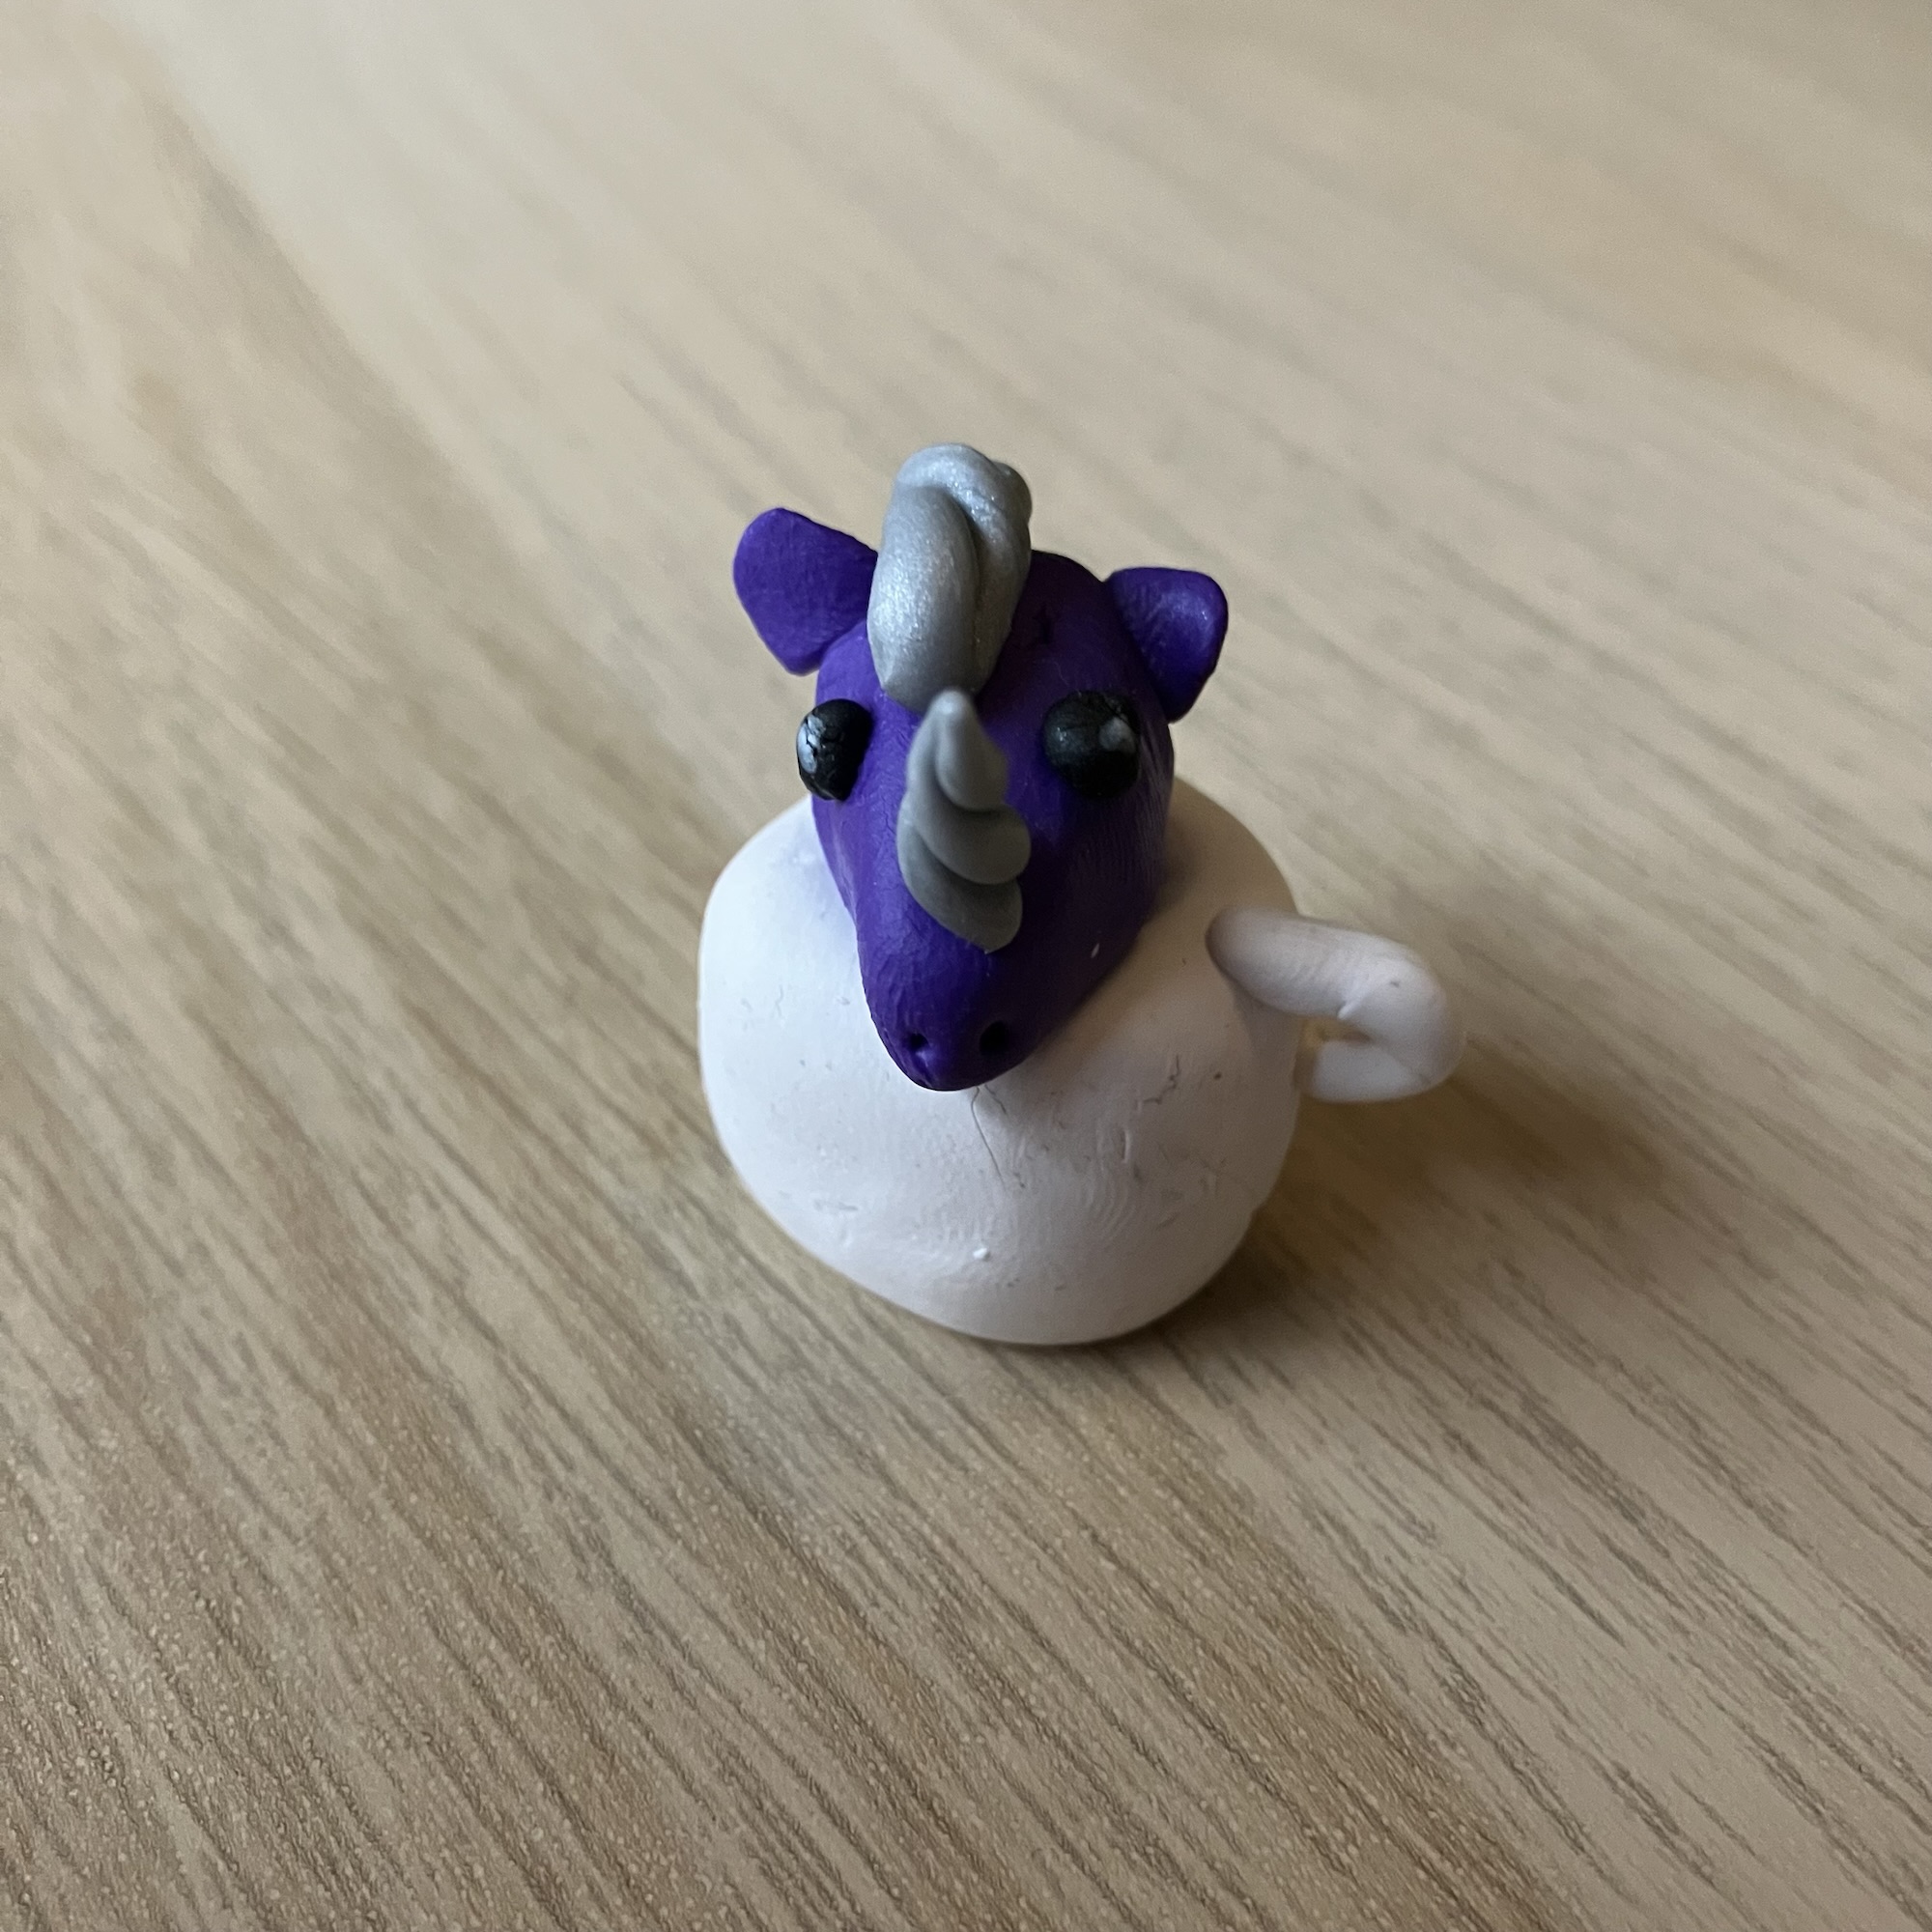
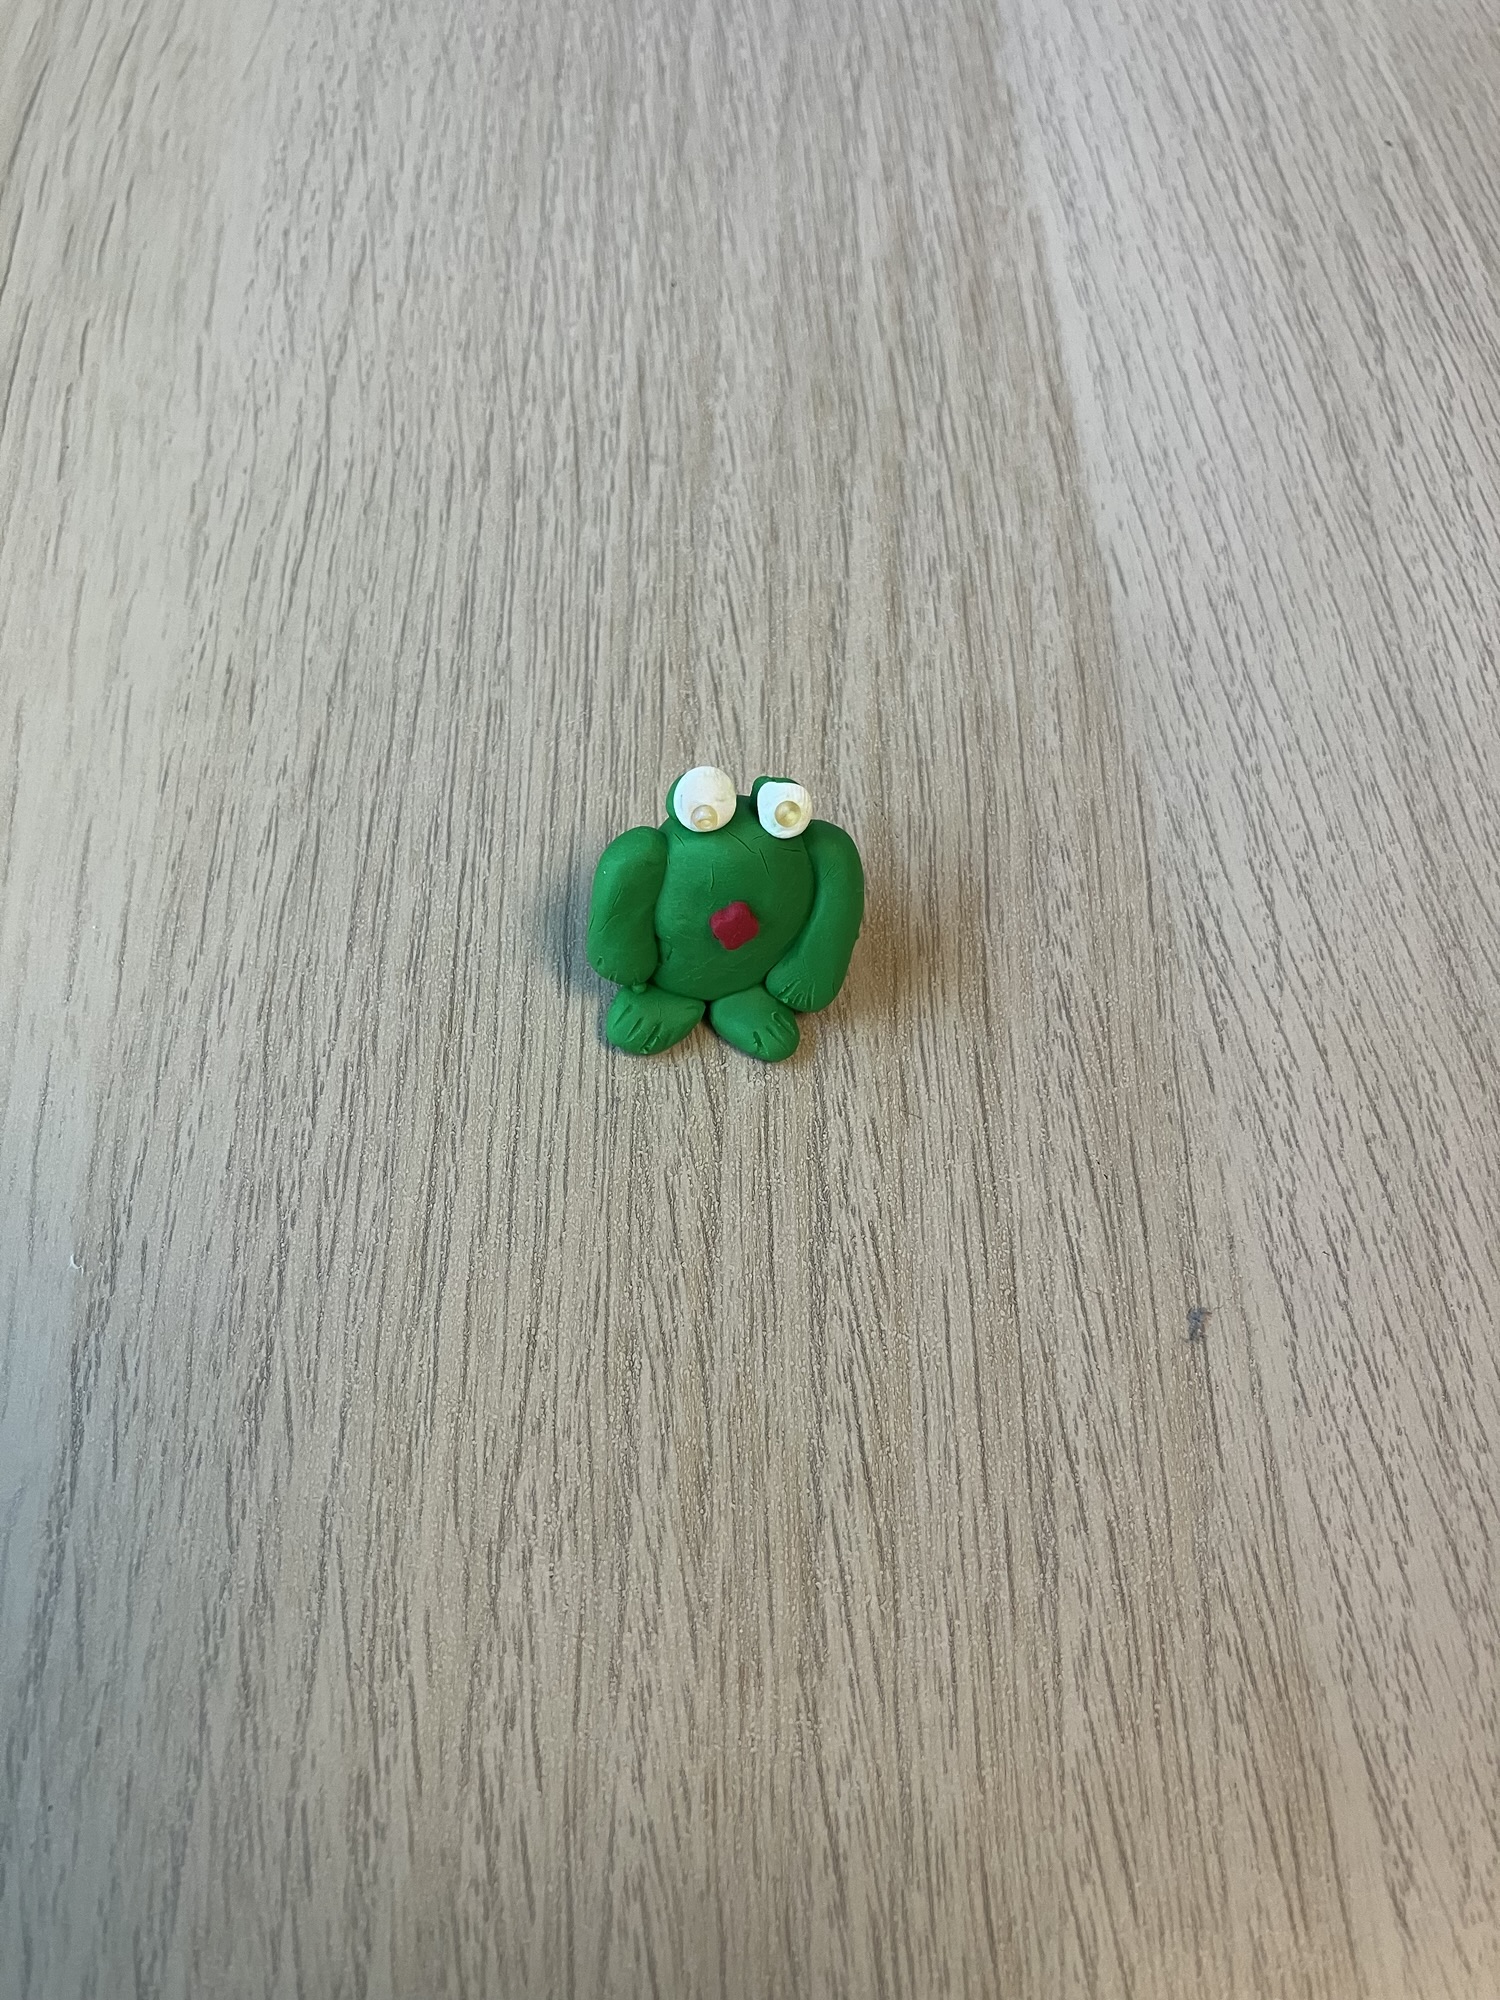
This unicorn, I did mostly with help from the regular staff while the new one was watching. Then, I made another little sculpture together with the new staff. I wasn’t too inspired, so chose the “cheer up frog”. For those who don’t know, I make frog figures for people who need a little cheering because they’re on sick leave or for another reason could use a little reminder of the good things in life. The Dutch word for “cheer up” is derived from the Dutch word for “frog”.
I added a decorative clover figure to its belly, but in hindsight could’ve gone with a larger size. My best friend also commented that the standard tropical green gets a little boring. One thing I did to challenge myself is to add seed beads to the eyes rather than my standard black dots.
I thoroughly enjoyed working with polymer clay. However, now that I’m sharing these on the blog, I’m struggling to put the blocks in the right order. Ugh, this is definitely a learning curve! And now it’s past midnight, so I’ll have to figure out whether I want to publish this post on Monday or change the publication date. And by the way, it looks like the images are somehow hidden behind my text. This definitely sucks!
")