Hi and welcome to the letter L post in my #AtoZChallenge on creative self-discovery and self-expression. Today, I want to talk about things I learned along the way during my creative process. I am going to limit myself to polymer clay this time, as there’s so much I’ve learned.
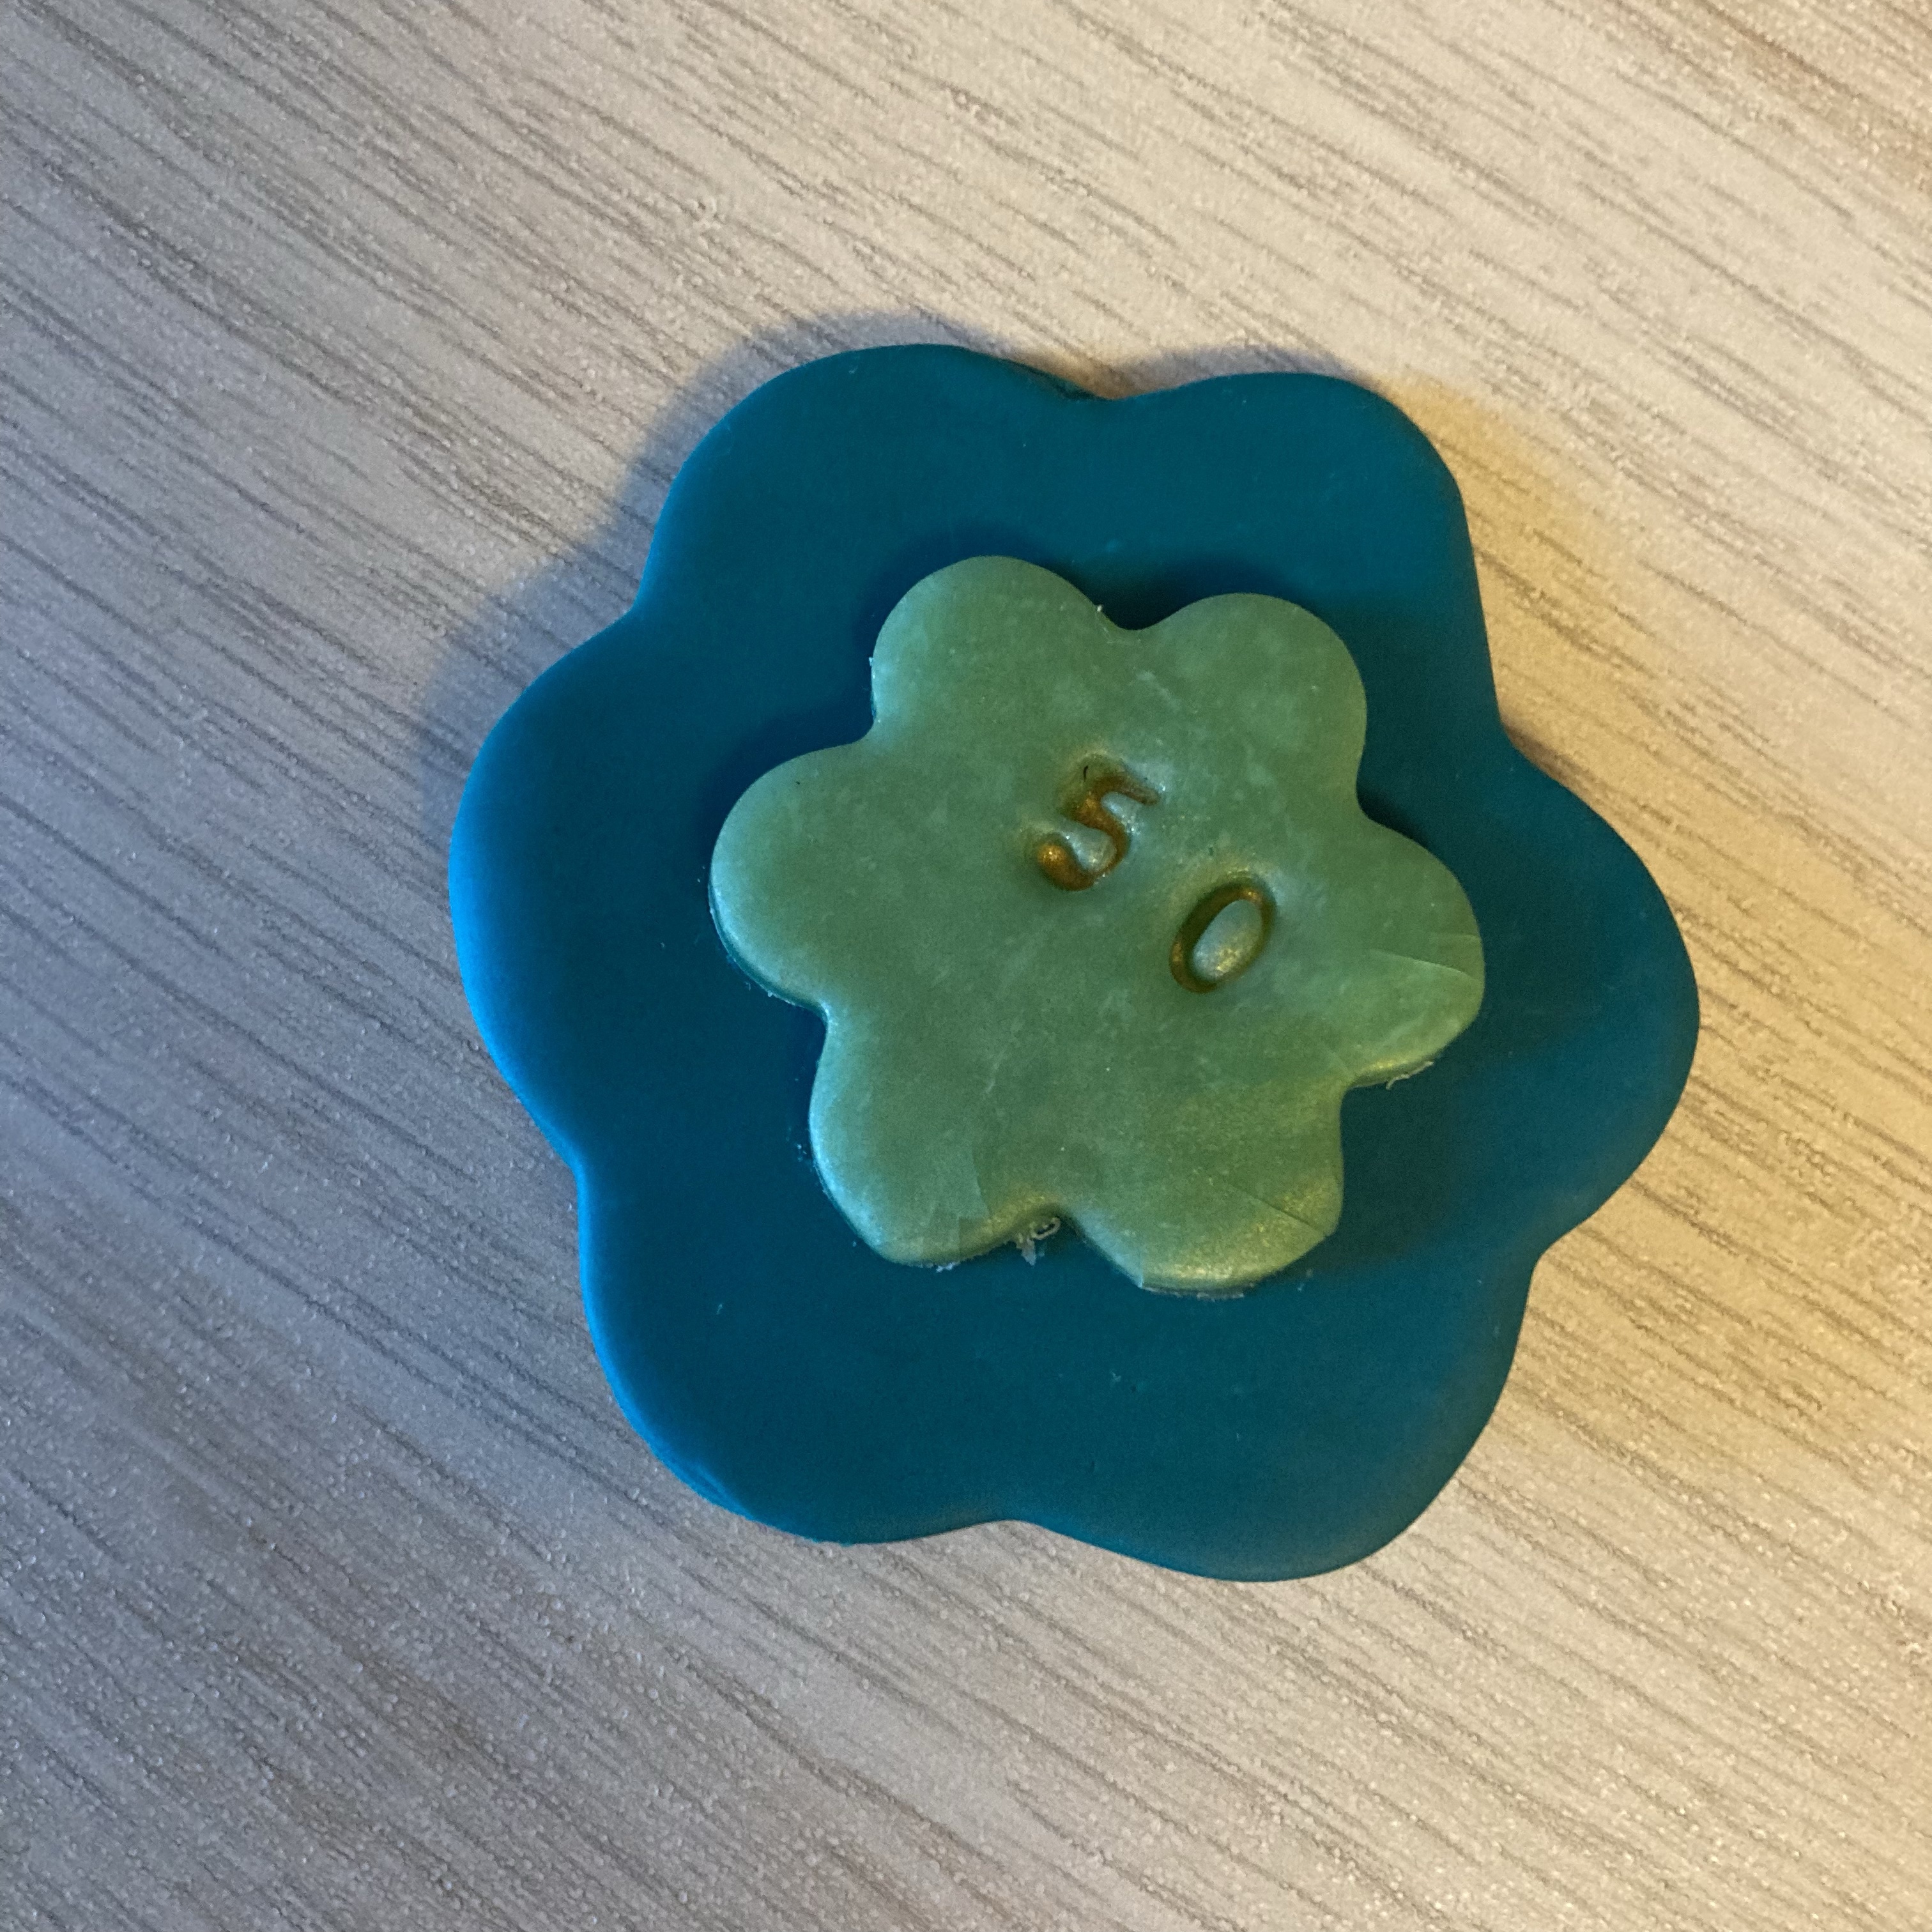
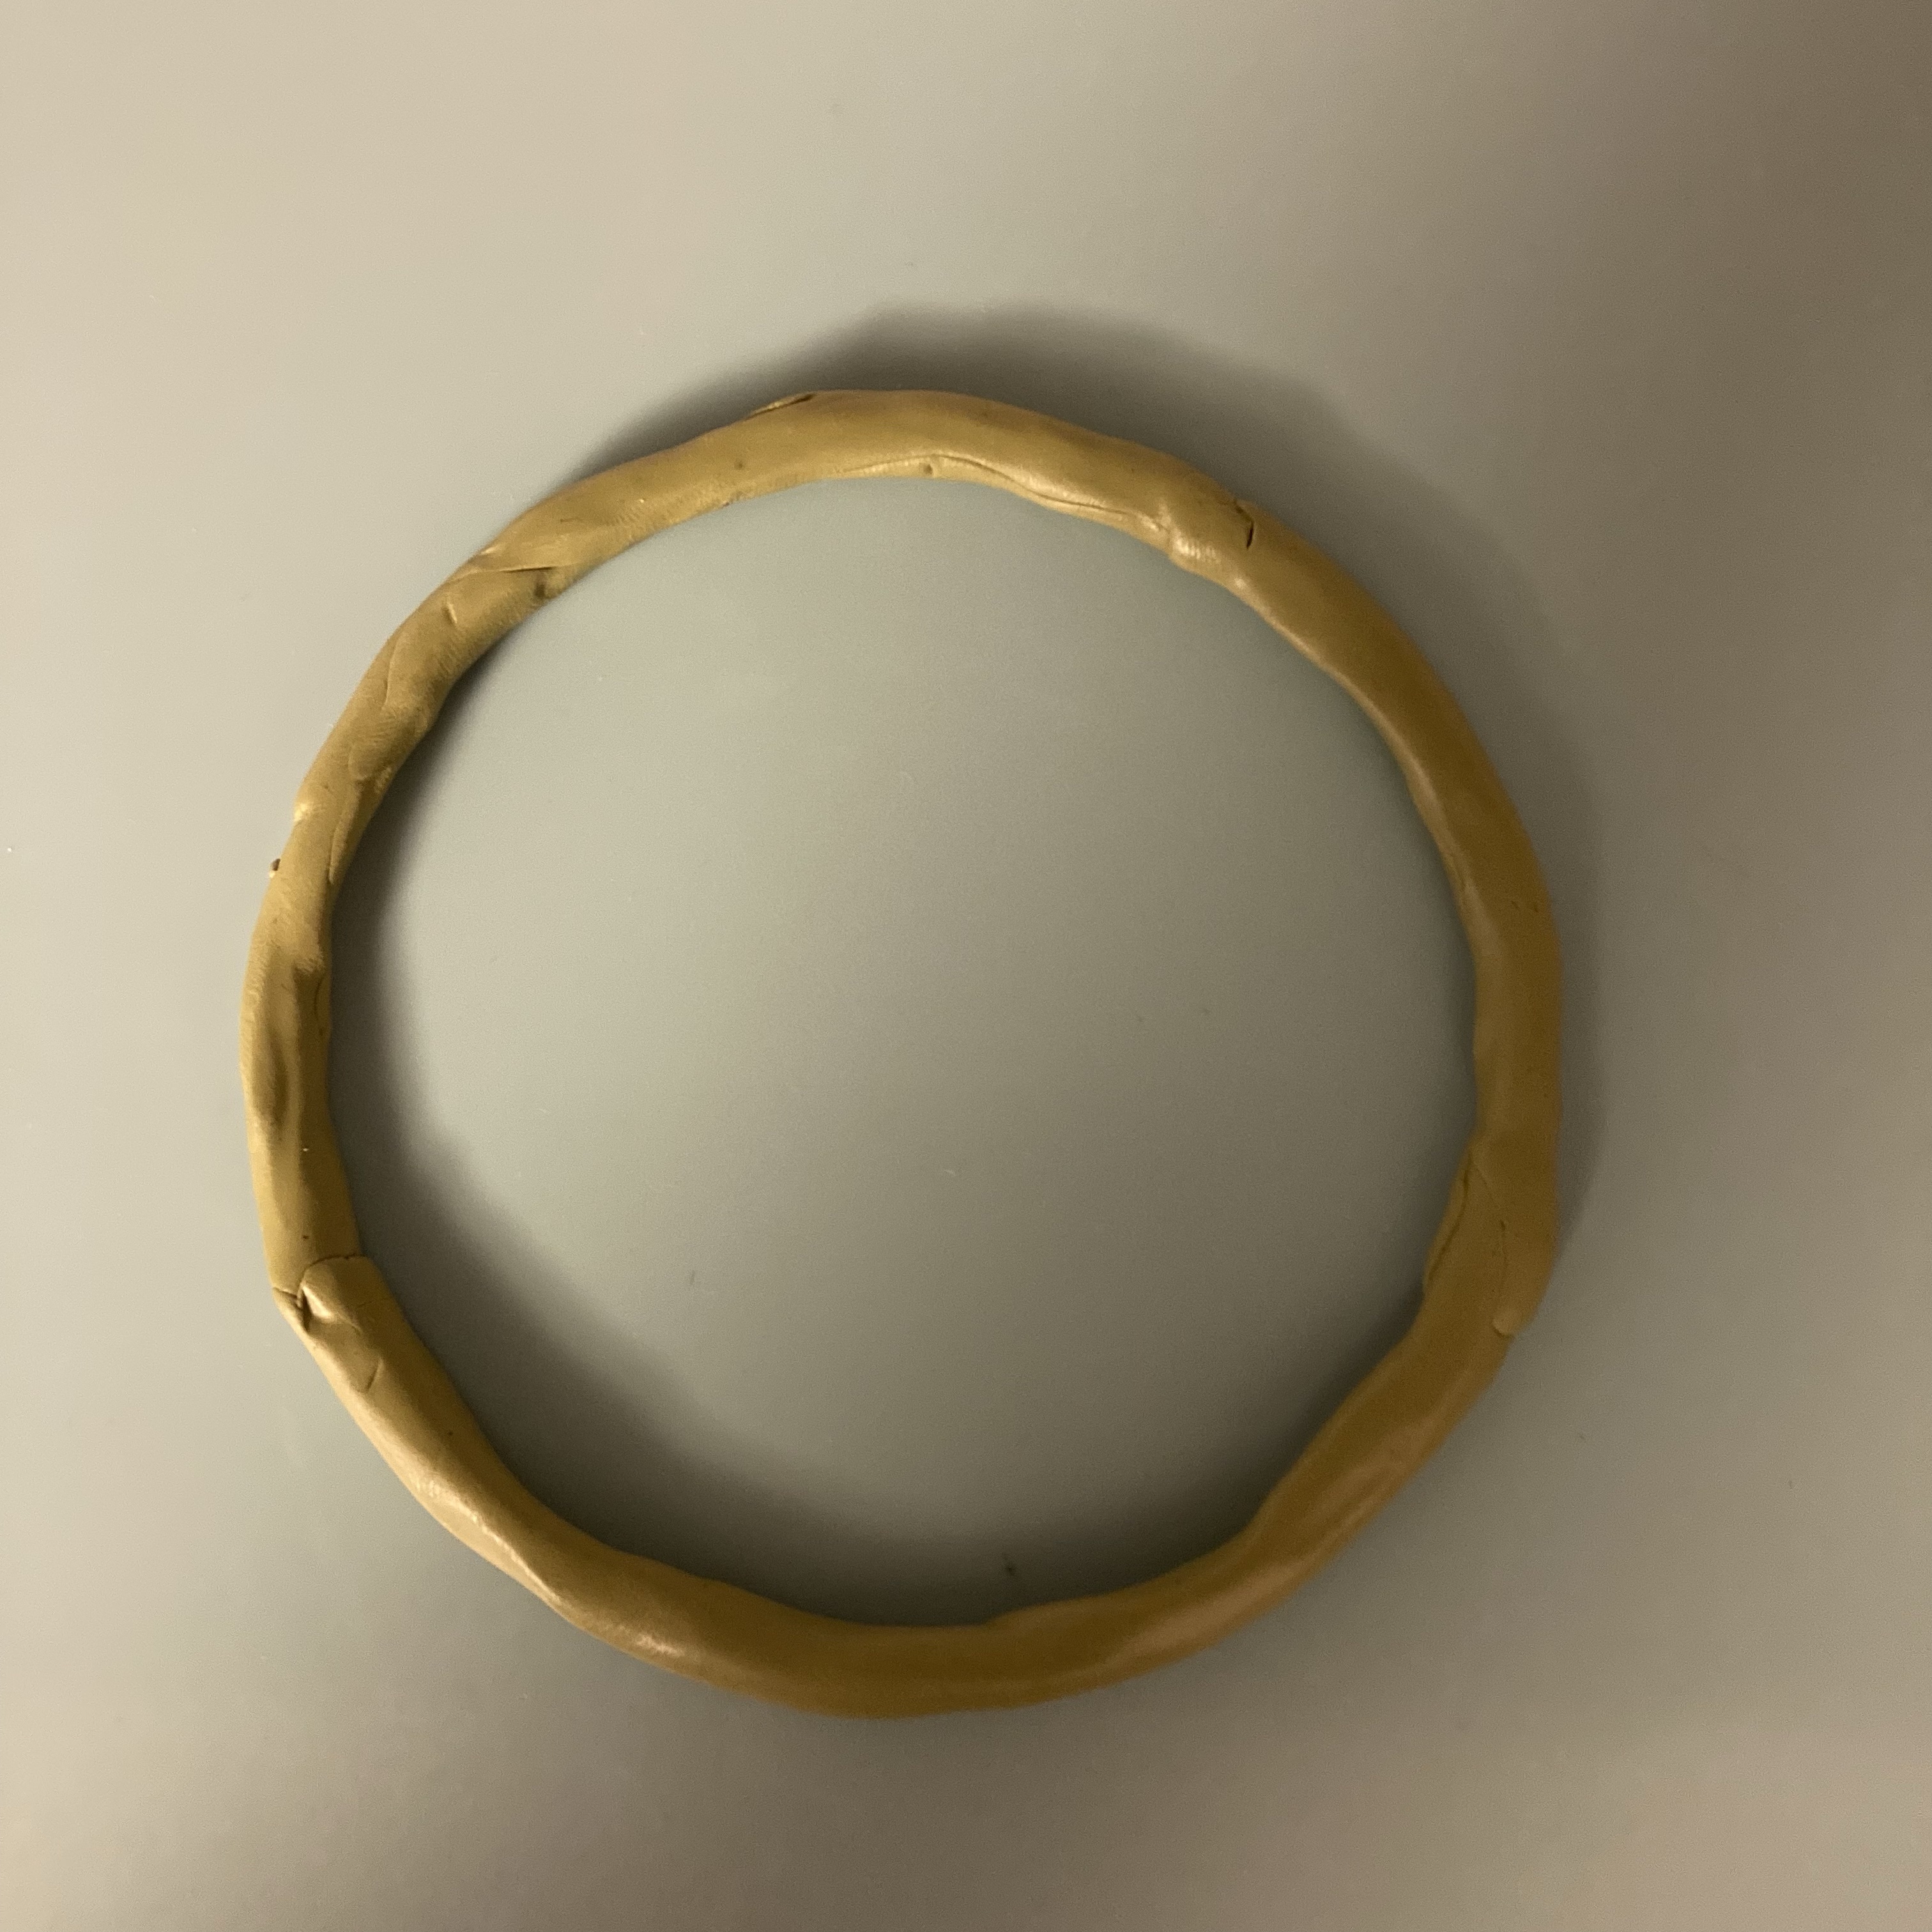
My very first polymer clay creation was done after a blog post I’d found, but the blogger wasn’t specifically focused on polymer clay or even crafting in general. Maybe because of that, her skill level was quite basic. This was good for me, as I could easily follow the steps to creating my first project. It was a flower that I’d rolled out using a wooden rolling pin, cut out using a cookie cutter and then stuck a blob of clay onto as its center. I stuck a thick crochet needle through it to make a hole. When it was baked, I colored around the edges of the center with a sharpie.
There are so many things I did wrong with that one. First, I used a wooden rolling pin. I quite quickly found out that wood absorbs some components of polymer clay and, for this reason, wooden tools shouldn’t be used. I should have used an acrylic roller. Or, better yet, a pasta machine. Honestly, even though I do still have an acrylic roller, I hardly ever use it for rolling out sheets of clay now.
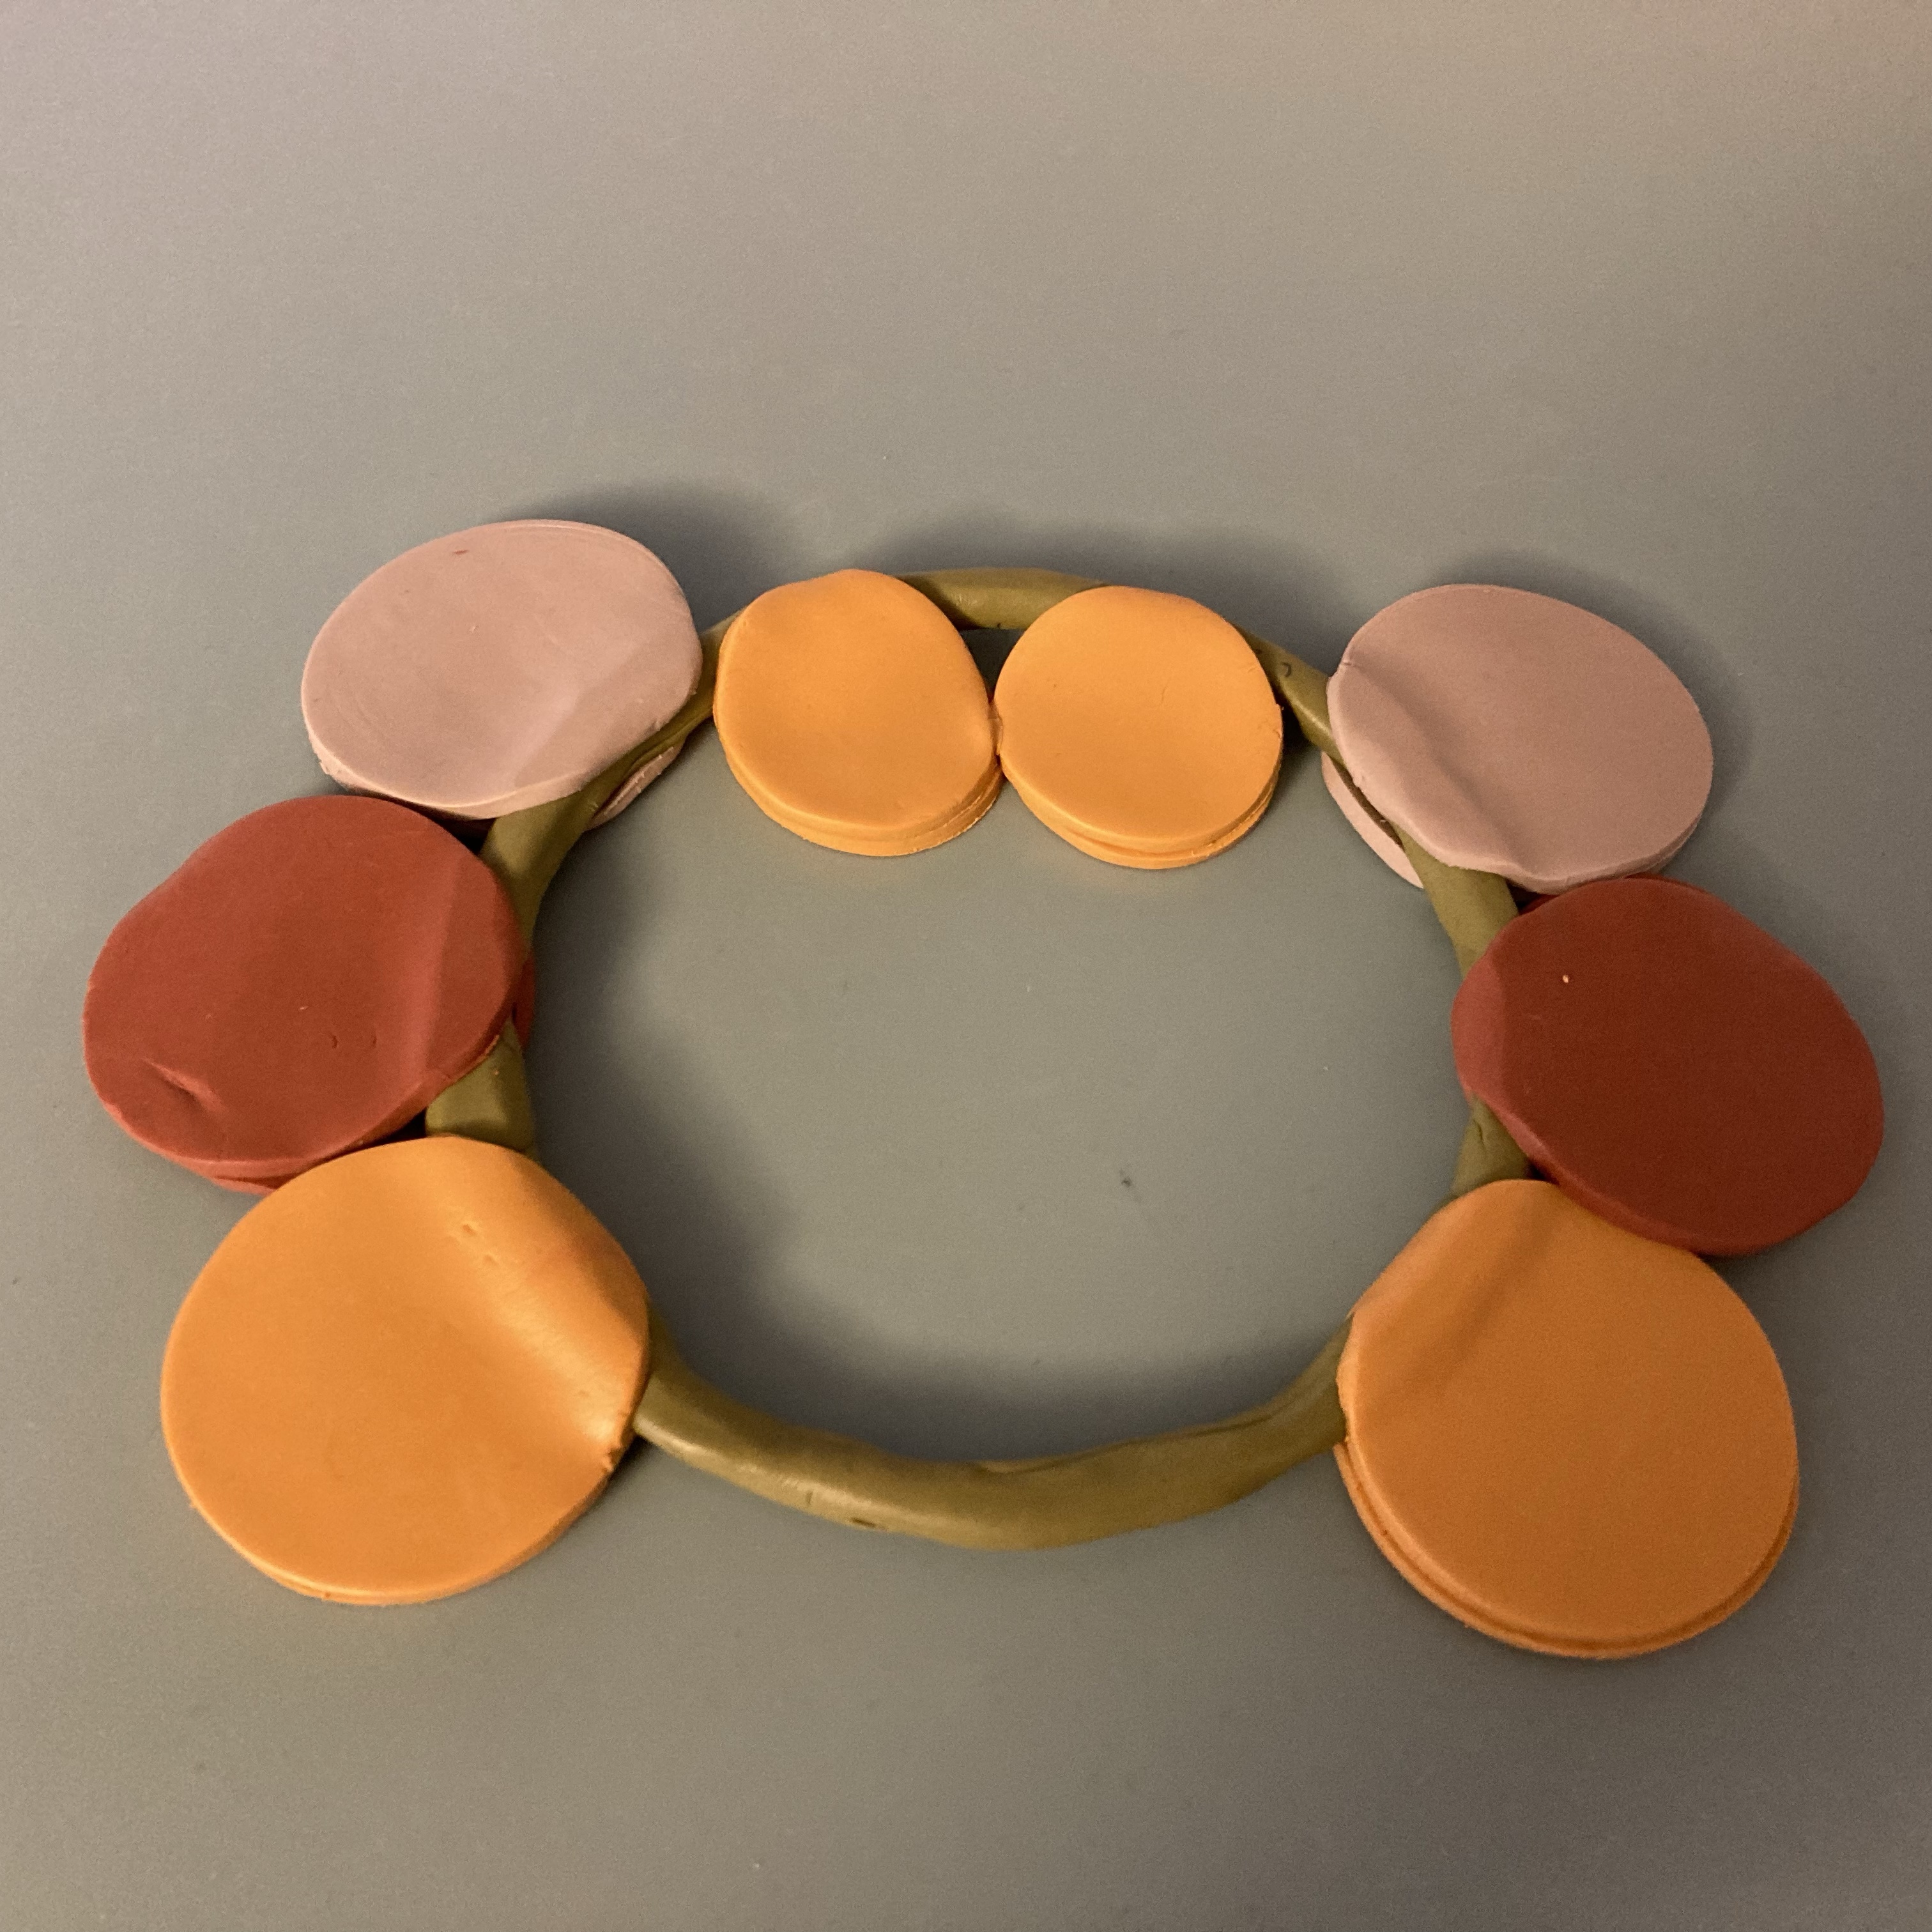
Then, the blob of clay. My flower center was raised and I had no way of preventing that at the time. Now, I can roll out my clay on a thin setting on my pasta machine, then cut out the desired shape for the center and put it onto the flower and, if I want to, give it a roll with my acrylic roller. To be honest, I haven’t tested that process recently.
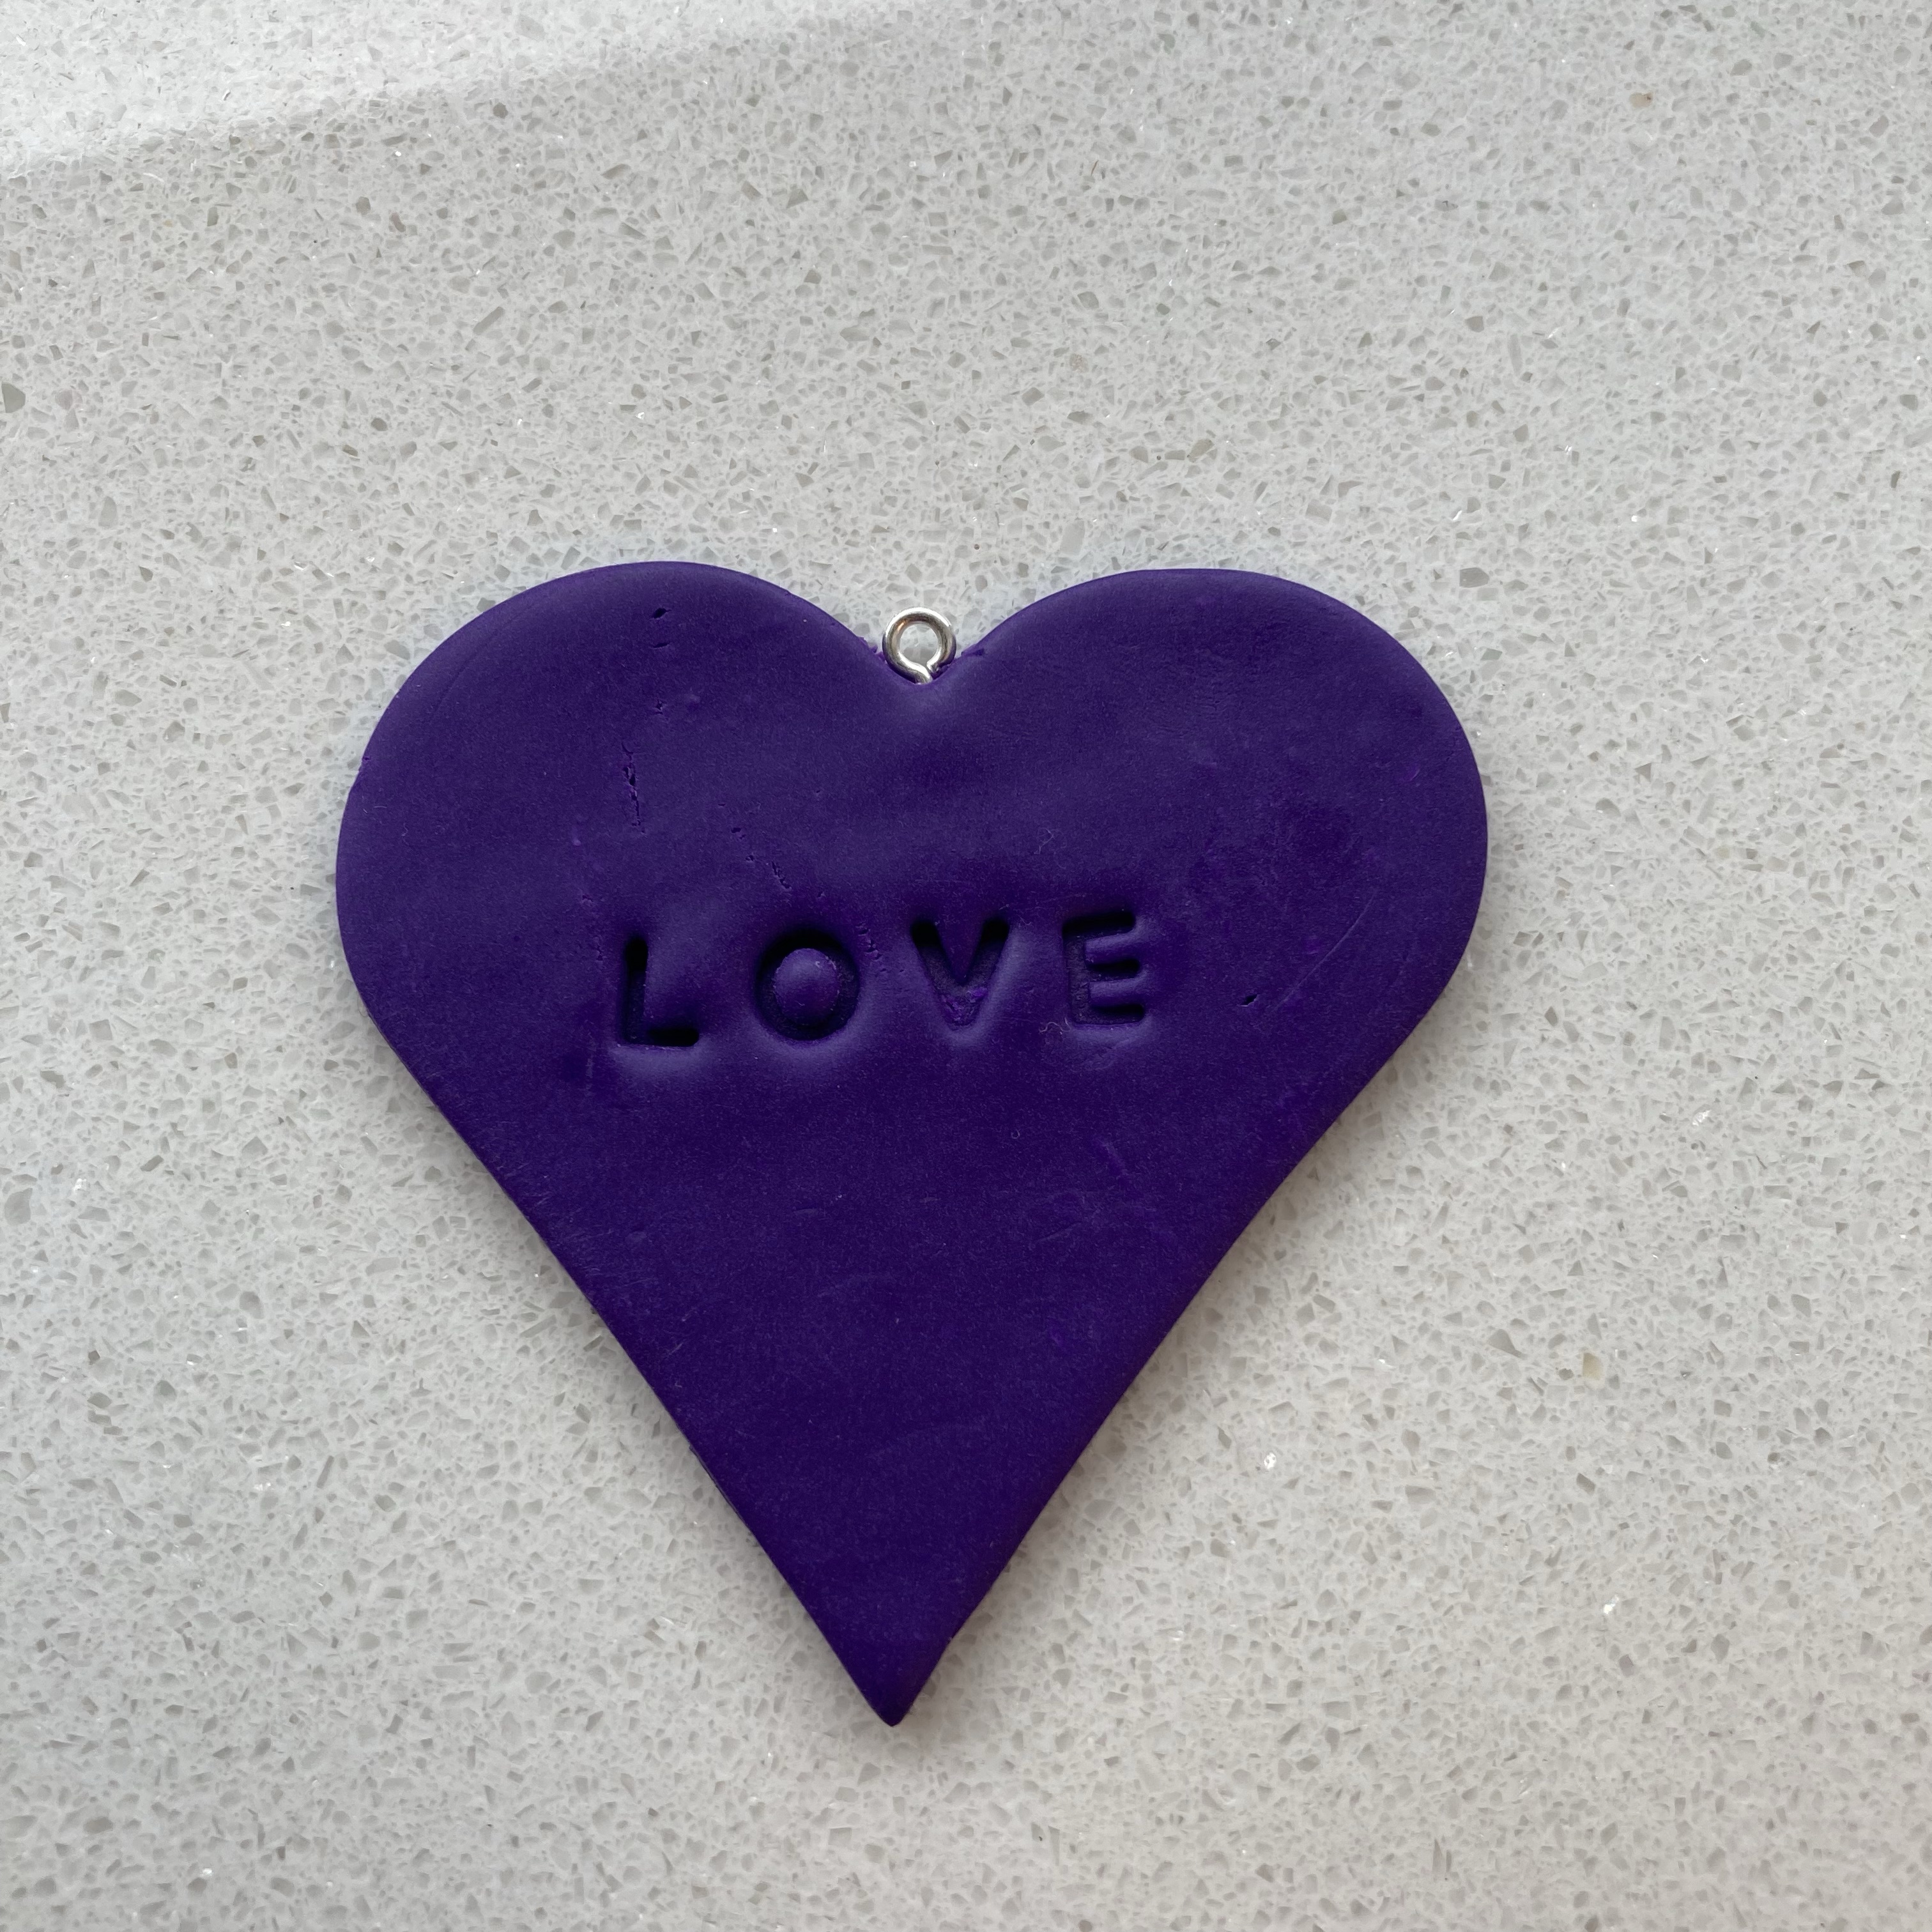
Then, the hole. I eventually decided to buy bead piercing pins to be able to pierce thinner holes into polymer clay pieces that needed holes. Getting the holes in without distortion was quite the learning curve and I still honestly cannot do it myself. I can instruct my staff, but they have to do the actual twisting of the bead piercing pin.
Finally, the sharpie. Sharpie ink reacts with polymer clay or so I’ve heard. My piece is fine so far (I still have it because it was my first creation), but I did eventually decide not to use sharpies on polymer clay anymore.
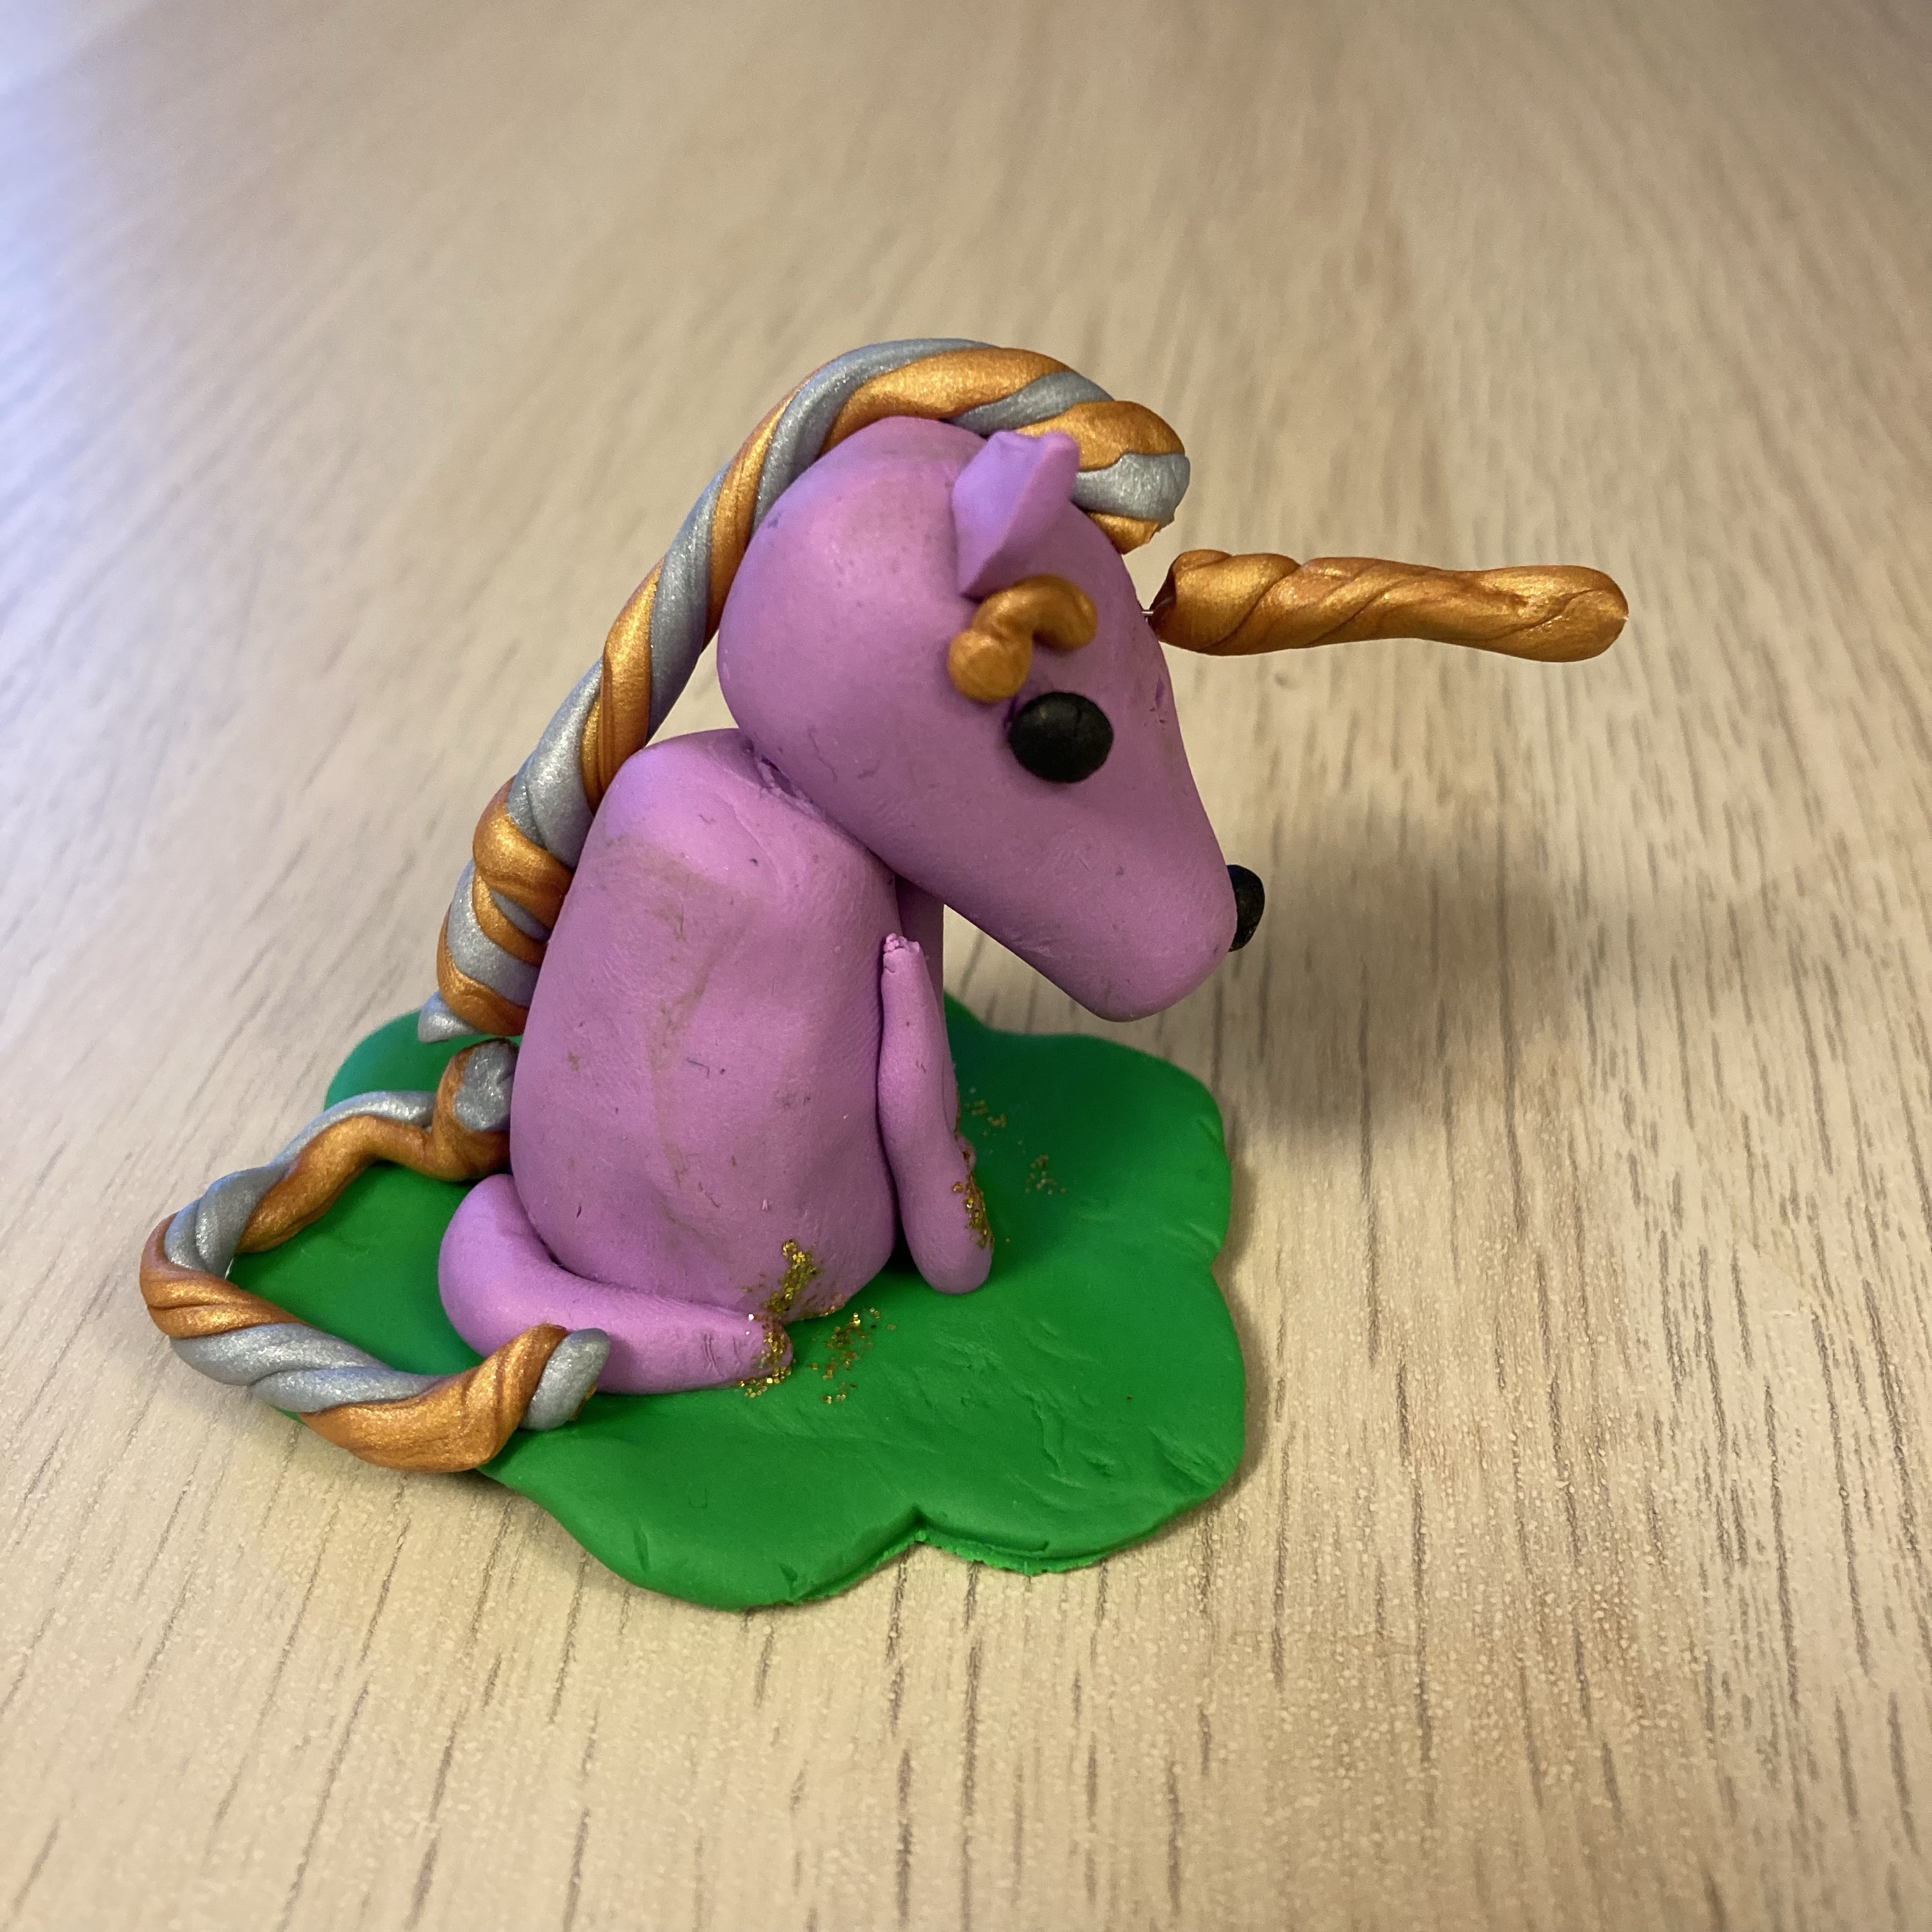
After this one project came many more failed projects from which I learned one or more lessons. For example, I at one point used cheap glitter glue to cover my baked polymer clay piece. Well, that wouldn’t stick. Instead, I now add glitter to the raw clay just before baking my piece. Please note that you cannot run polymer clay that you’ve added glitter or mica or anything to through your pasta machine. At best, it will create a mess and at worst, it will ruin your pasta machine.
Finally, of course, I’m currently learning about colors and color mixing. Just yesterday, I downloaded a book off Bookshare about color mixing specifically for polymer clay artists. I think I’ll love it!