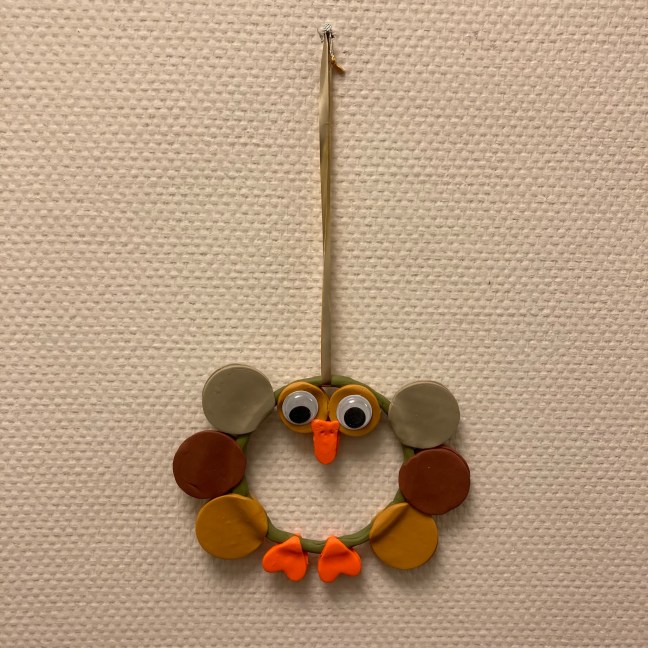
Hi everyone! I already shared a few times about the polymer clay owl I’d been making over the past few weeks. Now that it’s finished, I finally wanted to show you what the final product looks like and how I created it. I apologize in advance for not having photos of each of the steps.
What You’ll Need
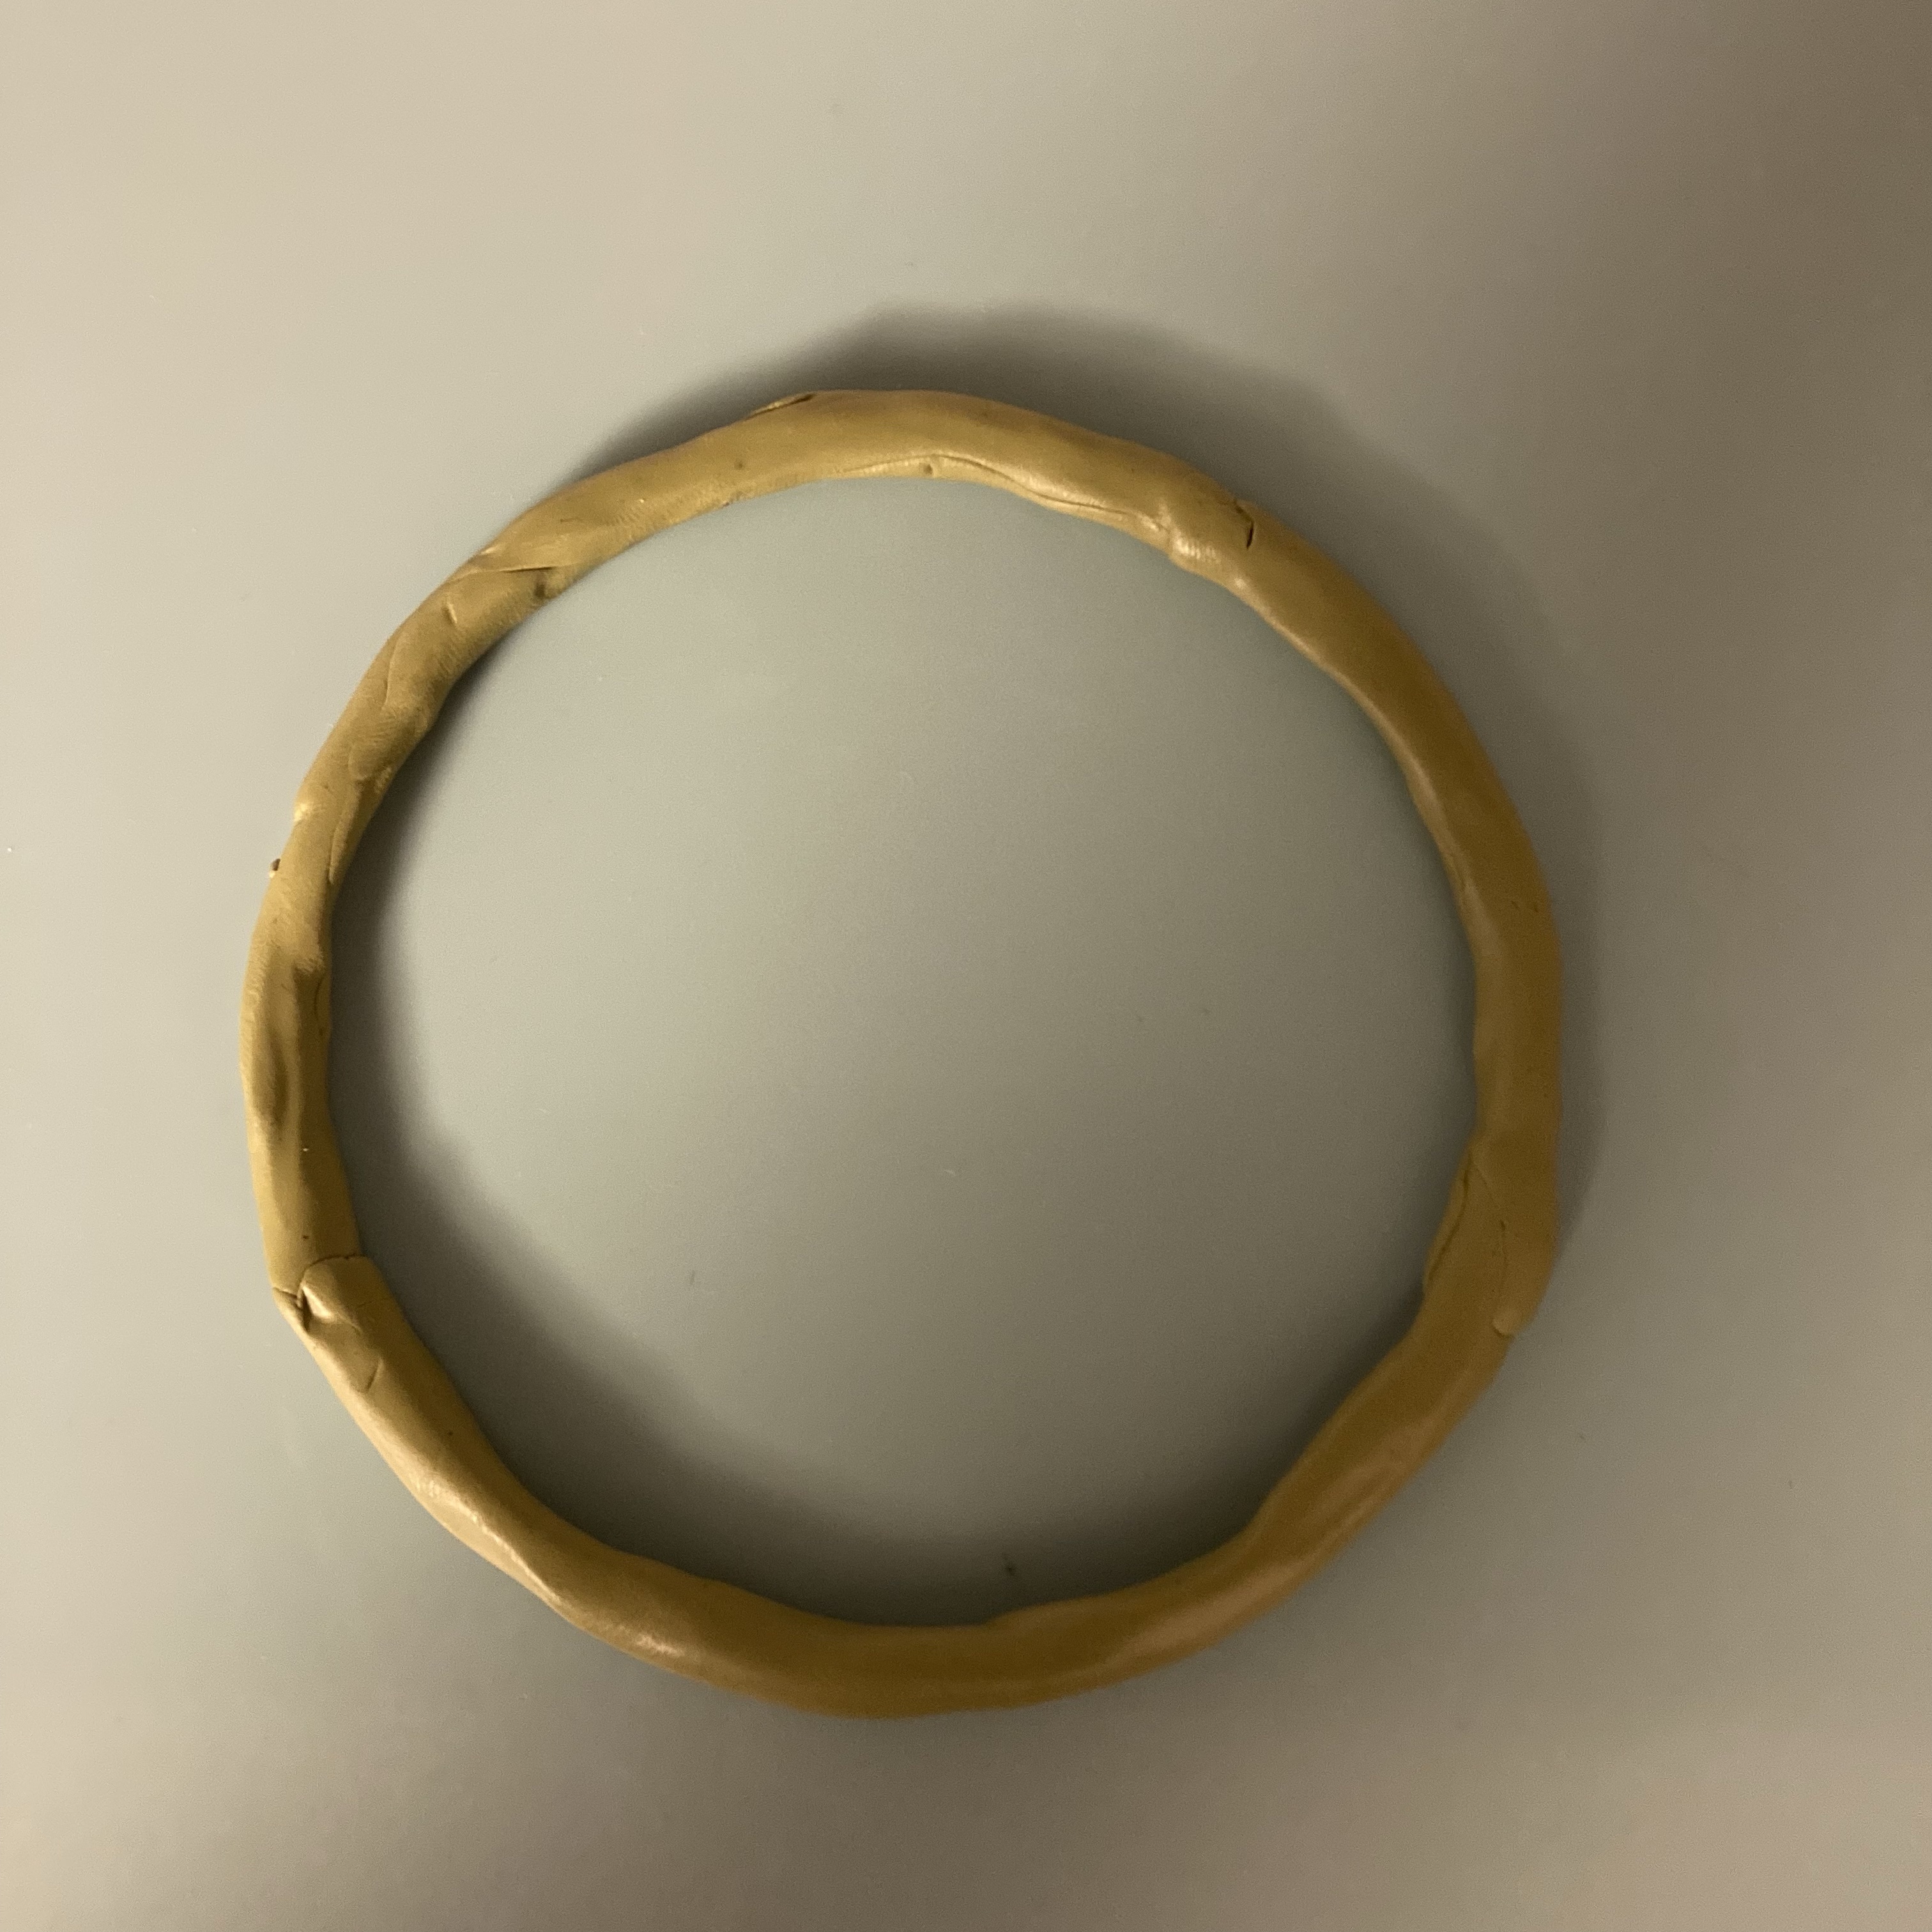
- A metal ring. Mine is about 12cm in diameter.
- Polymer clay in your desired colors. You will need colors for the ring (this is the owl’s body), the wings (three pairs), eyes, beak and legs. I used the same color for the beak and legs and for one of the pairs of wings and the eyes.
- Round (two sizes) and heart-shaped cutters to cut the different body parts.
- Your usual polymer clay tools, such as a pasta machine or acrylic roller to roll out your sheets of clay before cutting. I used my pasta machine.
- Plastic eyes to stick onto your owl once baked.
- Glue for sticking the eyes onto the owl.
How I Made My Owl
First, I cut long, rectangular strands of clay out of my sheet of the color I used for the ring. I went with olive green thinking it meant the owl sat on a branch, because I didn’t realize this was supposed to be its body. I wrapped the strands around the ring. First, I tried curling, but that didn’t work. Then I just made sure the rectangle was just wide enough to cover the entire ring and folded it around it. That worked! I obviously had to cut several strands to cover the entire length of the ring, but that’s okay.
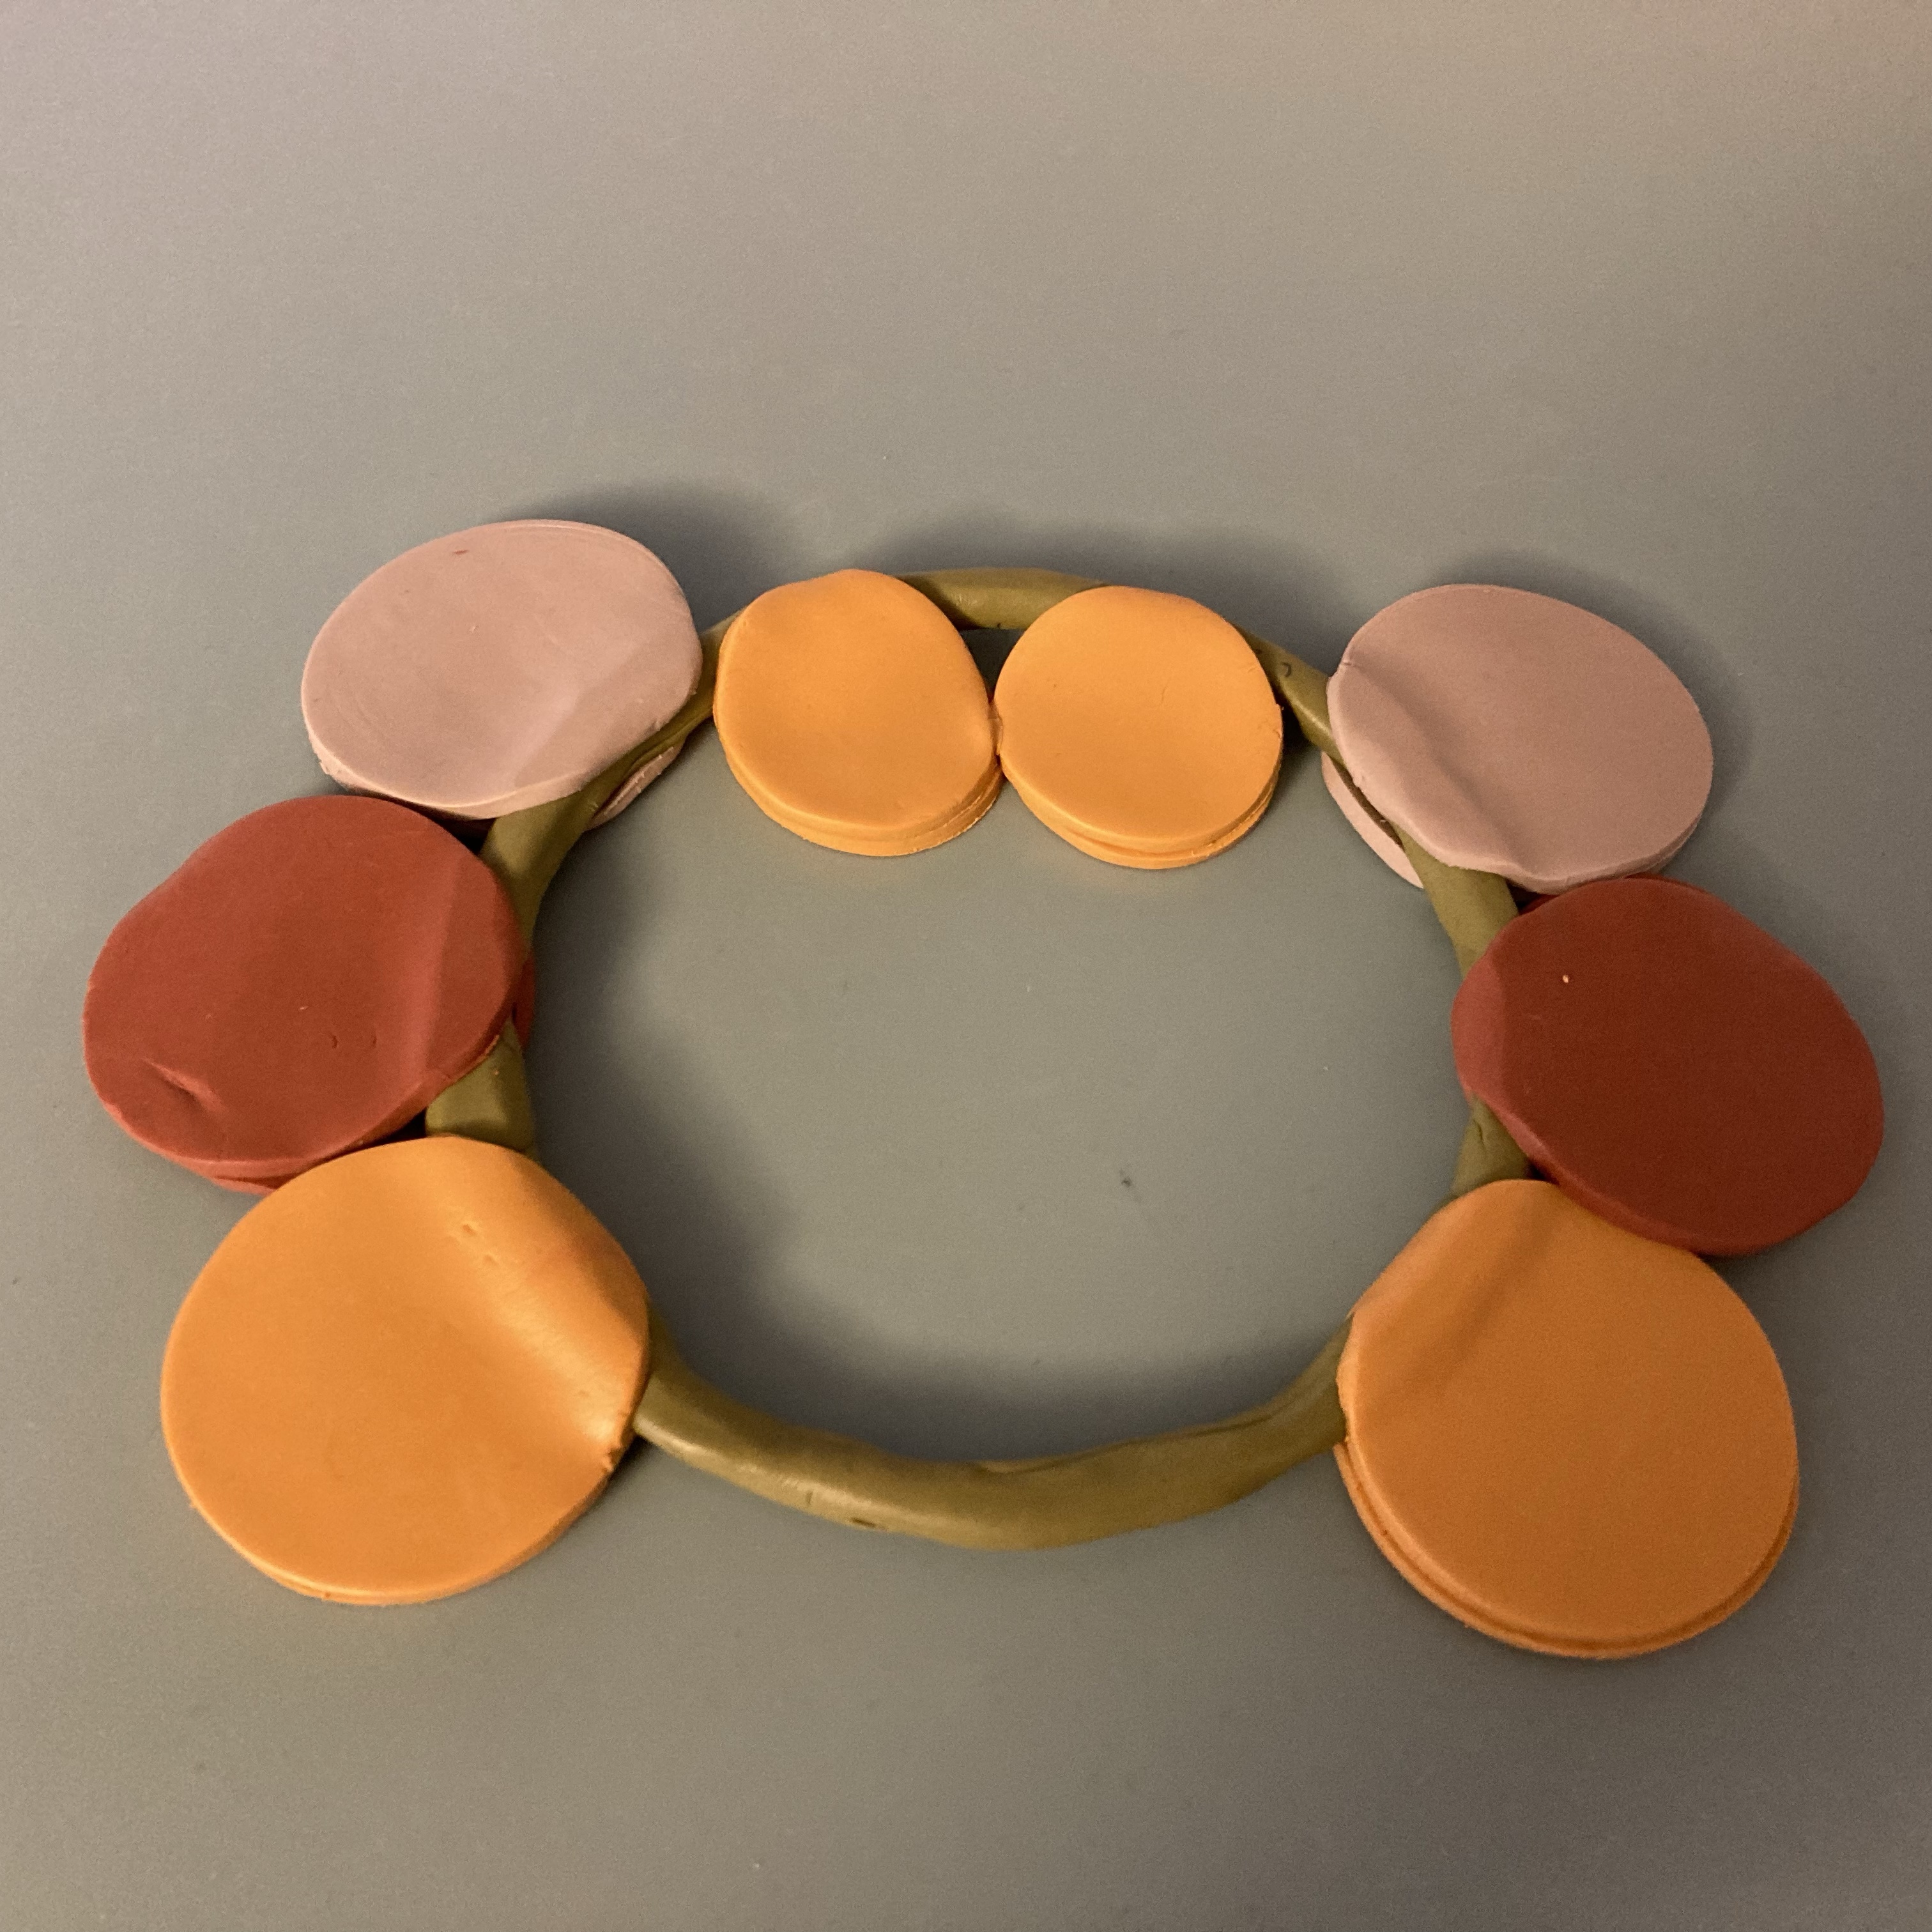
Then I added the wings. I started with the bottom wings, for which I chose the color ochre. I cut them out with round cutters and then attached them to the olive green ring.

Then I did the same with the two other sets of wings. I chose caramel and taupe for the middle and upper wings respectively. I said you need three pairs of wings, but really you need four wings of each of the three colors. At least if, like me, you want the owl to look the same on both sides. Similarly, you’ll need two pairs of eyes (including four plastic eyes), two pairs of legs and two beaks.
After attaching the wings, I went on to the eyes. I used slightly smaller round cutters for those and attached them in a similar way that I’d done the wings. I decided to use ochre again for the eyes. This may seem strange, but I didn’t want to use too many colors and make my owl look too overloading.
I used heart-shaped cutters for the legs and, as you will see in the finished product, attached them upside-down. Sorry, I don’t have a photo with just the legs.
For the beak, I used a kind of half heart shape that I had my staff help me with: I cut out the actual heart (same size as the legs) and my staff cut away the excess clay with a knife. I used an actual feather to stick the pointy holes in the beak, but I’m pretty sure any pointy object will do.
Then the owl went in the oven. I baked it for 60 minutes at 110°C. I know, I know, Fimo and other brands recommend 30 minutes, but, like I’ve mentioned before, there is no way you can bake polymer clay for too long. I let it fully cool before attaching the eyes. I used my jewelry glue for this, but I’m pretty sure E6000 or something like it will work too. I then strung a ribbon between the eyes to hang my owl onto. Voila, here’s O(w)live!

I am linking up with Party in Your PJ’s and Wonderful Wednesday.

Aww, it’s so adorable 🥰
LikeLiked by 2 people
Thanks so much!
LikeLiked by 1 person
You’re welcome my friend
LikeLiked by 1 person
Great autumn craft!
LikeLiked by 1 person
Thank you! 🙂
LikeLiked by 1 person
That is as cute as can be!
LikeLiked by 1 person
Thanks for saying that!
LikeLike
this sounds so cool! Well done on finishing it! ❤
LikeLiked by 1 person
Thank you!
LikeLike
Adorable!! Wishing you the best Thanksgiving!!
LikeLiked by 1 person
Thank you so much!
LikeLike
This owl is adorable 🙂
http://www.diyingmachine.wordpress.com
LikeLiked by 1 person