First Steps With Polymer Clay

Hi everyone. I’ve been pretty busy lately, but in a good way. My day activities staff ordered some packages of Fimo soft polymer clay, which arrived in the mail Tuesday afternoon. We went round for a trip to Action that afternoon too to get some other supplies. I was pleasantly surprised at how little they cost, as once again of course I bought far more than I had on my grocery list.

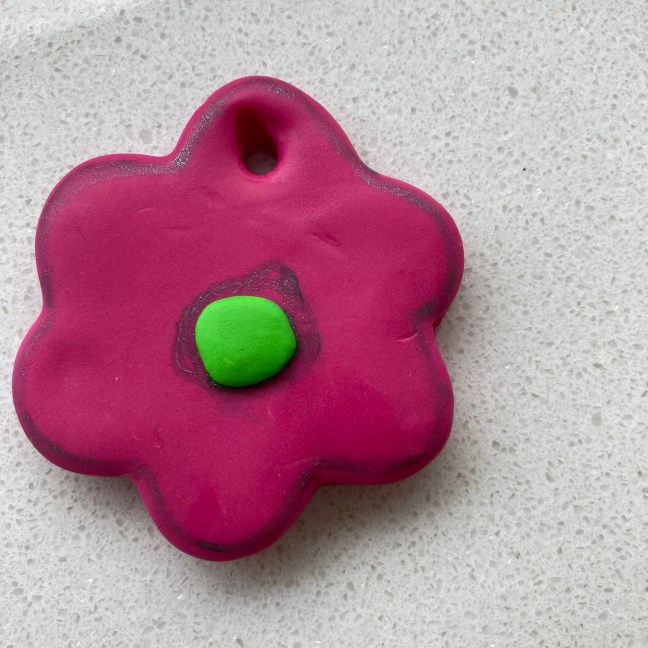
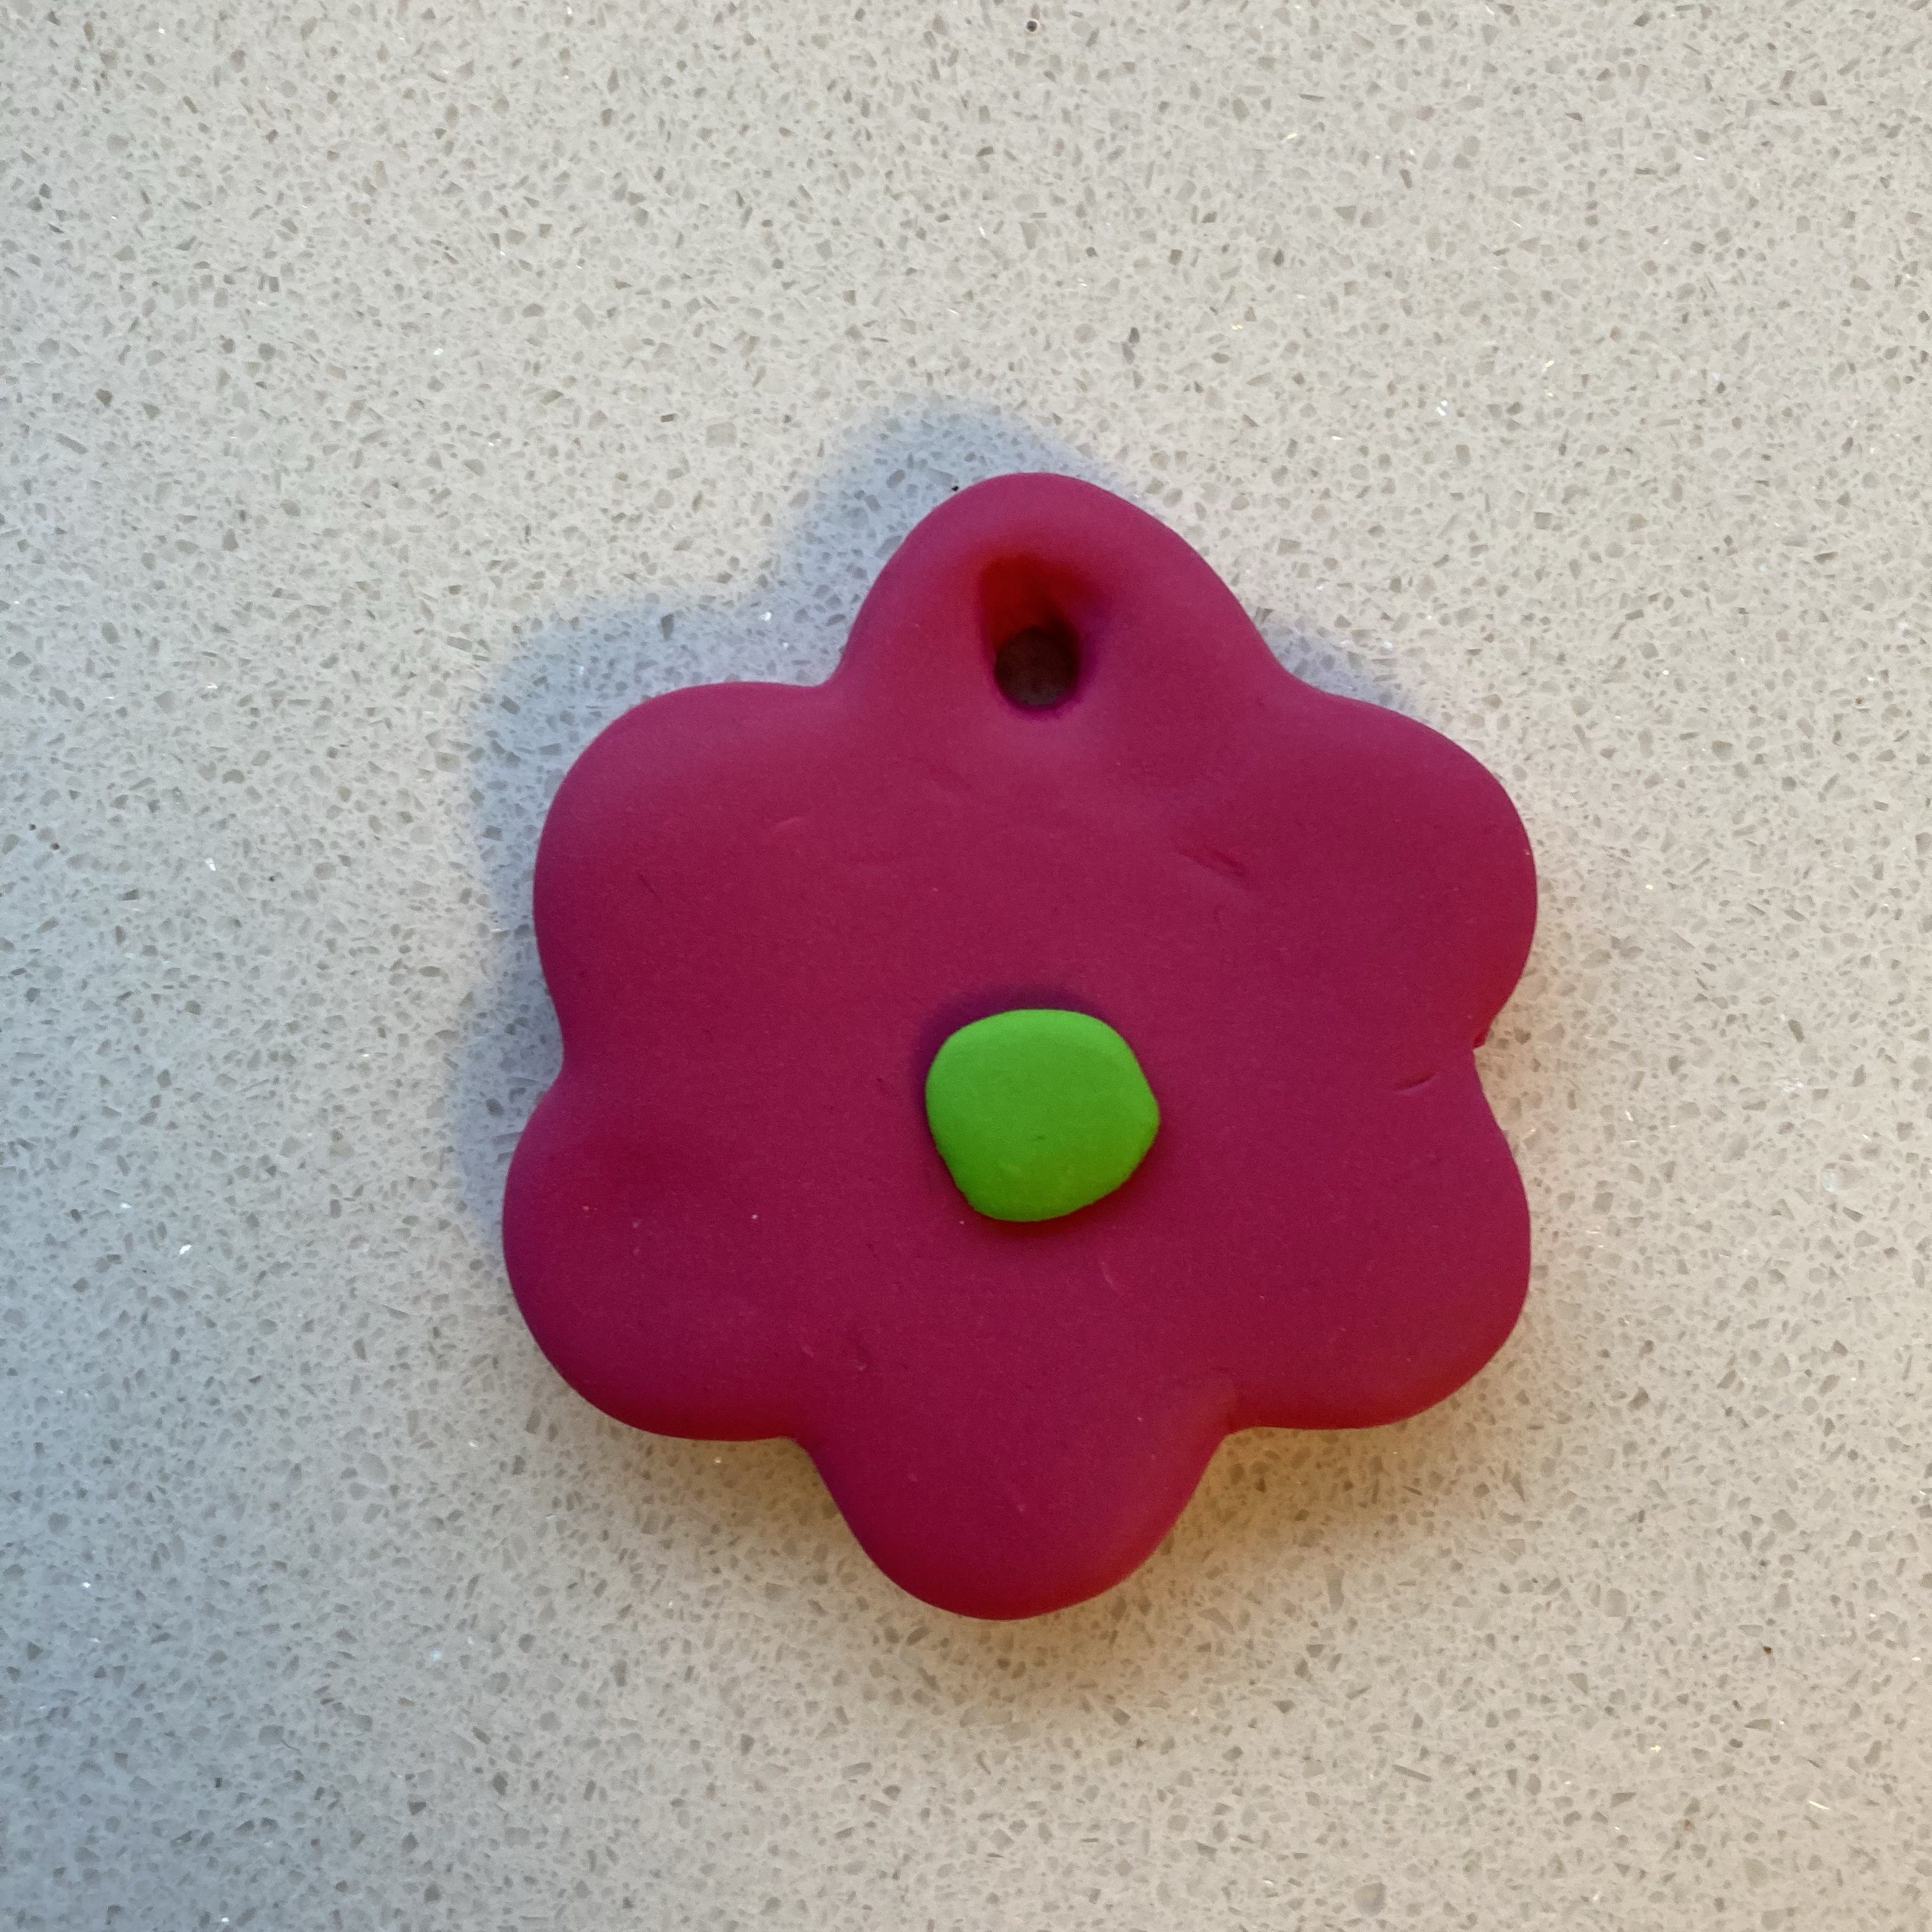
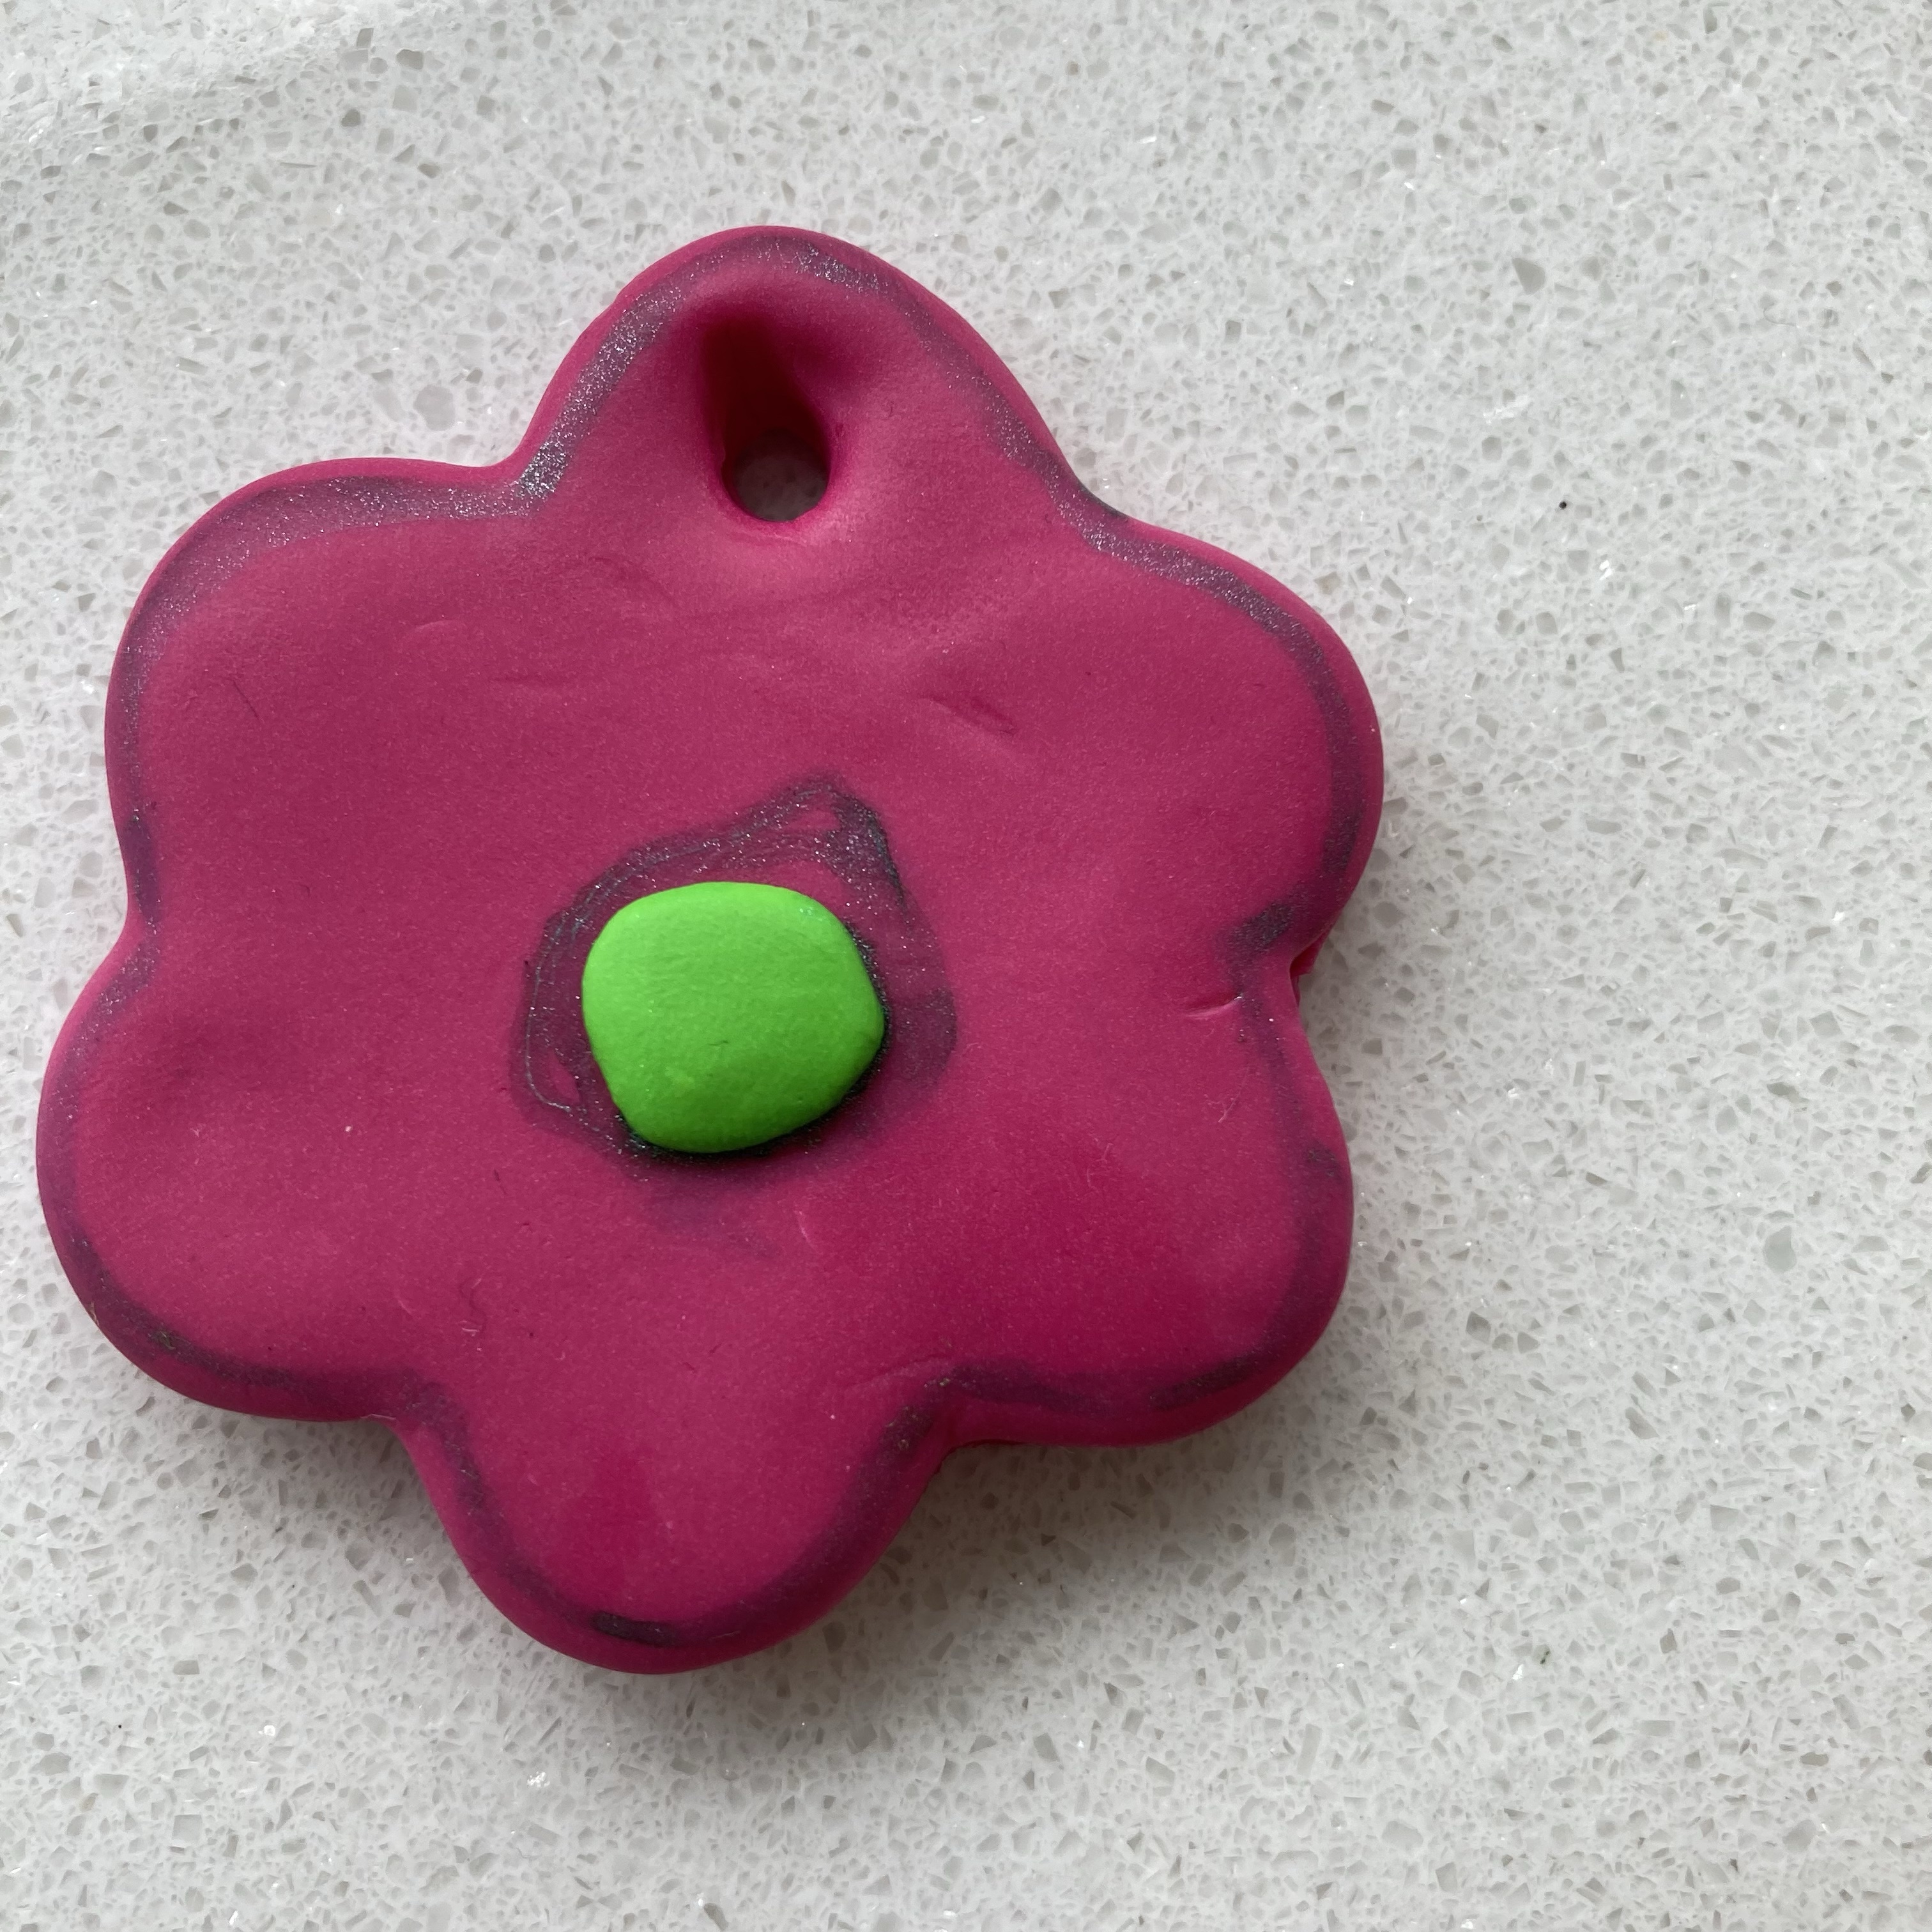
That evening, I set out to work with my one-on-one staff. I wanted to create a pink (the color of Fimo soft is 22 “Raspberry”) flower with a green (color 53 “Tropical Green”) center. So I rolled out my Fimo. Of course, not having checked all the beginner’s instructions for polymer clay, I used a wooden roller pin. Ah well, having used it once can’t hurt, I hope and my acrylic roller should arrive tomorrow.

Then I cut out the flower shape with a cookie cutter that was in my Christmas present from day activities last year. I can’t remember how many times I had to try before I was relatively satisfied with how even it turned out. Later, I learned about burnishing your clay before baking.

I randomly formed the green ball center and put it on top of the flower. To make it sit in the flower itself, I later learned, you need a ball stylus. Mine should arrive on Friday.

When I was inspired to do polymer clay by this post by Ann, I read that Ann used a straw to cut a hole in the polymer clay. That would make the hole a little too large for my liking and, besides, I don’t have plastic straws. Instead, I used a Rainbow loom needle that came in the surprise beading package I got for my birthday last month. To be honest, it turned out okay, though of course the pros on Facebook tell me I shouldn’t have made the hole before baking.

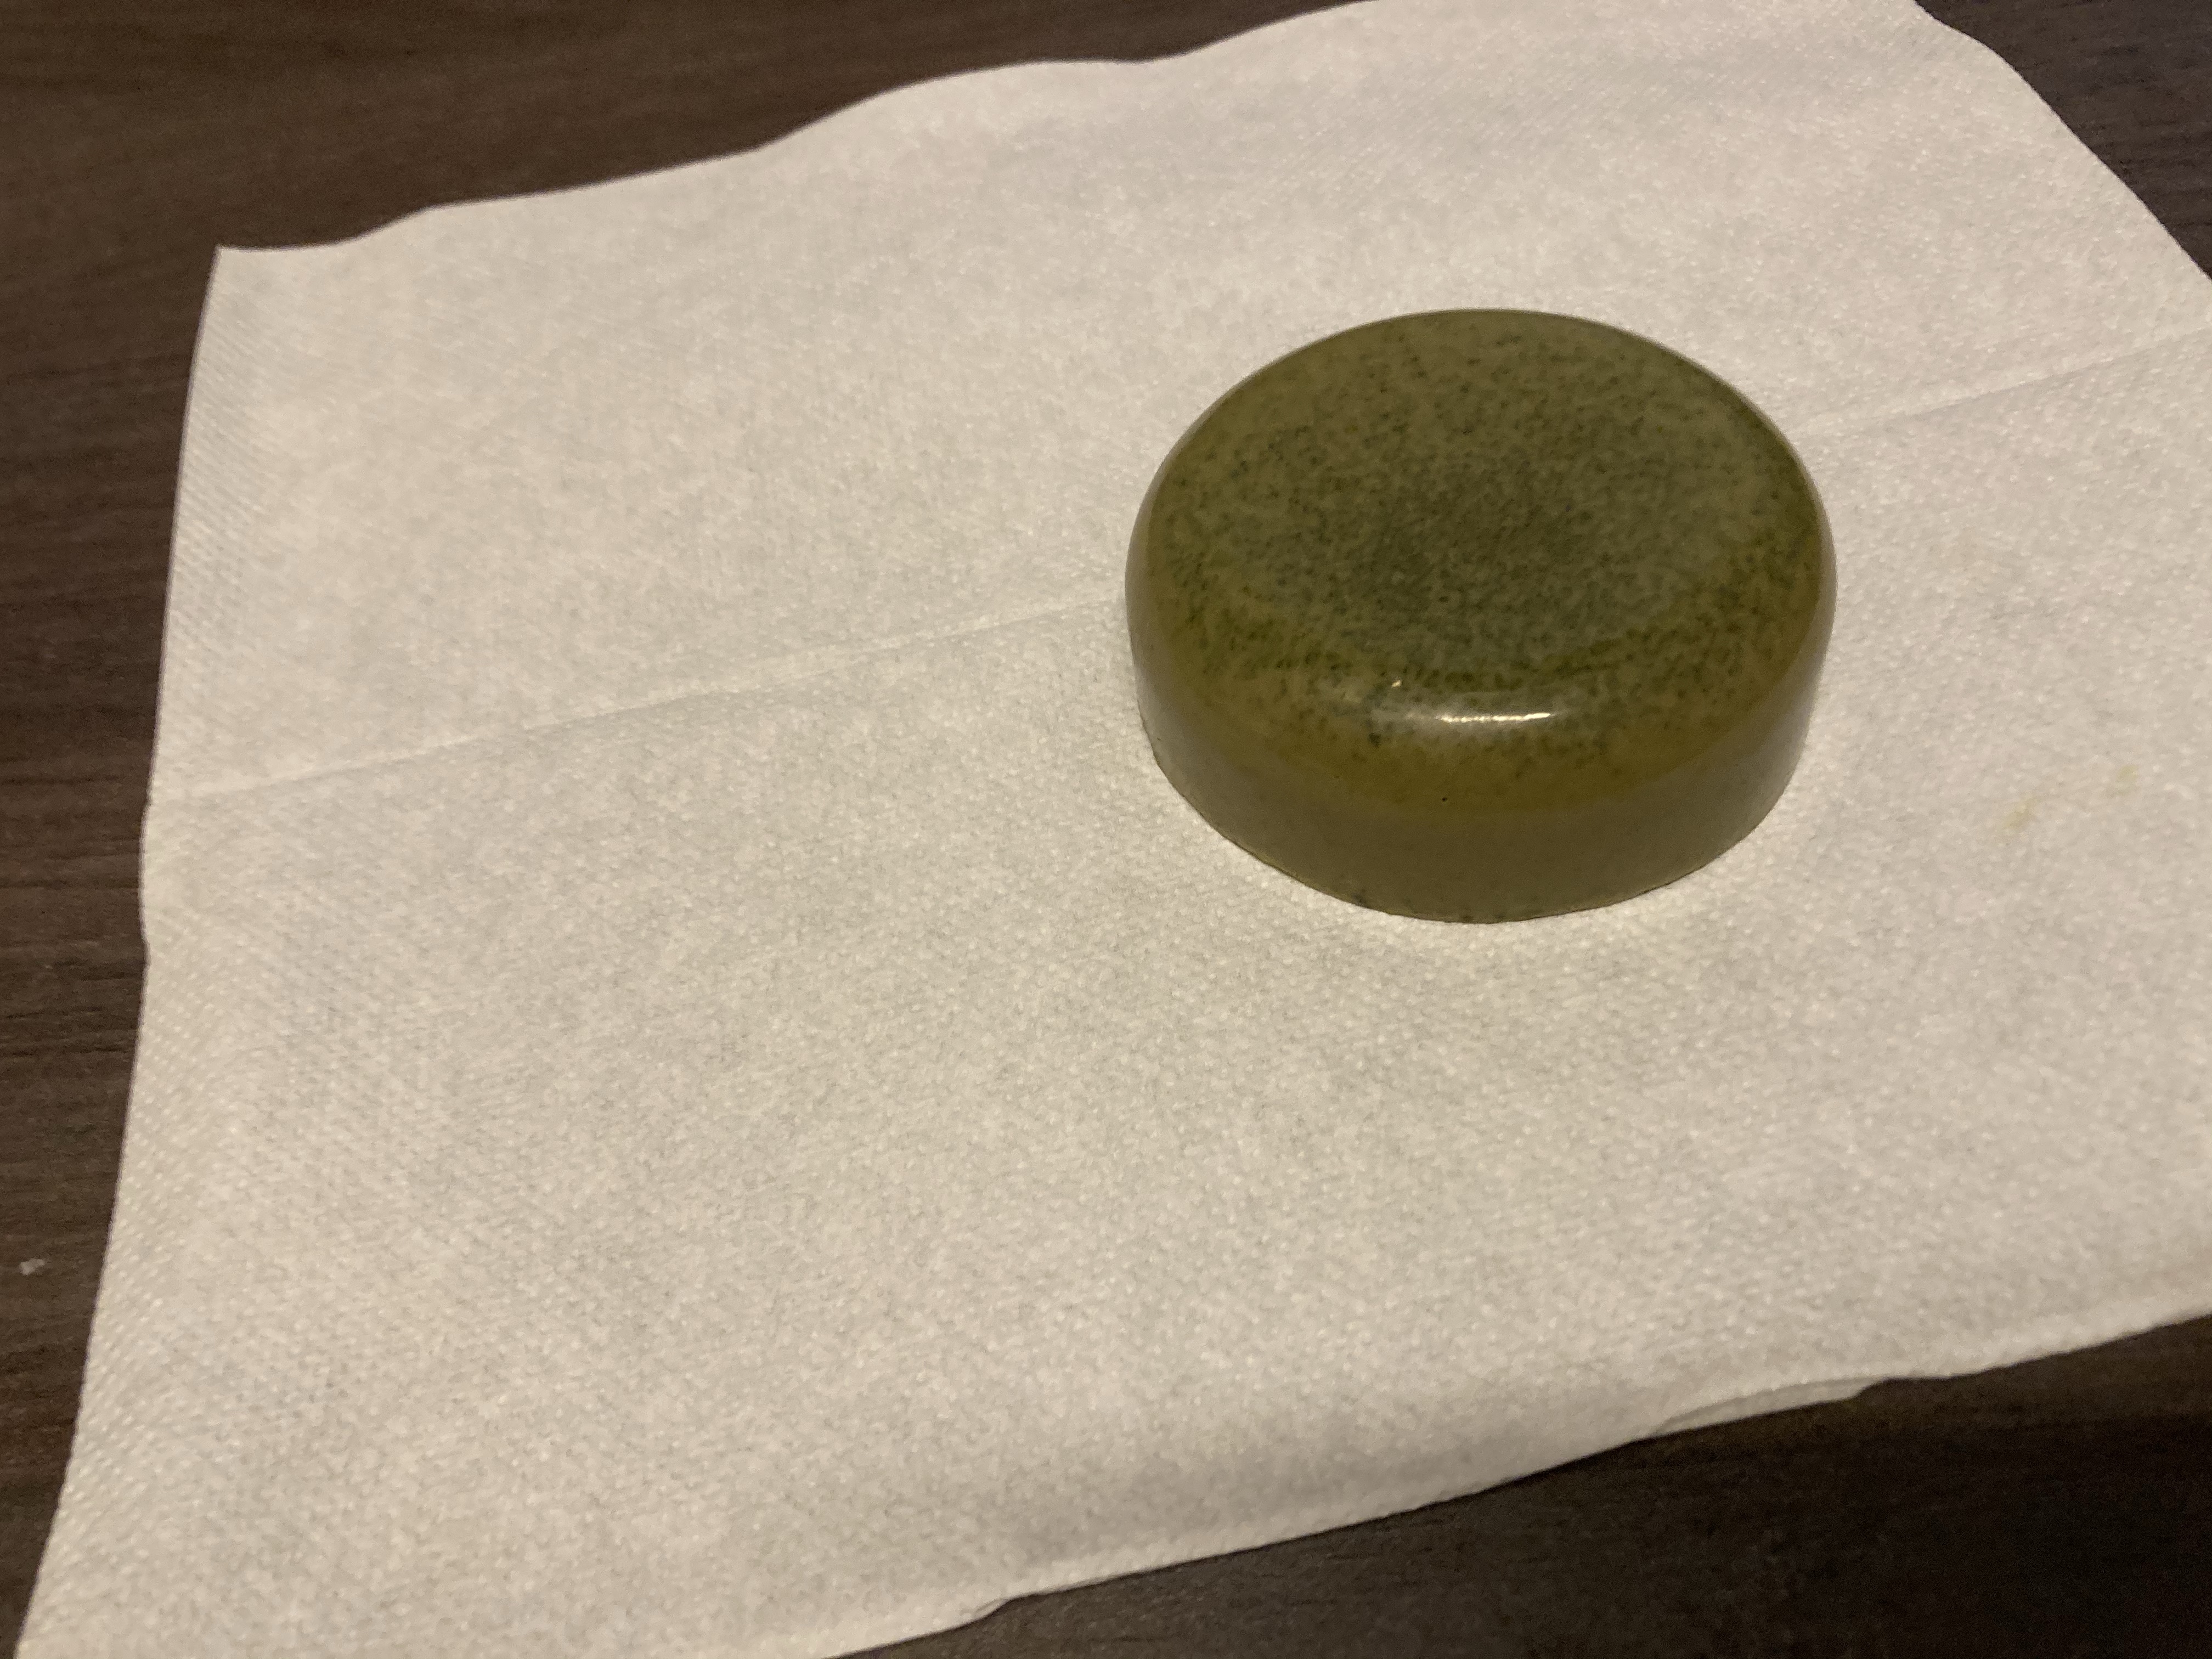
Then I baked the clay. I did read up instructions on not baking it for too short a time, so I baked my clay for about 35 minutes. It was a bit of a struggle finding the right equipement to bake it in, since I didn’t want the clay to fly around the oven or get too close to the heating element. Eventually, it worked though.

After I posted the hardened product on Facebook, I got a lot of tips on how to handle it better before baking. Ah, oops. Better luck next time.

I had decided beforehand that I was going to experiment with decorating my ornament like Ann had. The first products I came across at Action, were glitter and metallic markers rather than glitter glue pens. I found glitter glue later though and decided to buy both. This ornament is decorated using one of the glitter markers. I did the circling of the green center myself, so you may see a slight spotting on the edge of the actual center itself. After this mishap, I asked my staff to accentuate the edge for me.

What do you think of my first attempt at using polymer clay?

Linking up with the Creatively Crafty Link Party and Party in Your PJ’s.

Creating Lately: A Bracelet, Body Butter and Lip Scrub

After a difficult week two weeks ago and lots of frustration at not finding meaning in my activities lately, last week I finally found my creative mojo again. I’ve been pretty busy crafting and DIY’ing over the week.

First, I want to show you all this bracelet I created last Friday. It is simple and I didn’t even do all the work by myself. I mean, I struggled a lot putting the purple beads onto the wire, because my left hand kept spasming and I needed my right hand to keep the wire straight. I tried reversing my hands and letting my staff hold the wire, but it wouldn’t work. Still, I managed to thread some of the purple beads and all of the roses anyway.

I also have been doing a lot of body care creating lately. Last Monday, I made a basic body butter. I used coconut oil, sweet almond oil and cocoa butter. I added in a few drops of coconut fragrance oil for the scent.

I am considering getting a talking kitchen scale, so that I can weigh out my ingredients myself. Not that we used a scale this time – we just guessed how much we’d need.

Lastly, on Thursday, I made a lip scrub. I used coconut oil and cocoa butter for the base and added plain white sugar, honey and vanilla extract. This time, I did most of the measuring myself, even though I still mostly had to guess how much we’d need.

I had made a lip scrub once before, but that one didn’t turn out as thick as we’d wanted. This one is still thinner than most lip balms I’m used to making, but then again it’s a lip scrub, not a lip balm.

I am really loving looking at bath and body product recipes. I am not as good with them yet as I’d like to be, but I like to think I’m improving.

With respect to jewelry, I don’t look up tutorials, as they’re usually far too difficult for me to follow. I just create what I think I can.

What have you been crafting lately?

Green Tea and Lemon Soap

This week, one of Mama Kat’s writer’s workshop prompts is to write about the last thing you made. Another of her prompts is about something good that happened this week.

Well, the good thing that happened to me is the fact that I’m motivated for soaping again. I’m seriously loving it!

Last week, I googled all over the Internet for soaping recipes, but didn’t really find the motivation or time to actually make any soaps. This week, I made two.

Now I must say that researching soaping is almost as enjoyable as is actually making soap. For example, today, I decided to look into making all-natural soaps and researching essential oil brands that are relatively safe. I mean, I know that natural health-minded people say that essential oils are by definition safer than fragrance oils, but I disagree. This is the reason I used a fragrance oil in the soaps I made this week.

So what did I make? Those who saw my Lovin’ Lately post last week might be guessing it correctly. Yes, I made green tea and lemon soap! I used this recipe for inspiration.

I used my default brand white glycerin-based melt and pour soap base. Then I added the cheapest matcha green tea powder I could find. After all, I didn’t really need it for actual tea. I used one teaspoon for about 100g of soap. I added a fragrance oil called Juicy Yellow Lemon from a great fragrance oil store. In my first soap, pictured below, I added three drops of fragrance oil, but I felt it was a little strong. I wouldn’t recommend using 3/4 teaspoons essential oil in one pound of soap, as the linked recipe recommends, because particularly lemon EO is very phototoxic.

The green tea got a little clumpy as I mixed it in with the soap base. Maybe I should’ve mixed it with some glycerin first, but I didn’t have any on hand. Actually, I think the spotty effect is a bit charming in its own right.

I made this one yesterday. Today, I made another soap using the same method, but it is heart-shaped. That one is for my husband, as it’s our ninth wedding anniversary on Saturday.

So how did I like it? I rarely use the soaps I make myself, but decided to give this one a try before making the one for my husband. Contrary to my expectations, the soap feels really smooth when using it. I also don’t feel like my skin gets rubbed too much. I loved the combination of green tea with the lemon scent!

What have you made recently?

Mama’s Losin’ It