Hi everyone on this third Friday of November. I’m joining Paula Light for TGIF. How is your day going? Mine’s almost over, as it is 9PM as I type this.
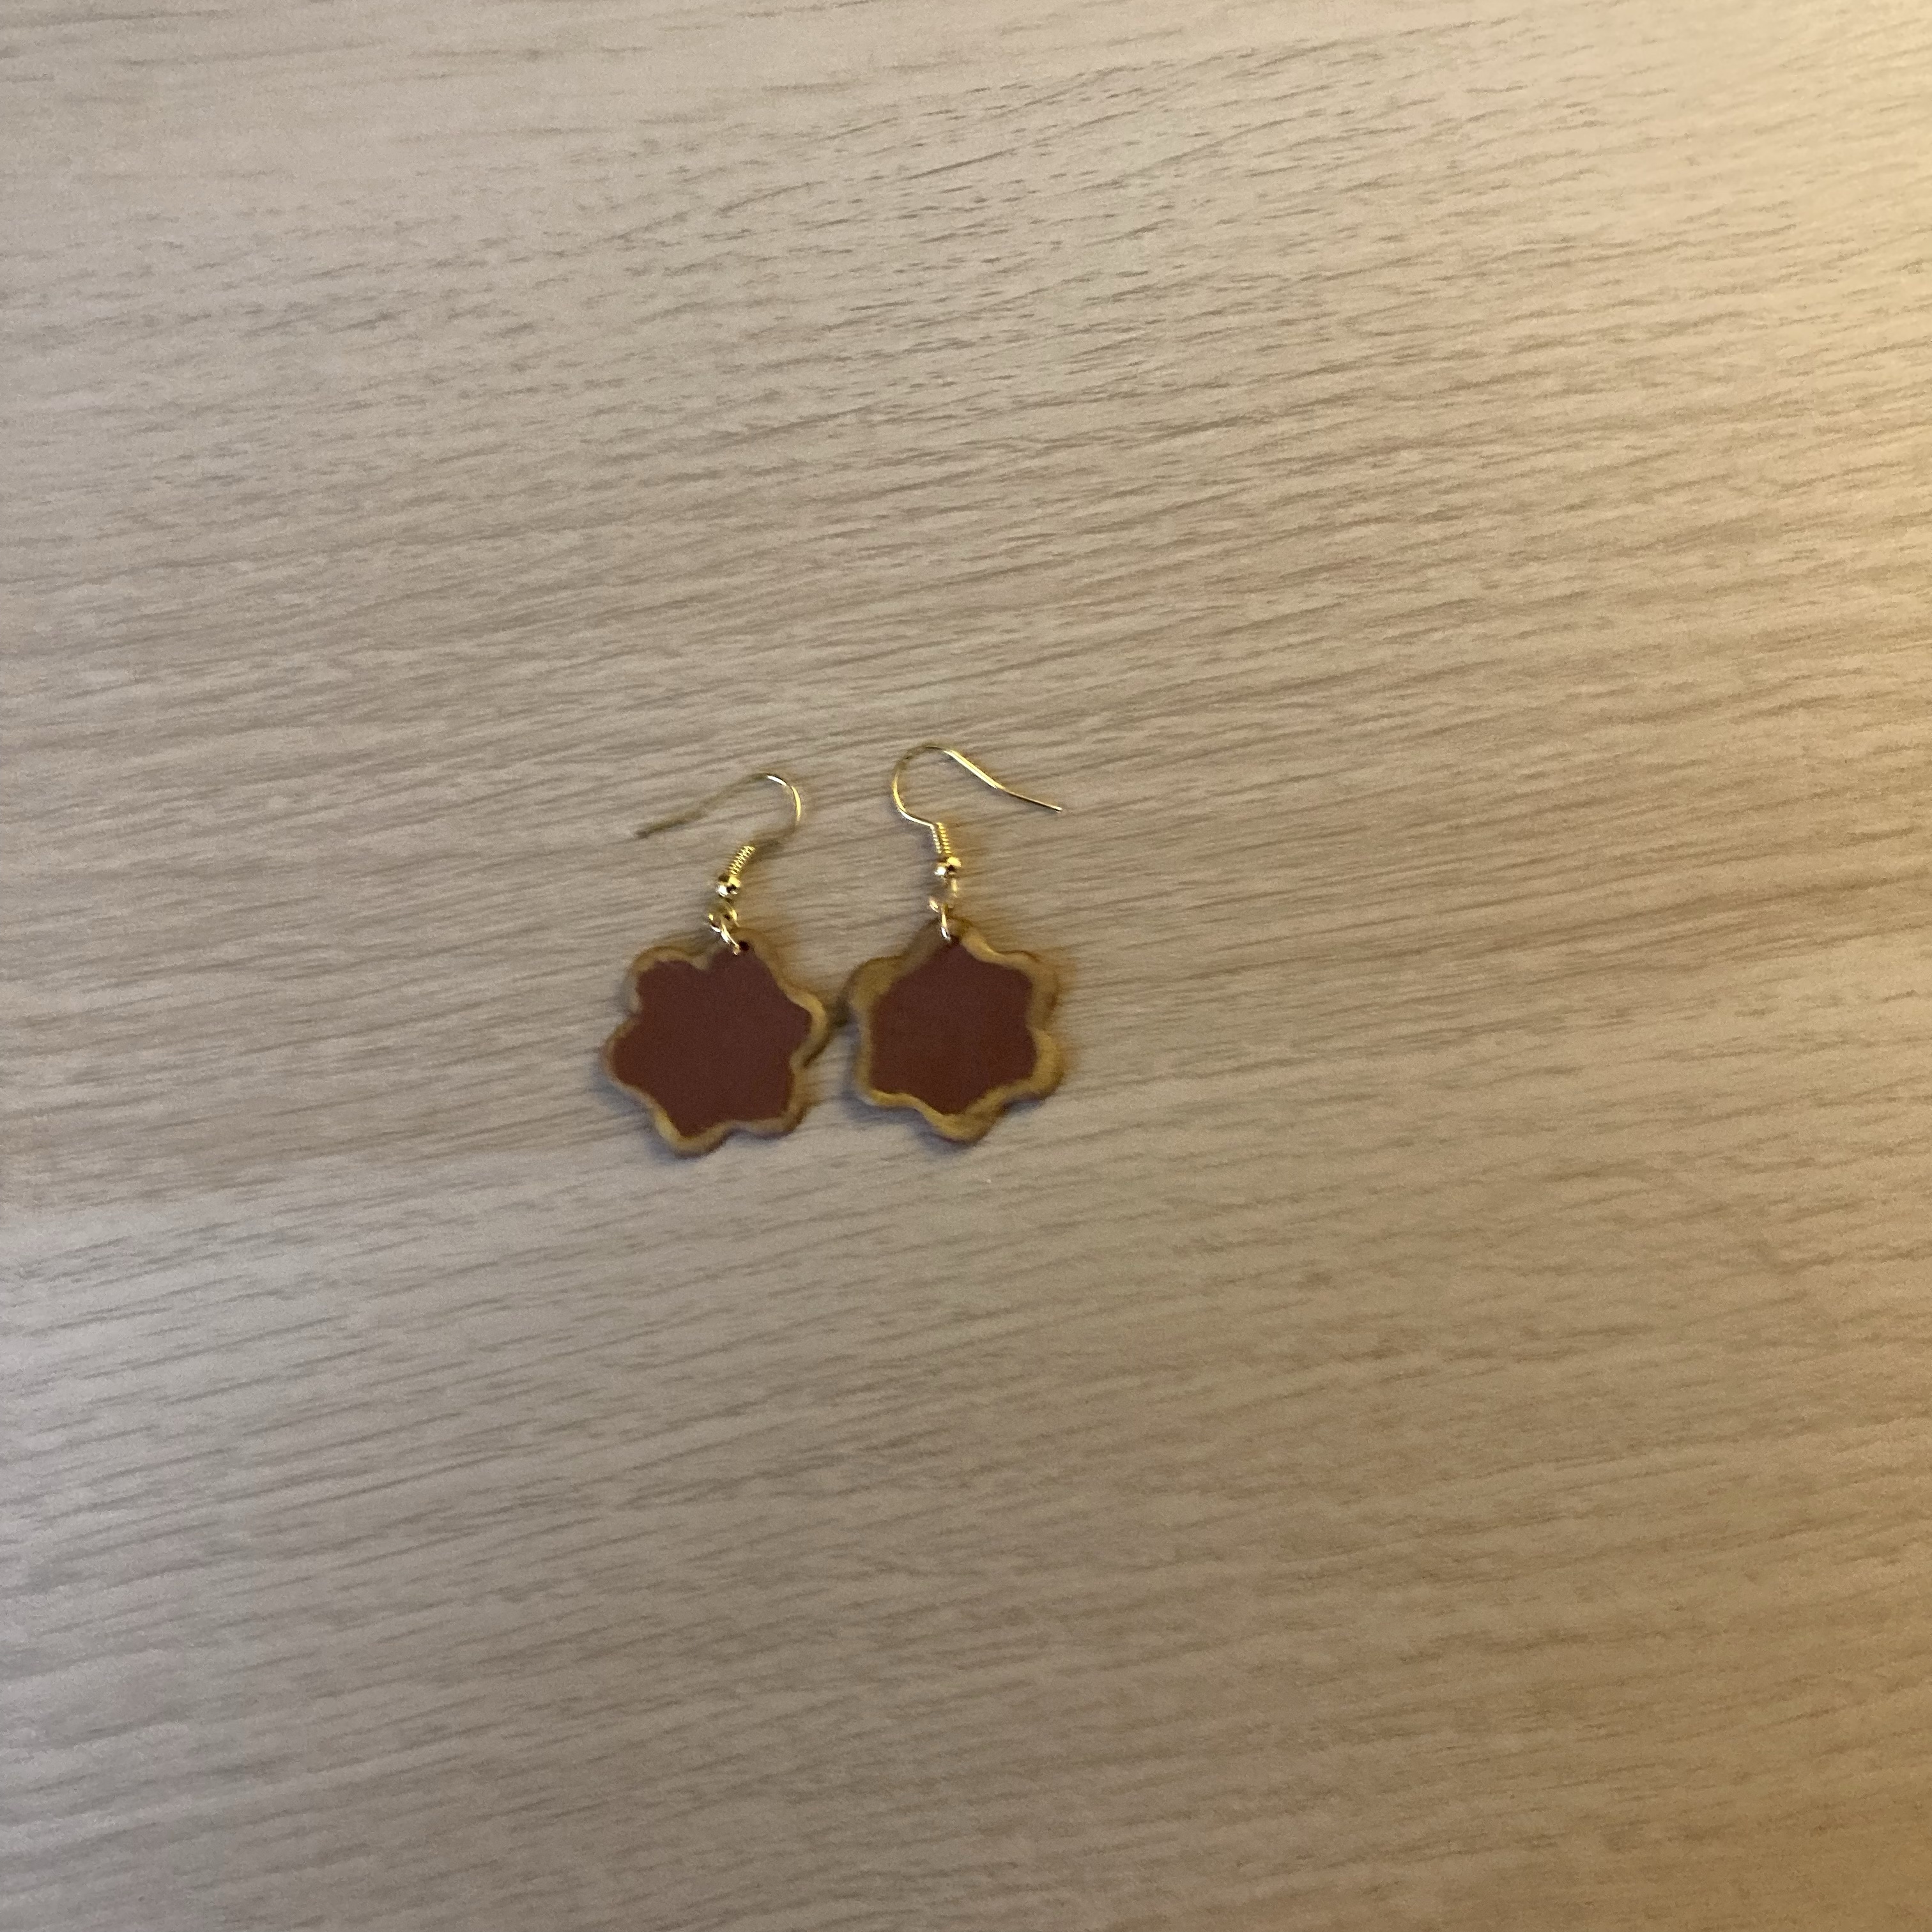
I had a pretty good day. Have had an okay week in general anyway. Finally got down to creating my first actual polymer clay piece here at the new care home, a flower. Creating this simple piece took me about 45 minutes yesterday, including gathering my supplies, watching the tutorial, conditioning the clay, etc. The piece nearly got ruined when the staff took it off the tile to transfer it to an oven-safe mat, but thankfully she was able to put it back together. I initially didn’t want to cure the clay because, once cured, if a piece is ugly beyond sanding/buffing, all you can do is throw it in the trash. However, after some thought, I decided I wanted something tangible to remember my first actual claying session in the new care home by.
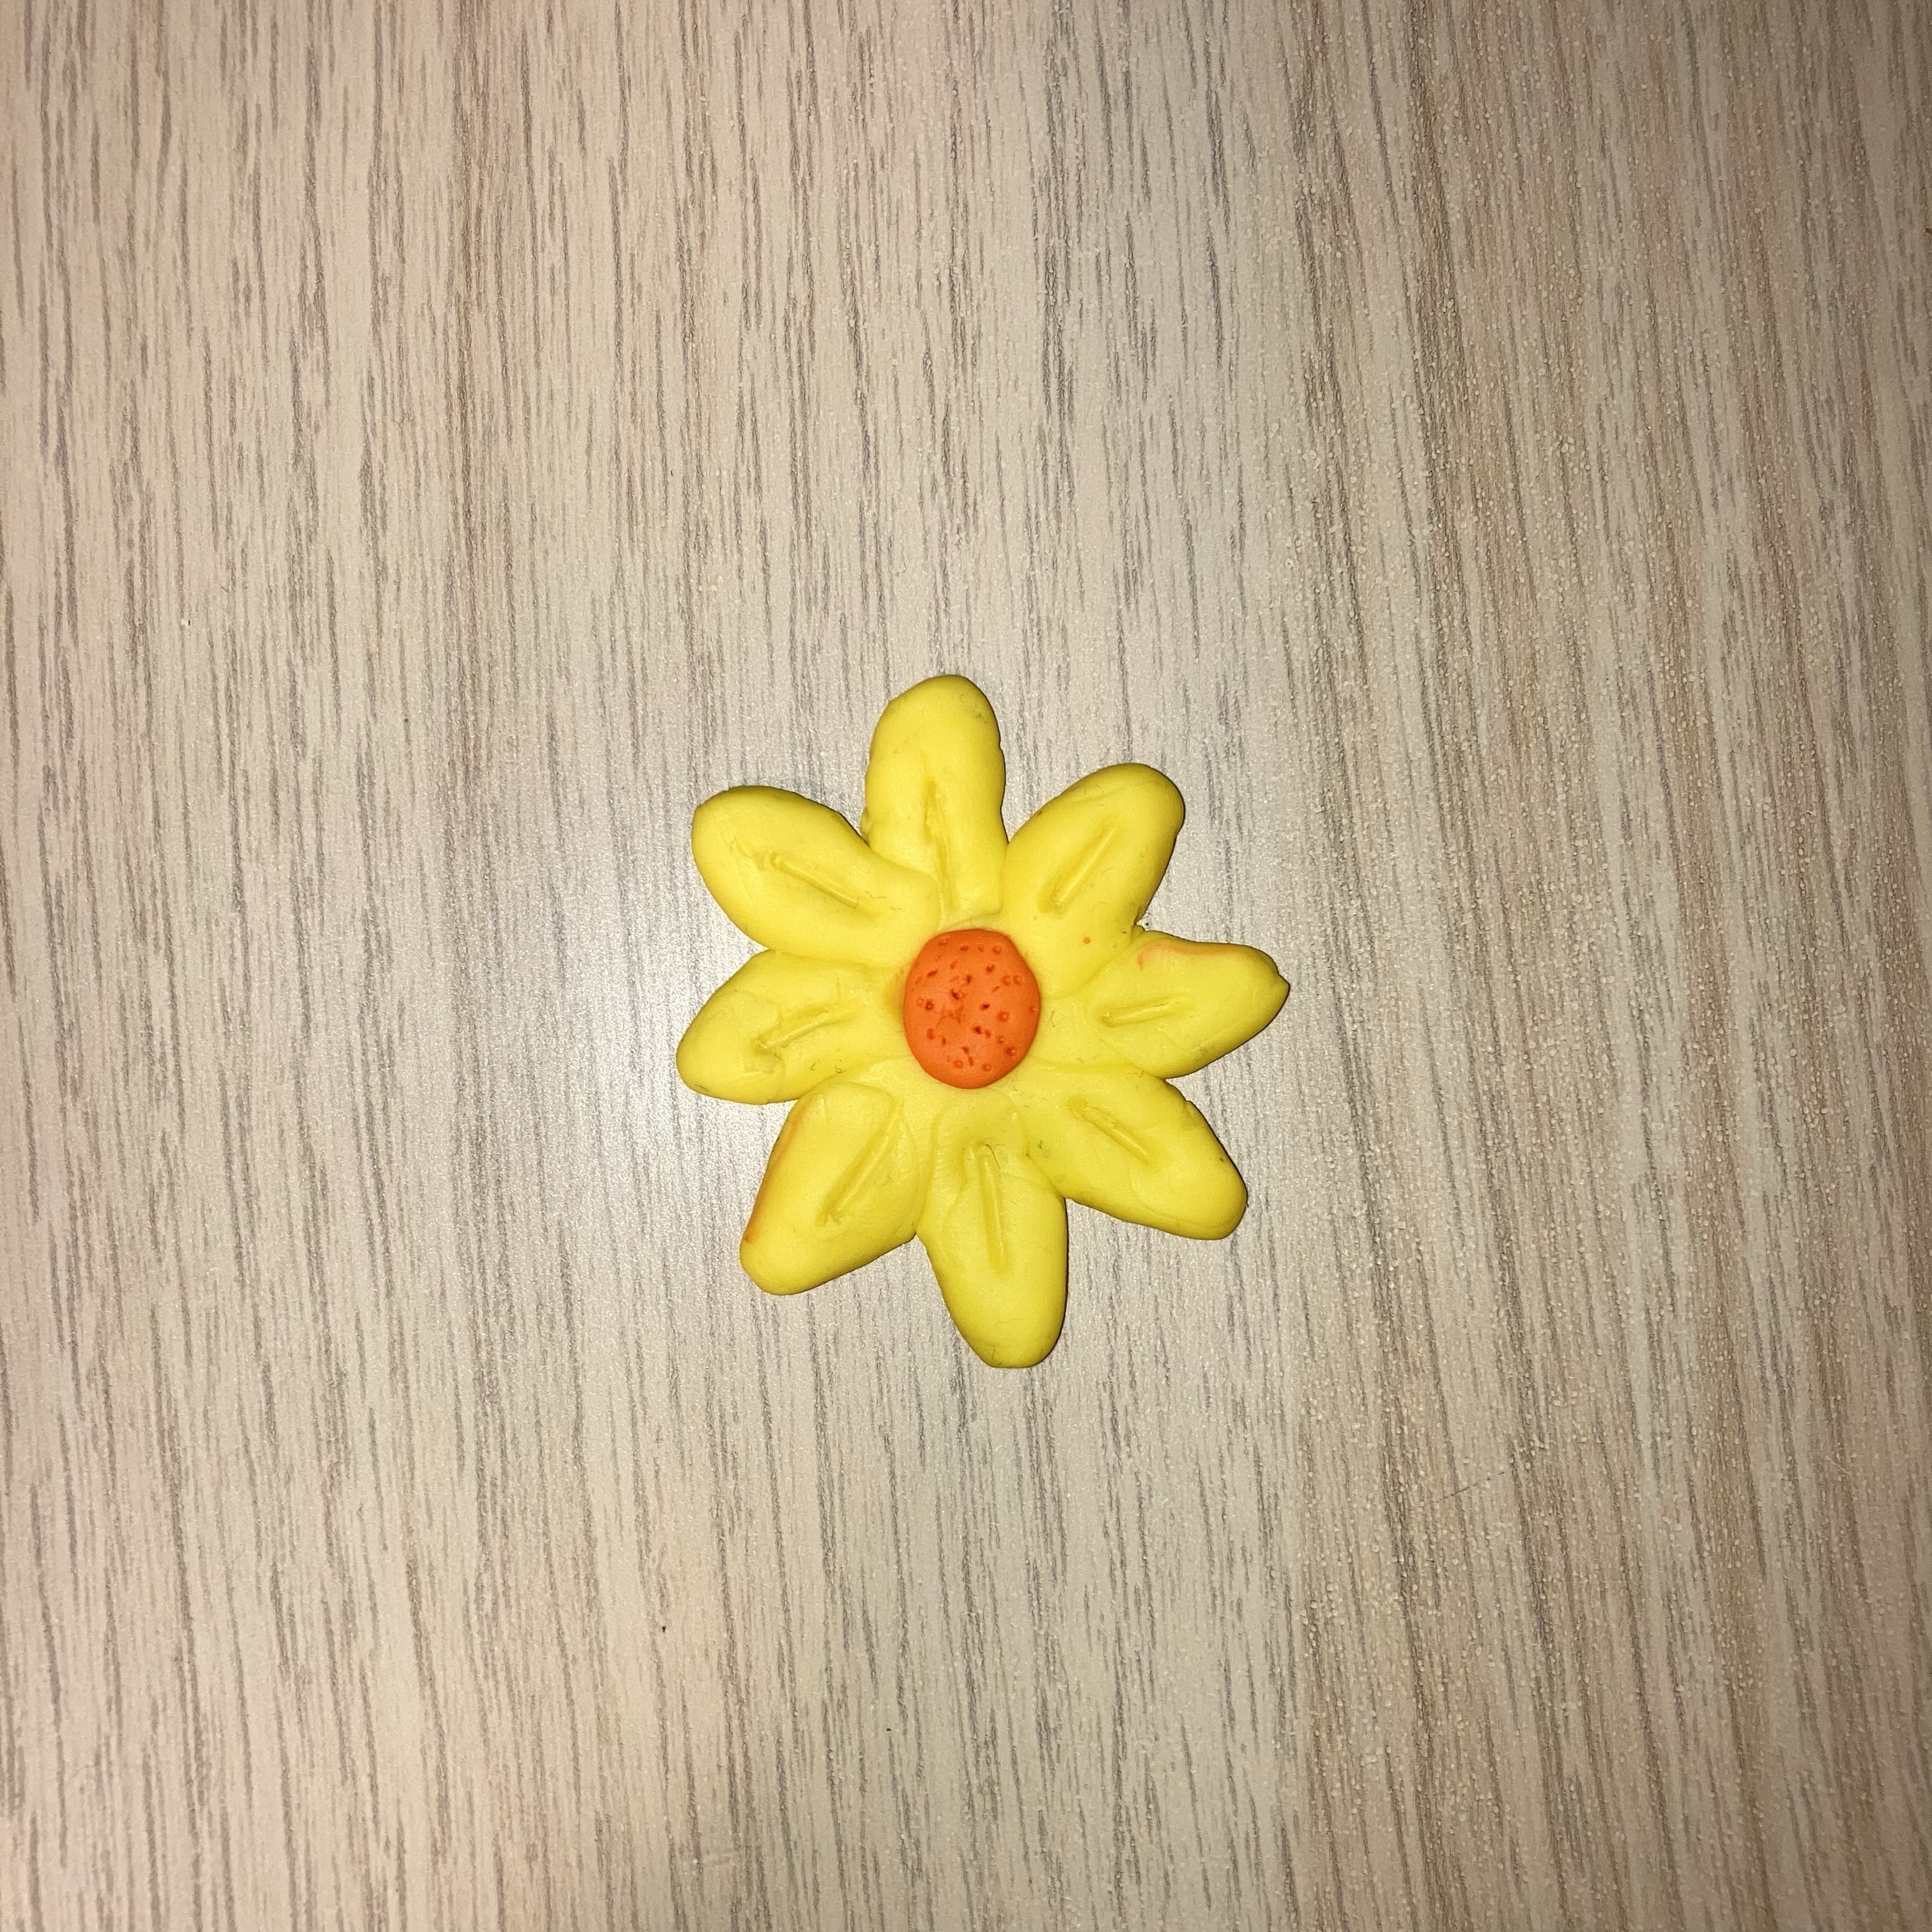
As those who’ve seen my creations from back at the old care home, will know, this one can’t compare to those. However, I feel judging from the fact that I haven’t been actually working with clay in a long while, I did an okay job.
I also went on several walks this past week. Haven’t met my step goal, insofar as I have one – those who know the Apple Watch, know its movement goal is calorie-based, not step-based -, but I have been doing an okay job overall. My movement goal, by the way, is easy to reach. My exercise goal, not so much. My monthly goal for November on the Apple Watch is to reach my daily exercise goal 23 out of 30 days. I reached my monthly goals for September and October – different goals – with ease, but am struggling with this one, because walking and dancing are my only ways of exercising here now that I don’t have my elliptical anymore. I could cheat by starting some ball game workout when throwing a ball with my staff, but that’s not fair.
Overall, this week is going okay with respect to my care. A slightly modified version of the day schedule I mentioned last Saturday got shoved down my throat once again on Tuesday, but thankfully, most staff are willing to take it with a grain of salt (or a whole bucket of salt).
Unfortunately, the situation had to get worse over the weekend before it got slightly better and the slightly better (ie. an okay week this week) might just be chance. I won’t disclose details of the, in my opinion, unacceptable care I received over the weekend.
I talked to an independent mediator about my care situation today (this is not a secret, all staff know I did). I won’t disclose what exactly we discussed, but we’re hoping to resolve the difficult care situation as peacefully as possible.
Here’s hoping you’ll all have a good weekend.