Jewelry-Making #AtoZChallenge

Hi everyone. Welcome to my letter J post in the #AtoZChallenge. Today, I want to share about one of my crafty hobbies once again, because I thought it’d be an interesting distraction from the more philosophical musings. Besides, I just didn’t have another topic for this letter, ha.

I made my first pieces of jewelry back in the psych hospital in like 2014 or 2015. Back then, I bought quite expensive beads, such as gemstone beads, even though I could only make basic necklaces and bracelets. That is, I did make one necklace with three different wires, but I needed a lot of help with it.

Then, after a while, I stopped making jewelry, because I just needed too much help with it and couldn’t really produce the quality I liked. I restarted about a year ago. This time, the first beads I bought, were simple acrylic beads that weren’t too expensive or precious. I did try to go for shapes I liked, such as butterflies. I also at one point bought a collection of 90 silver-colored, plastic charms for €5,95.

For my birthday last year, I got a surprise package of jewelry-making supplies from a store local to my parents. In this package were a lot of glass beads, which I loved. Thus came back my love of creating glass and actual metal jewelry.

Because most of my glass beads are irregularly shaped, I at first struggled to get each side of the necklace, with the charm or pendant in the middle, equally long. To solve this, I got myself a beading board to be able to count out the length of each side of the necklace. My best glass beaded necklace is one I created about two months ago using this board as a guide.

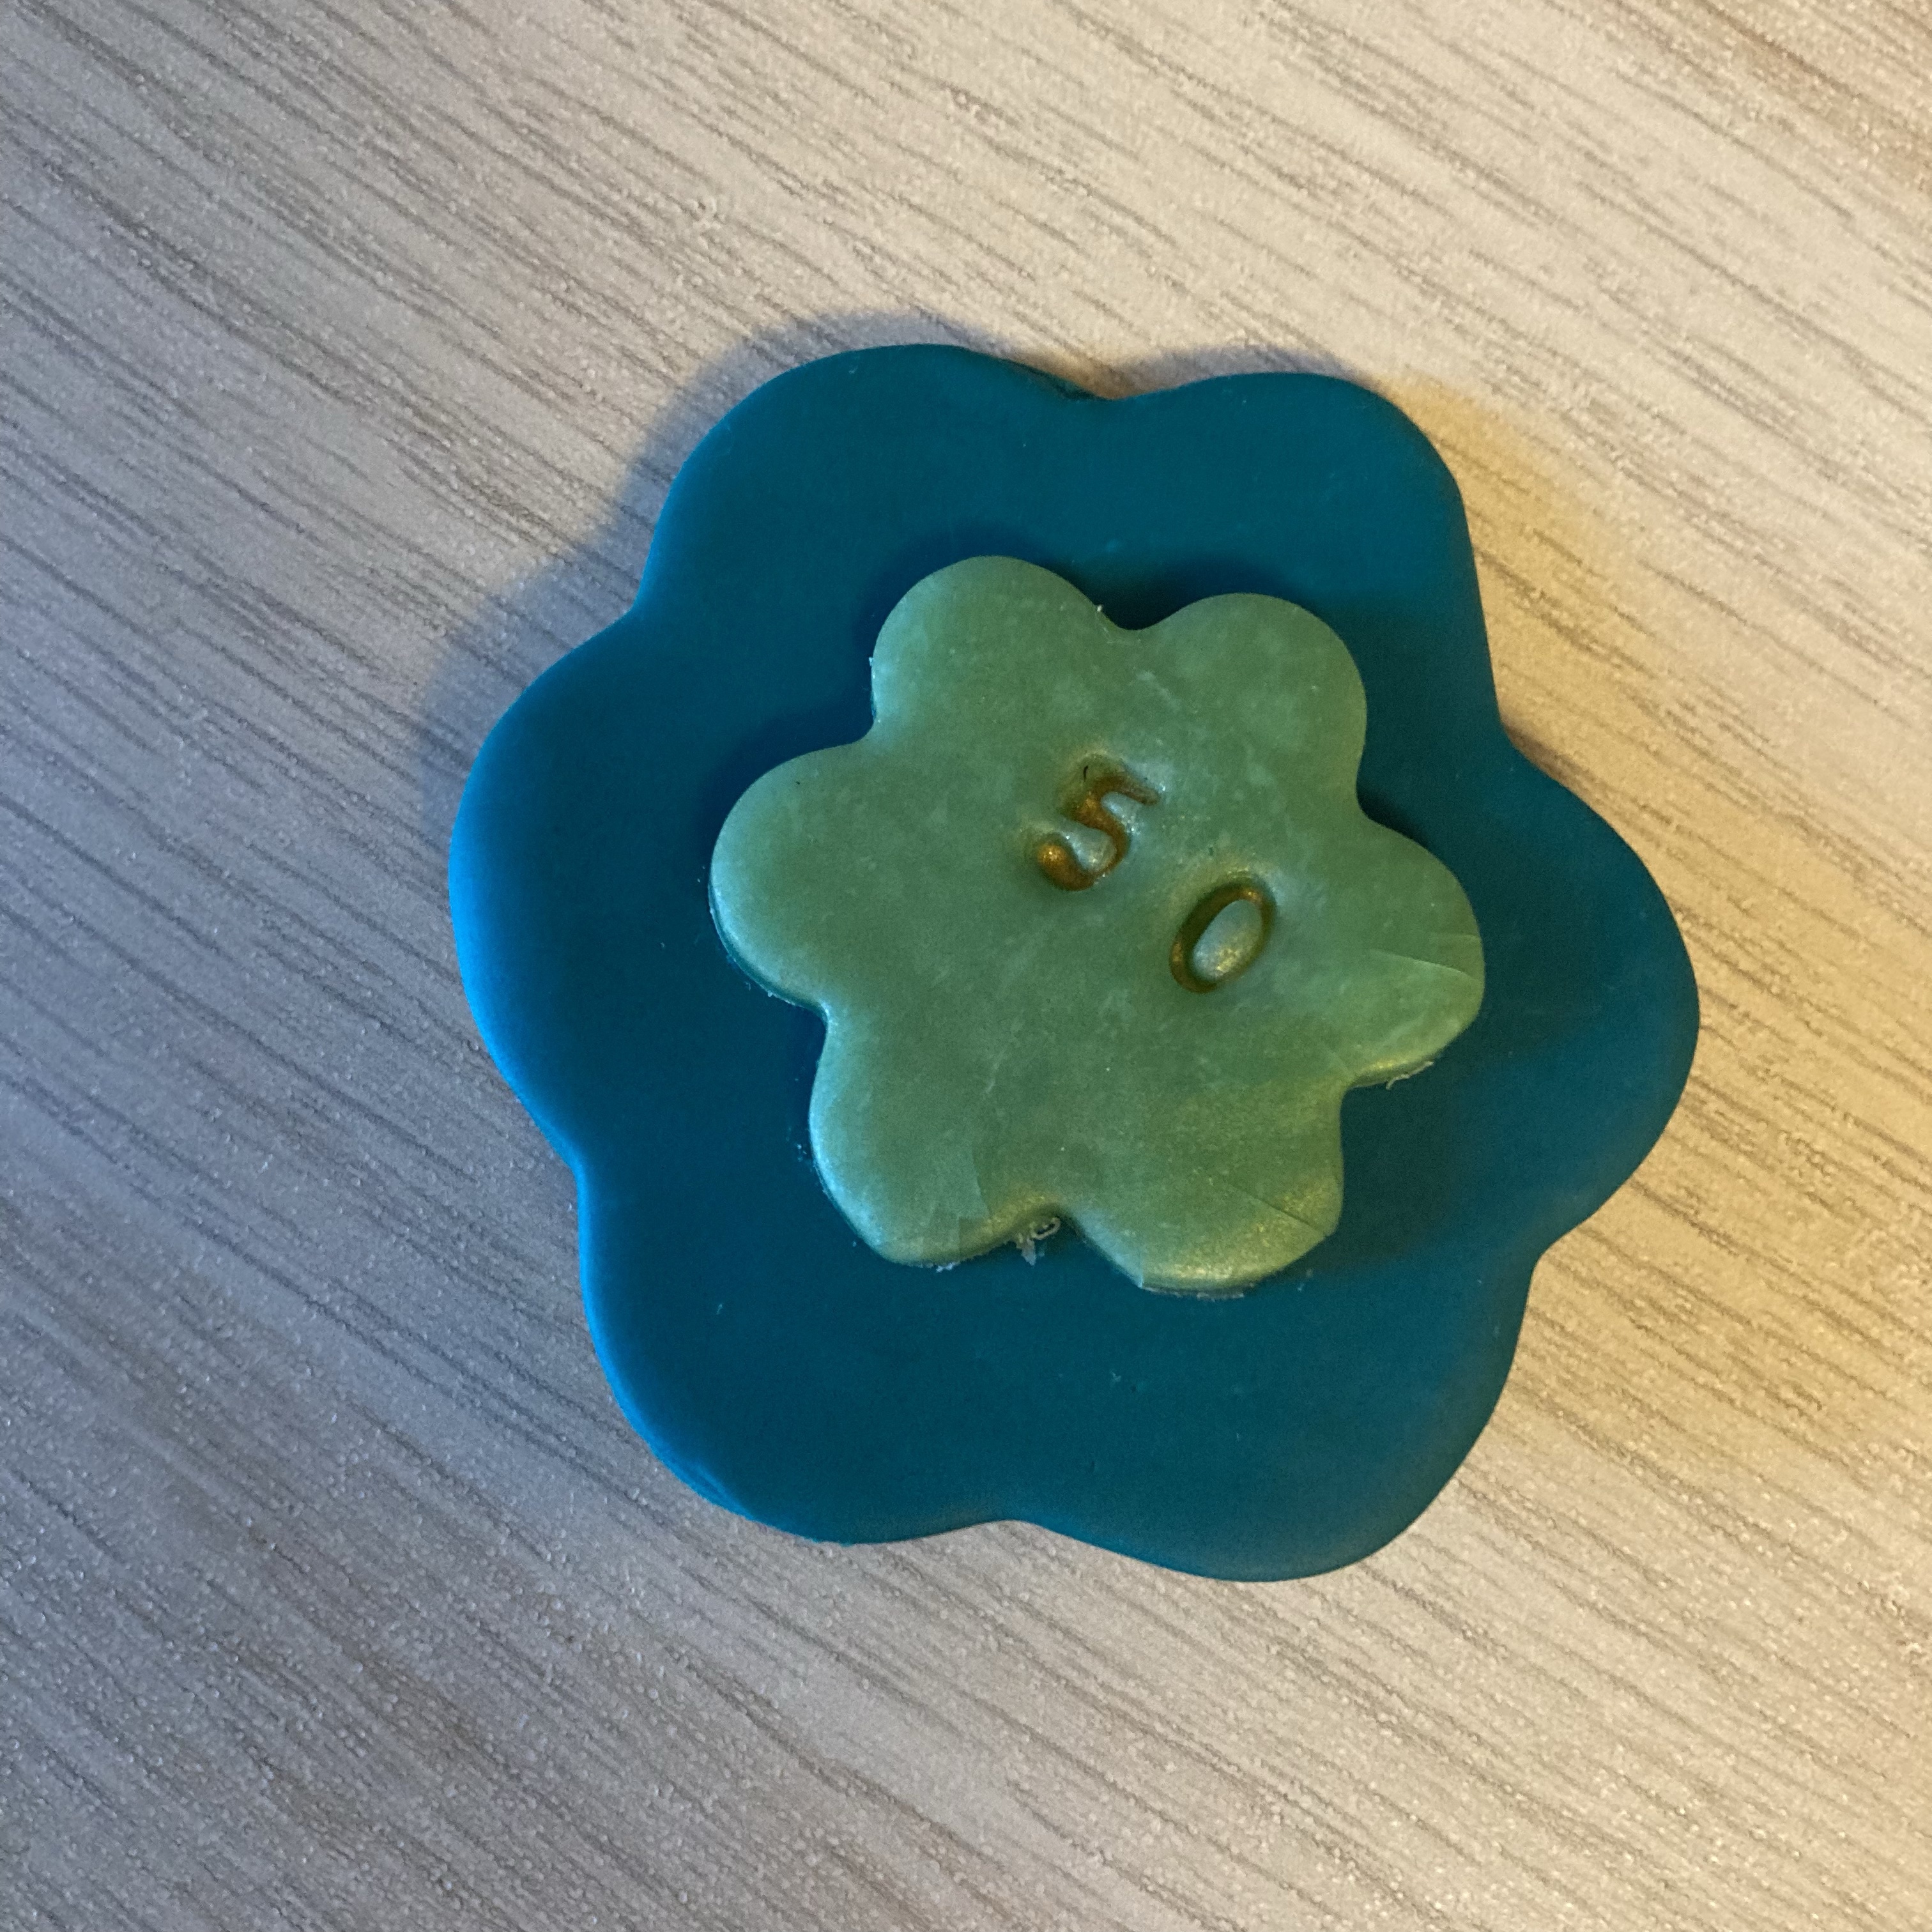
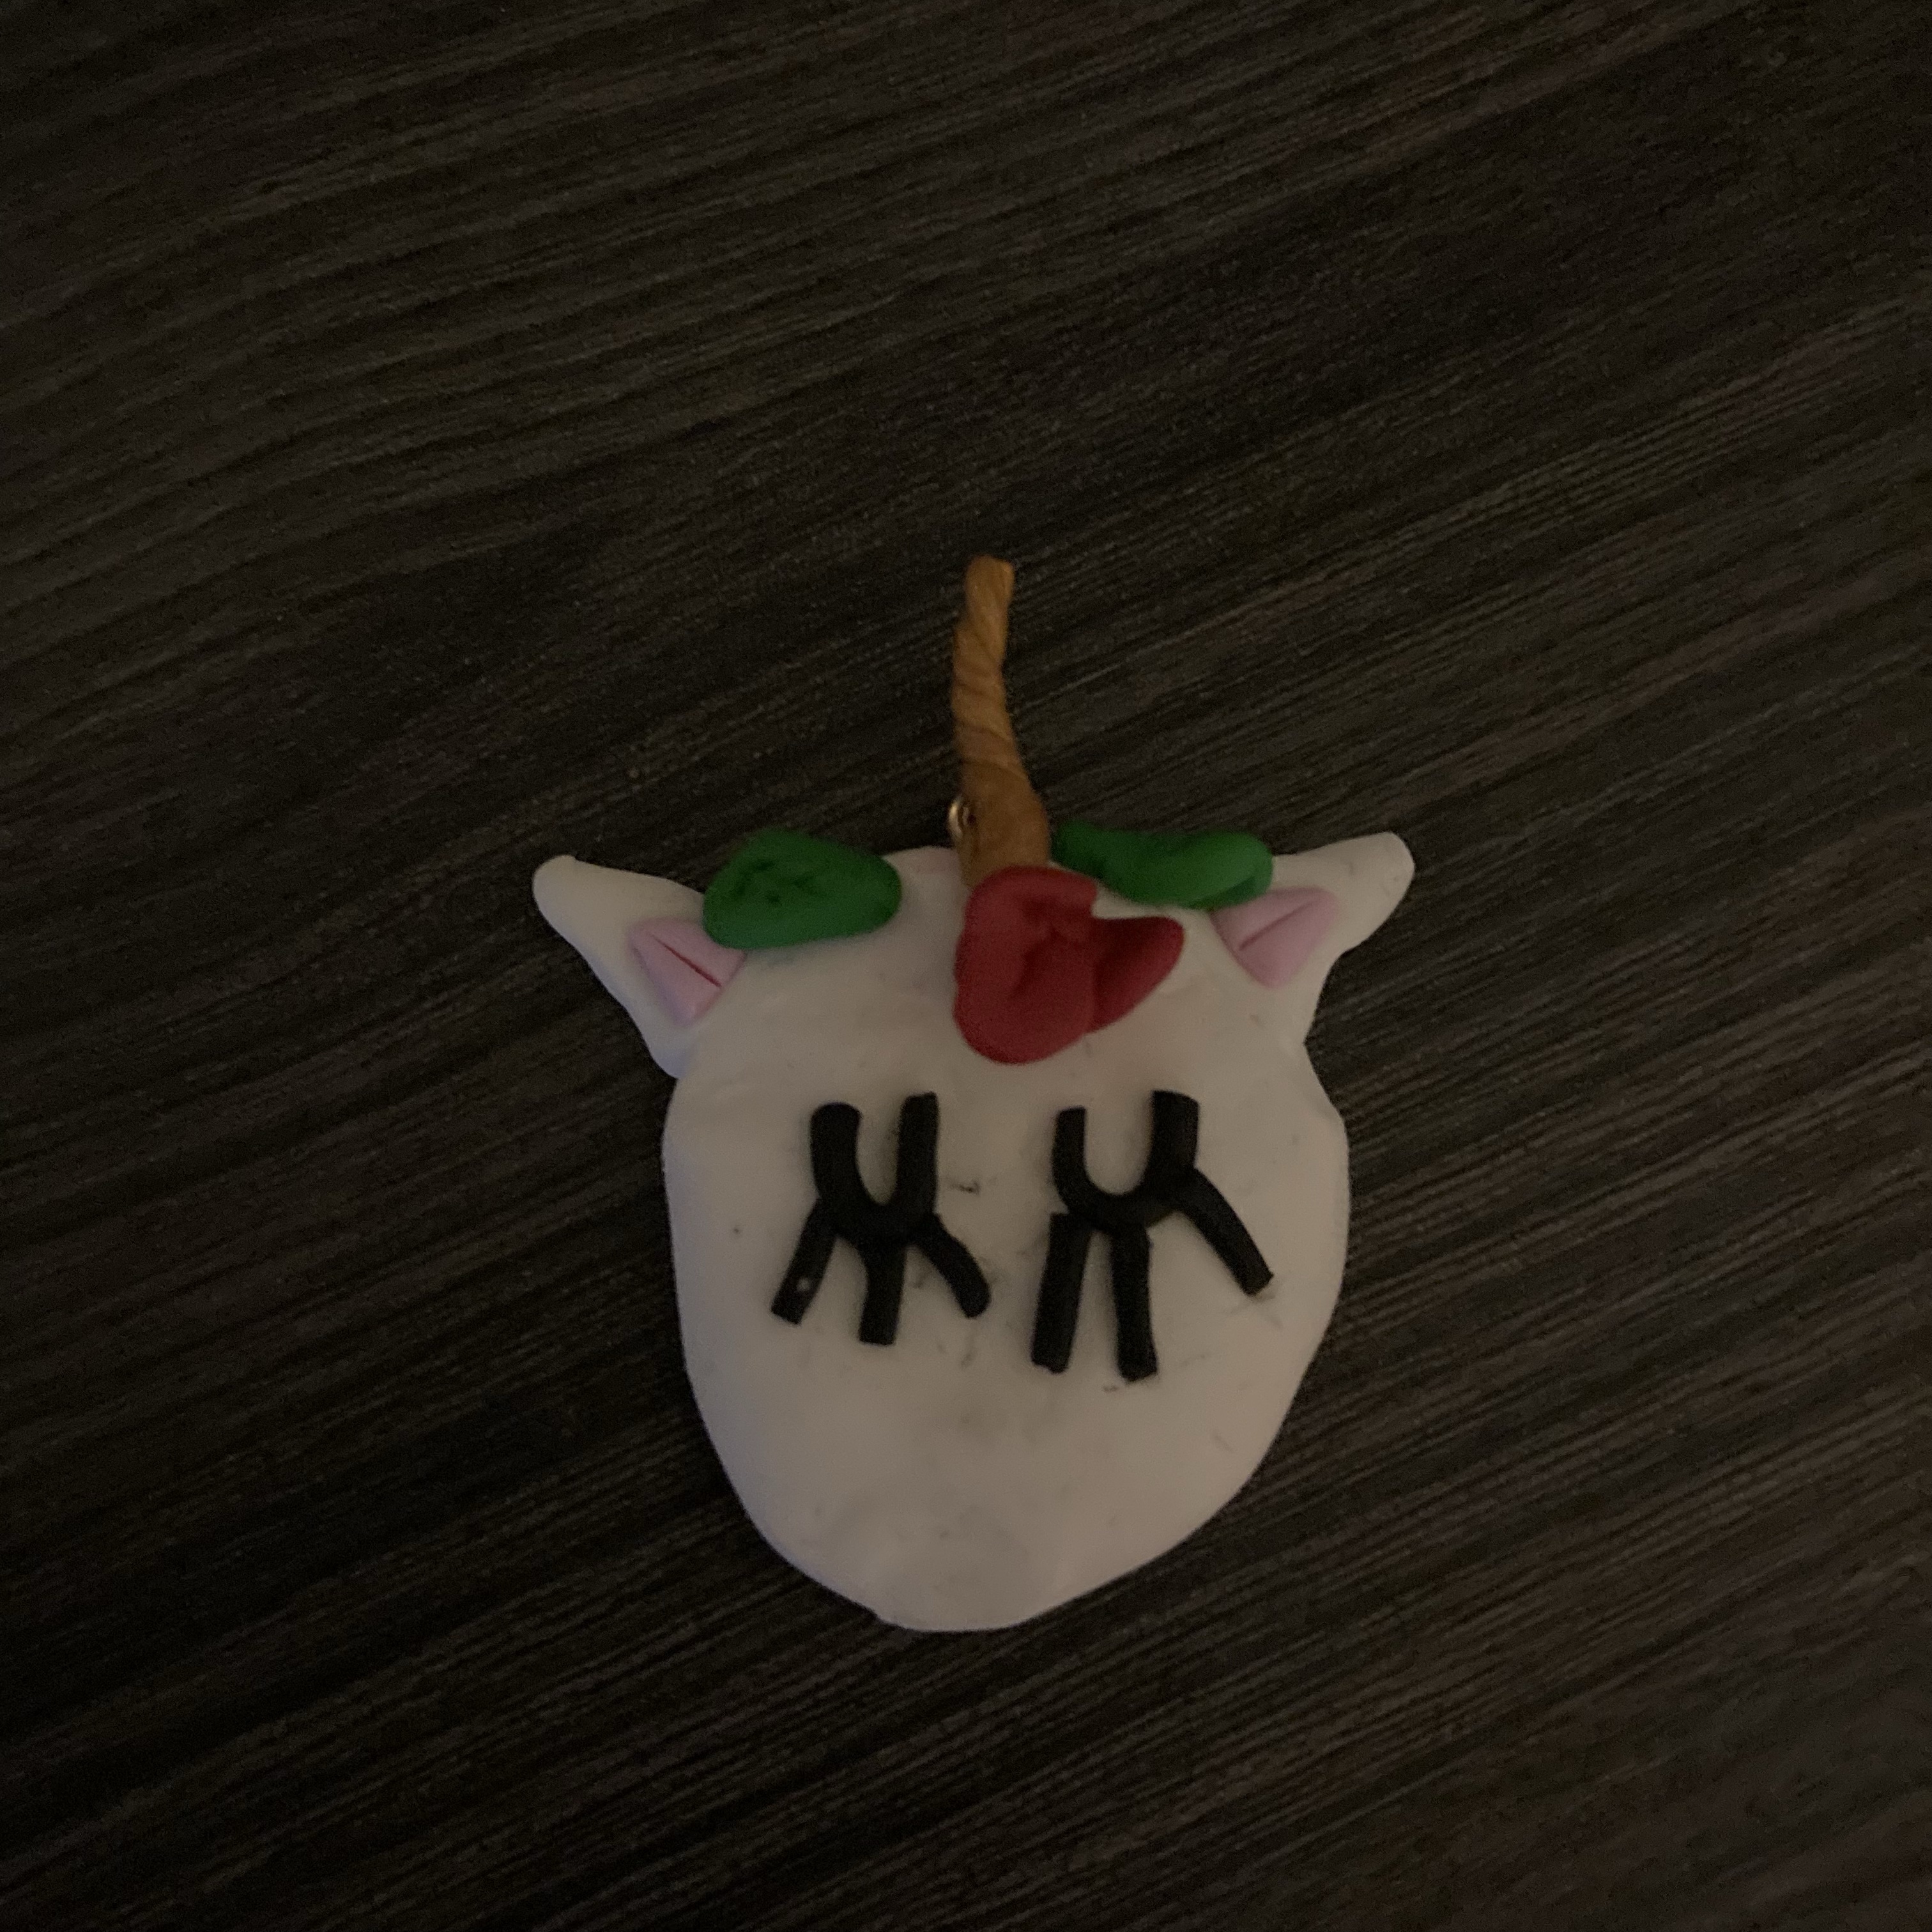
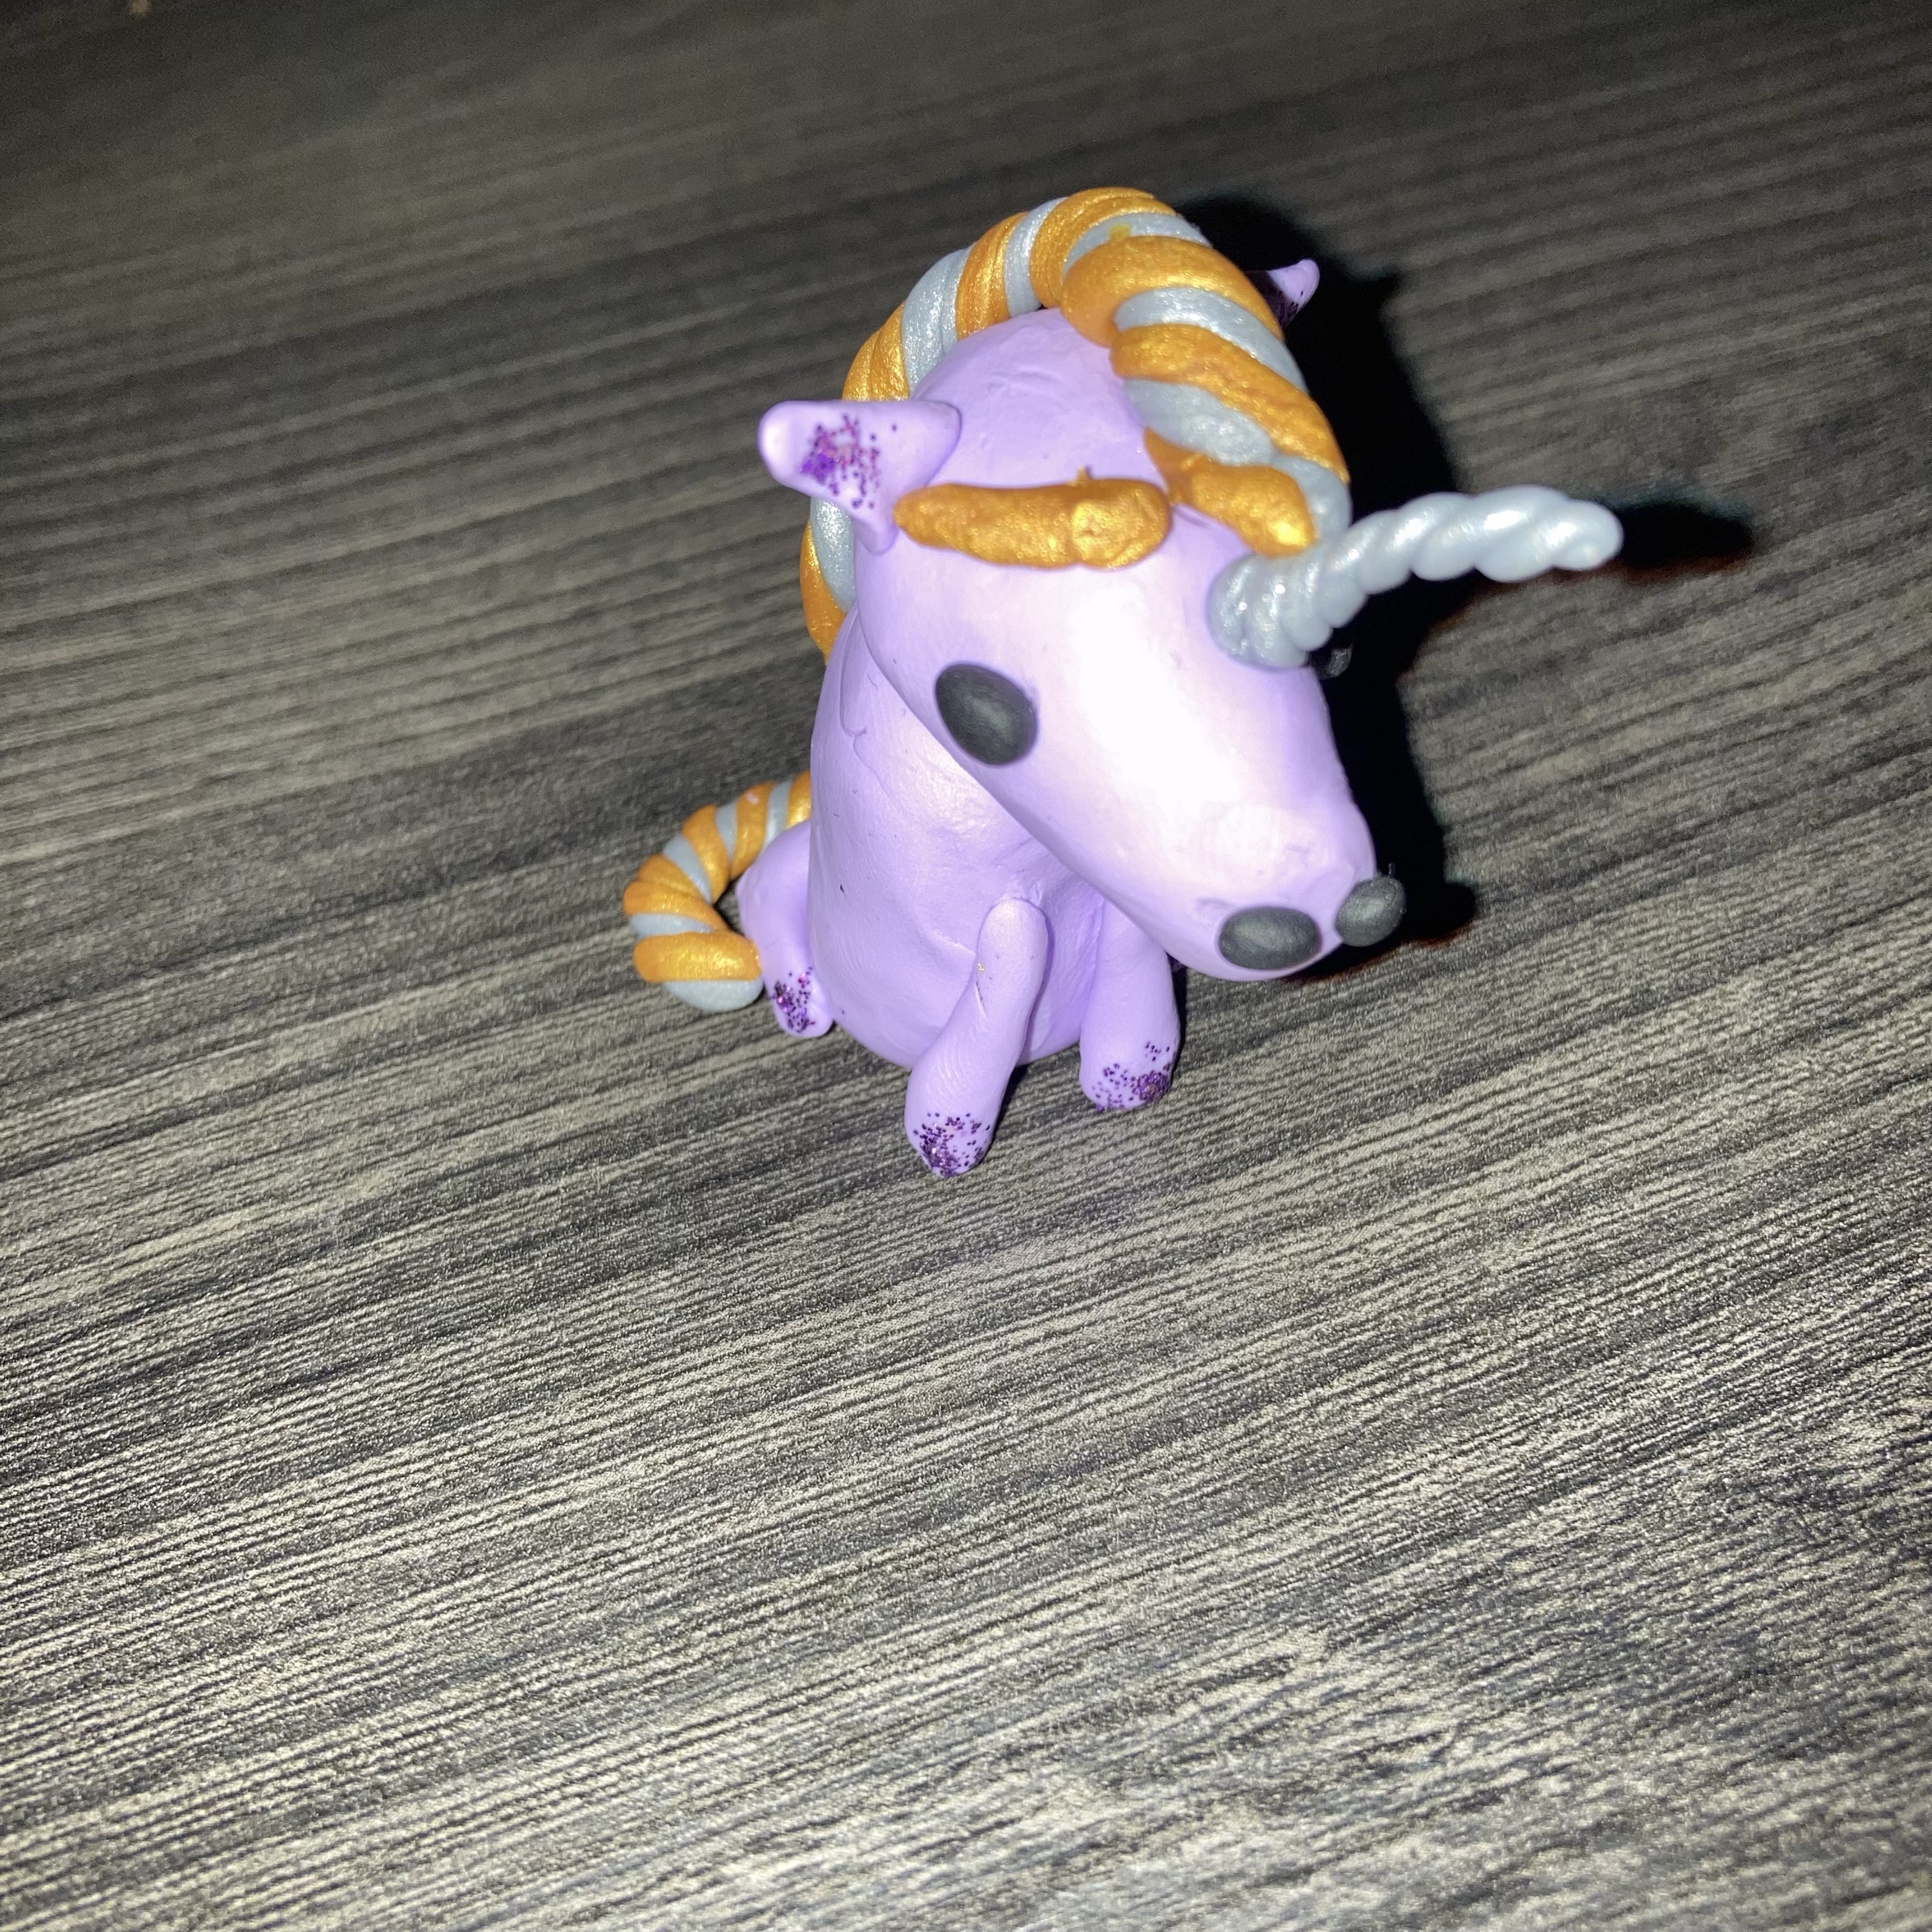
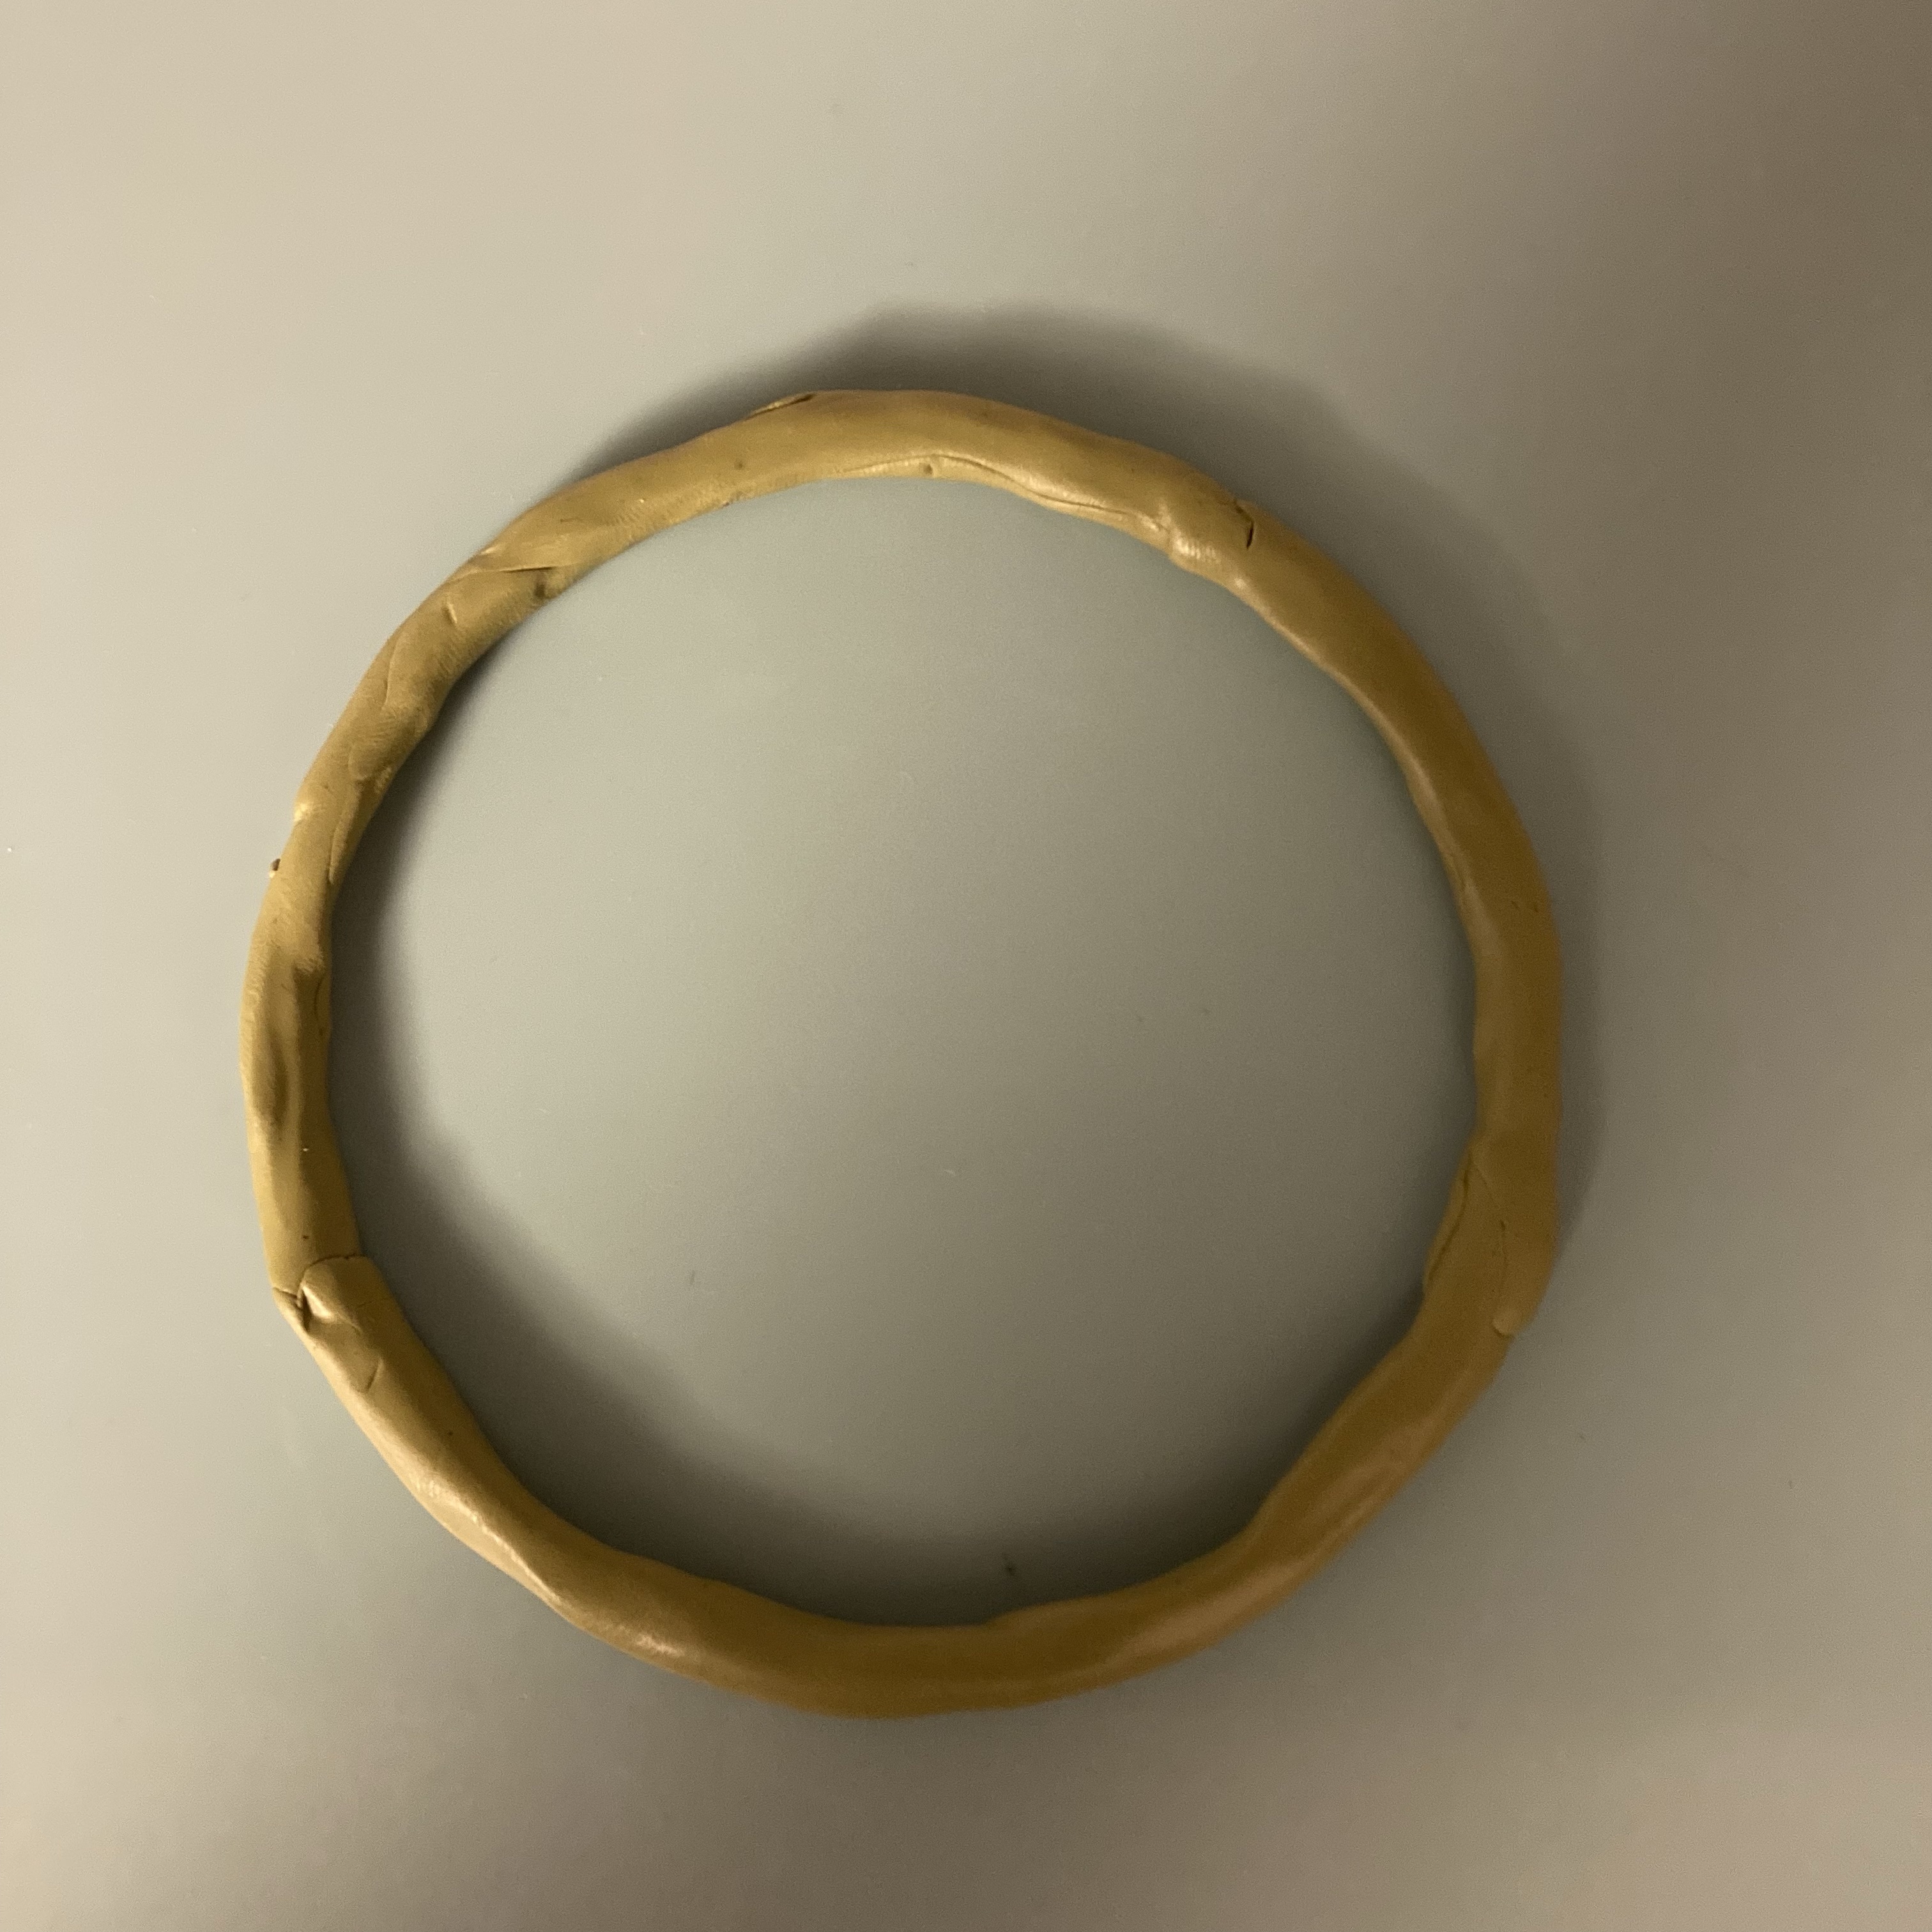
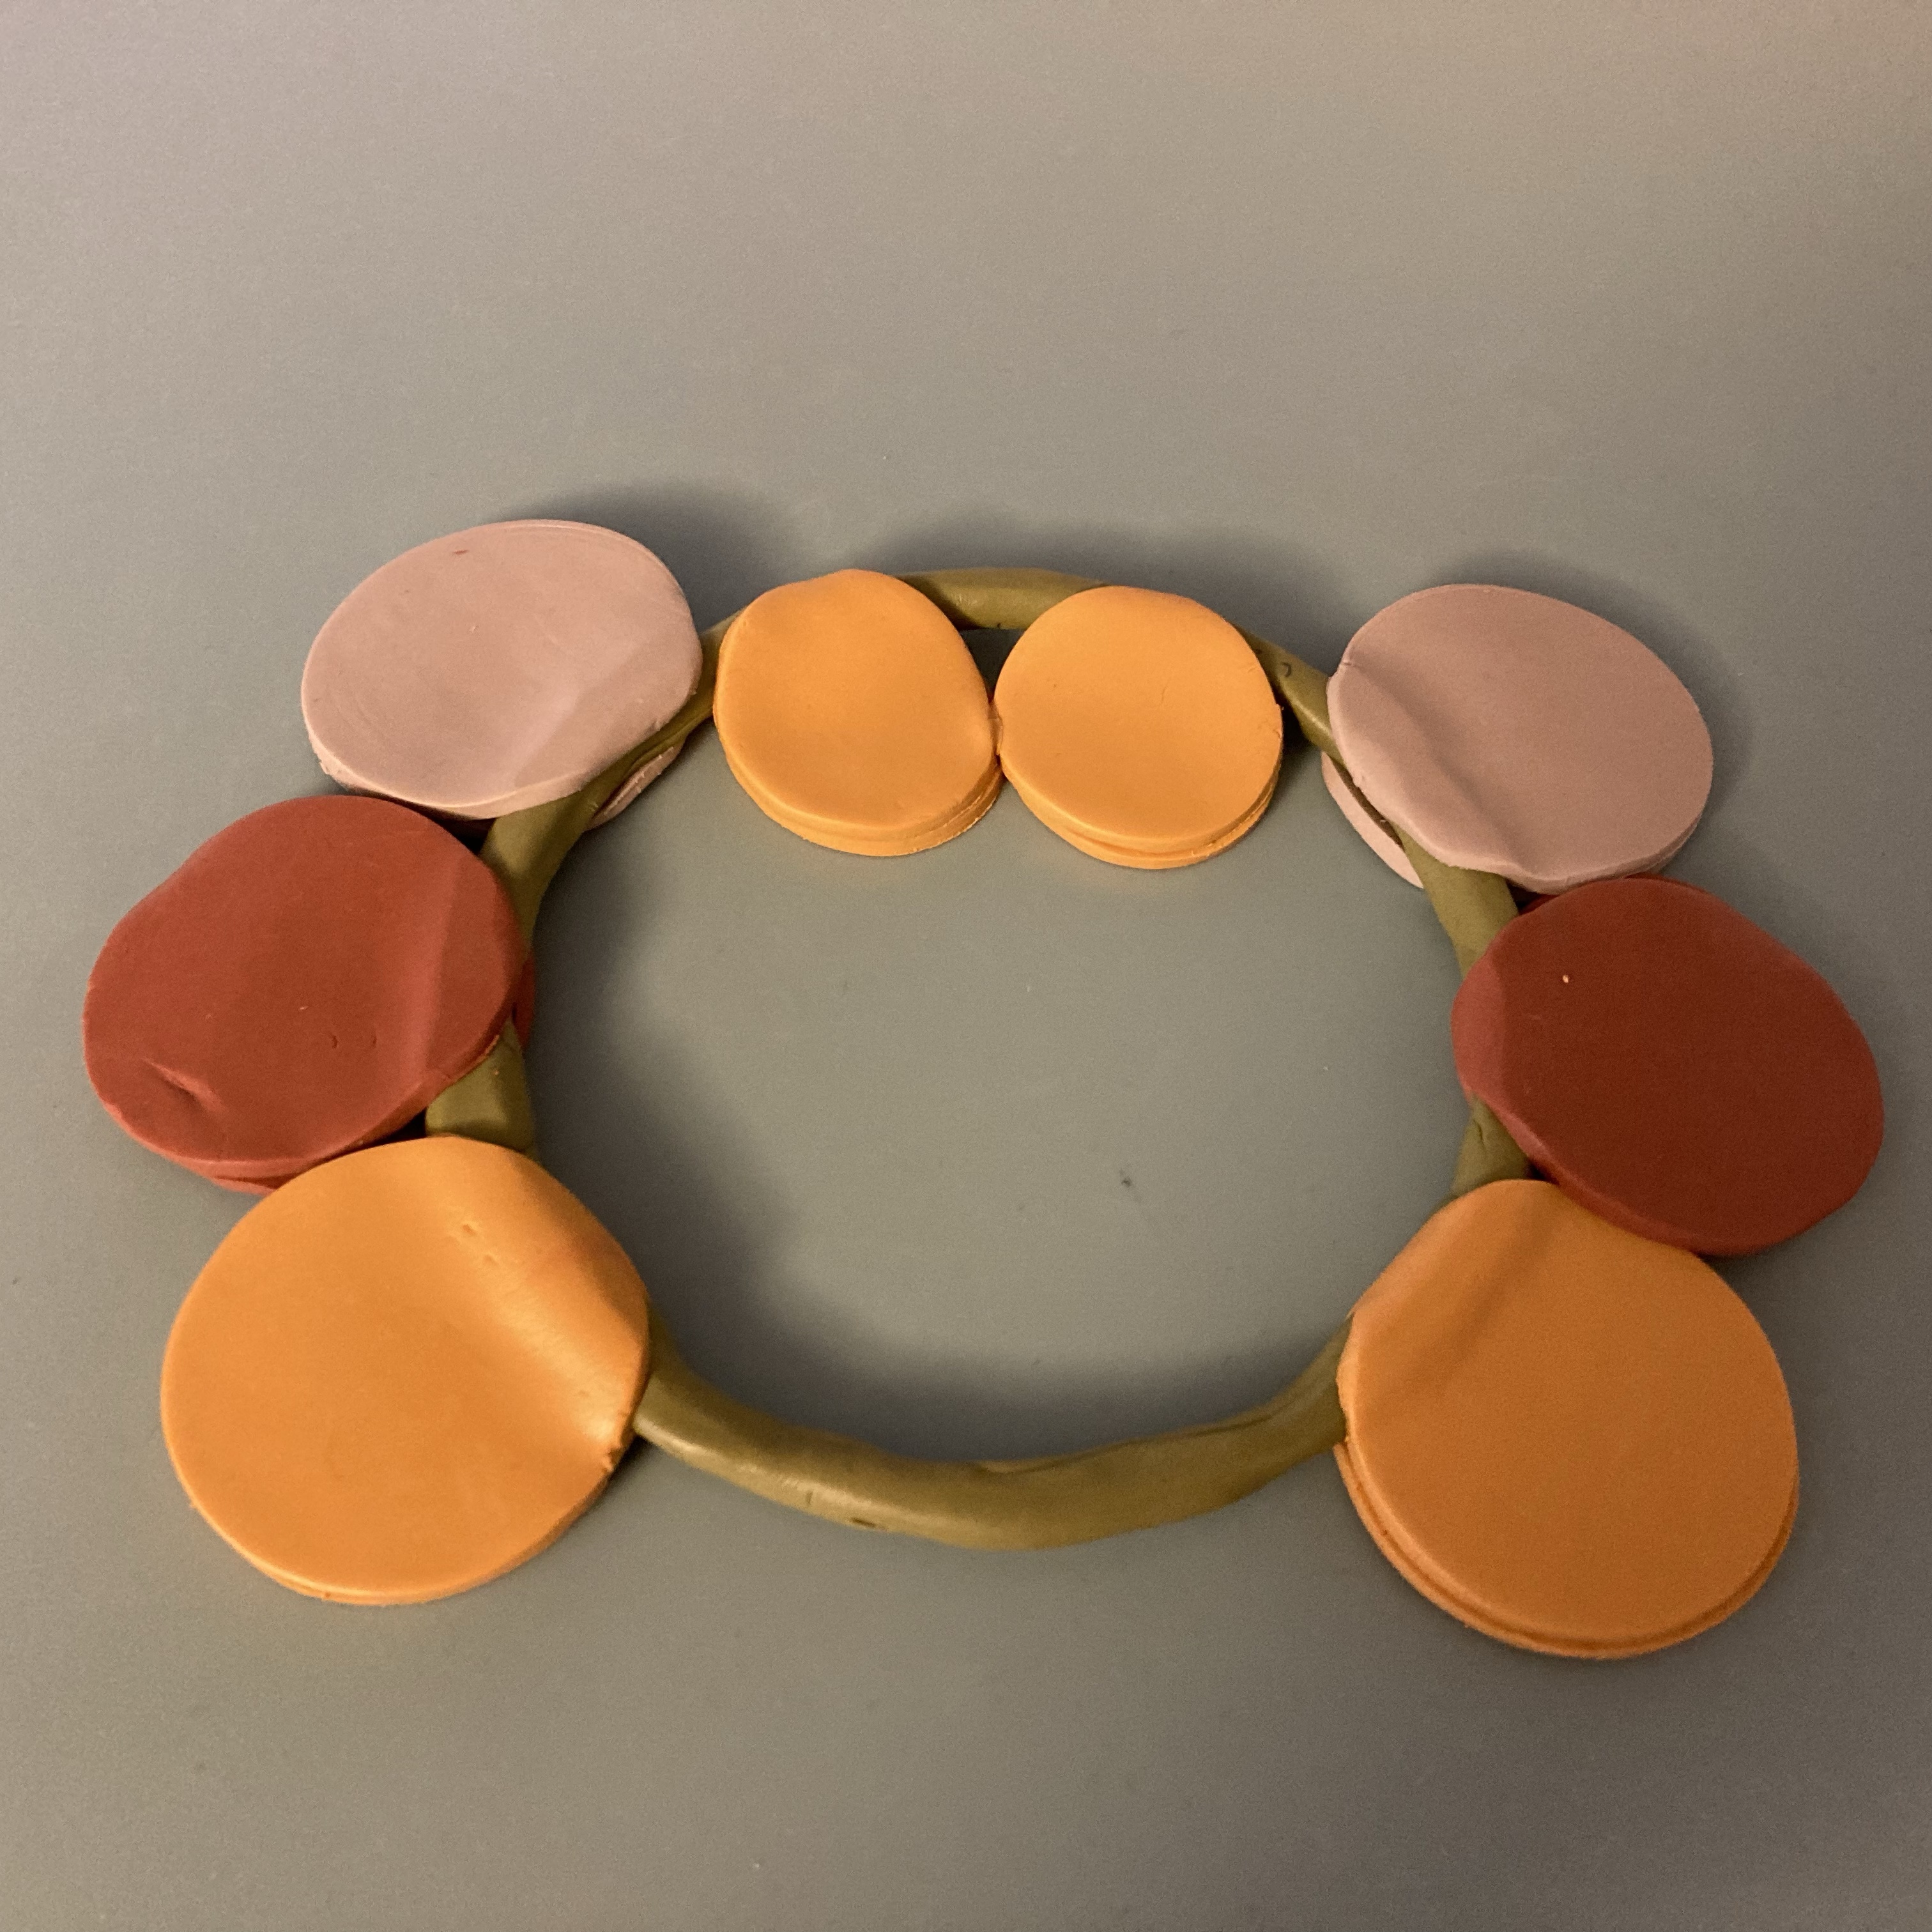
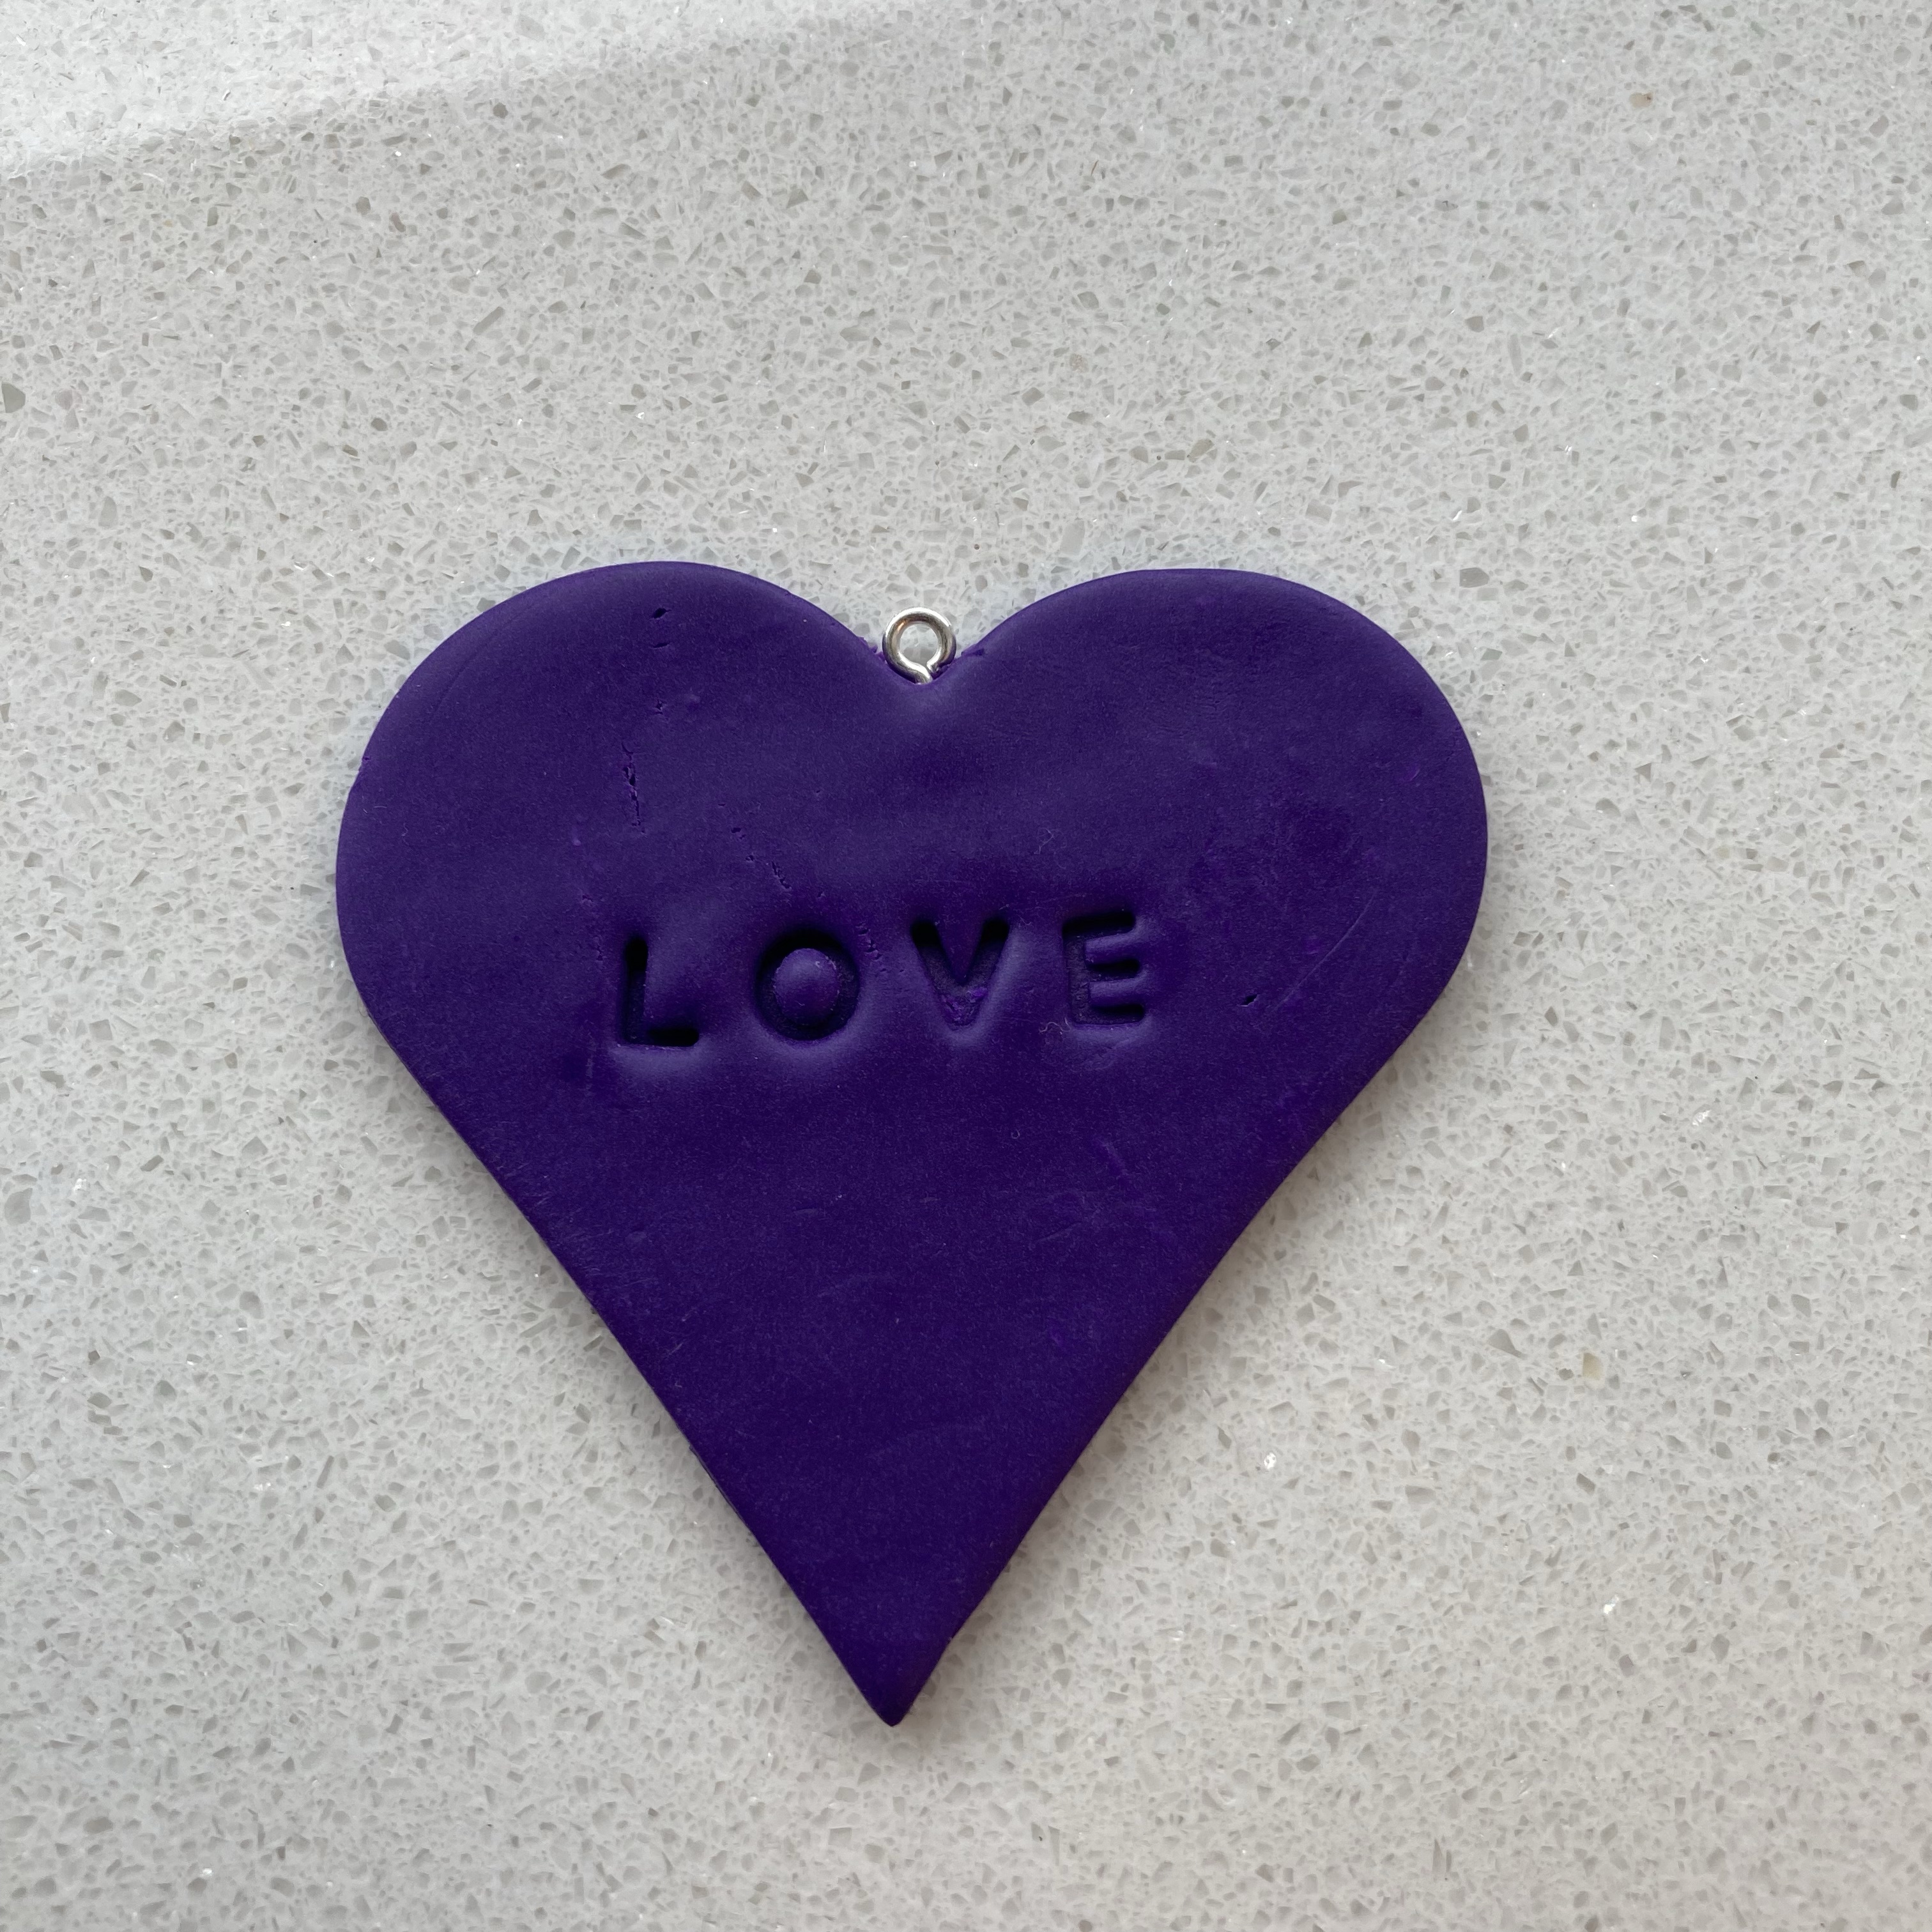
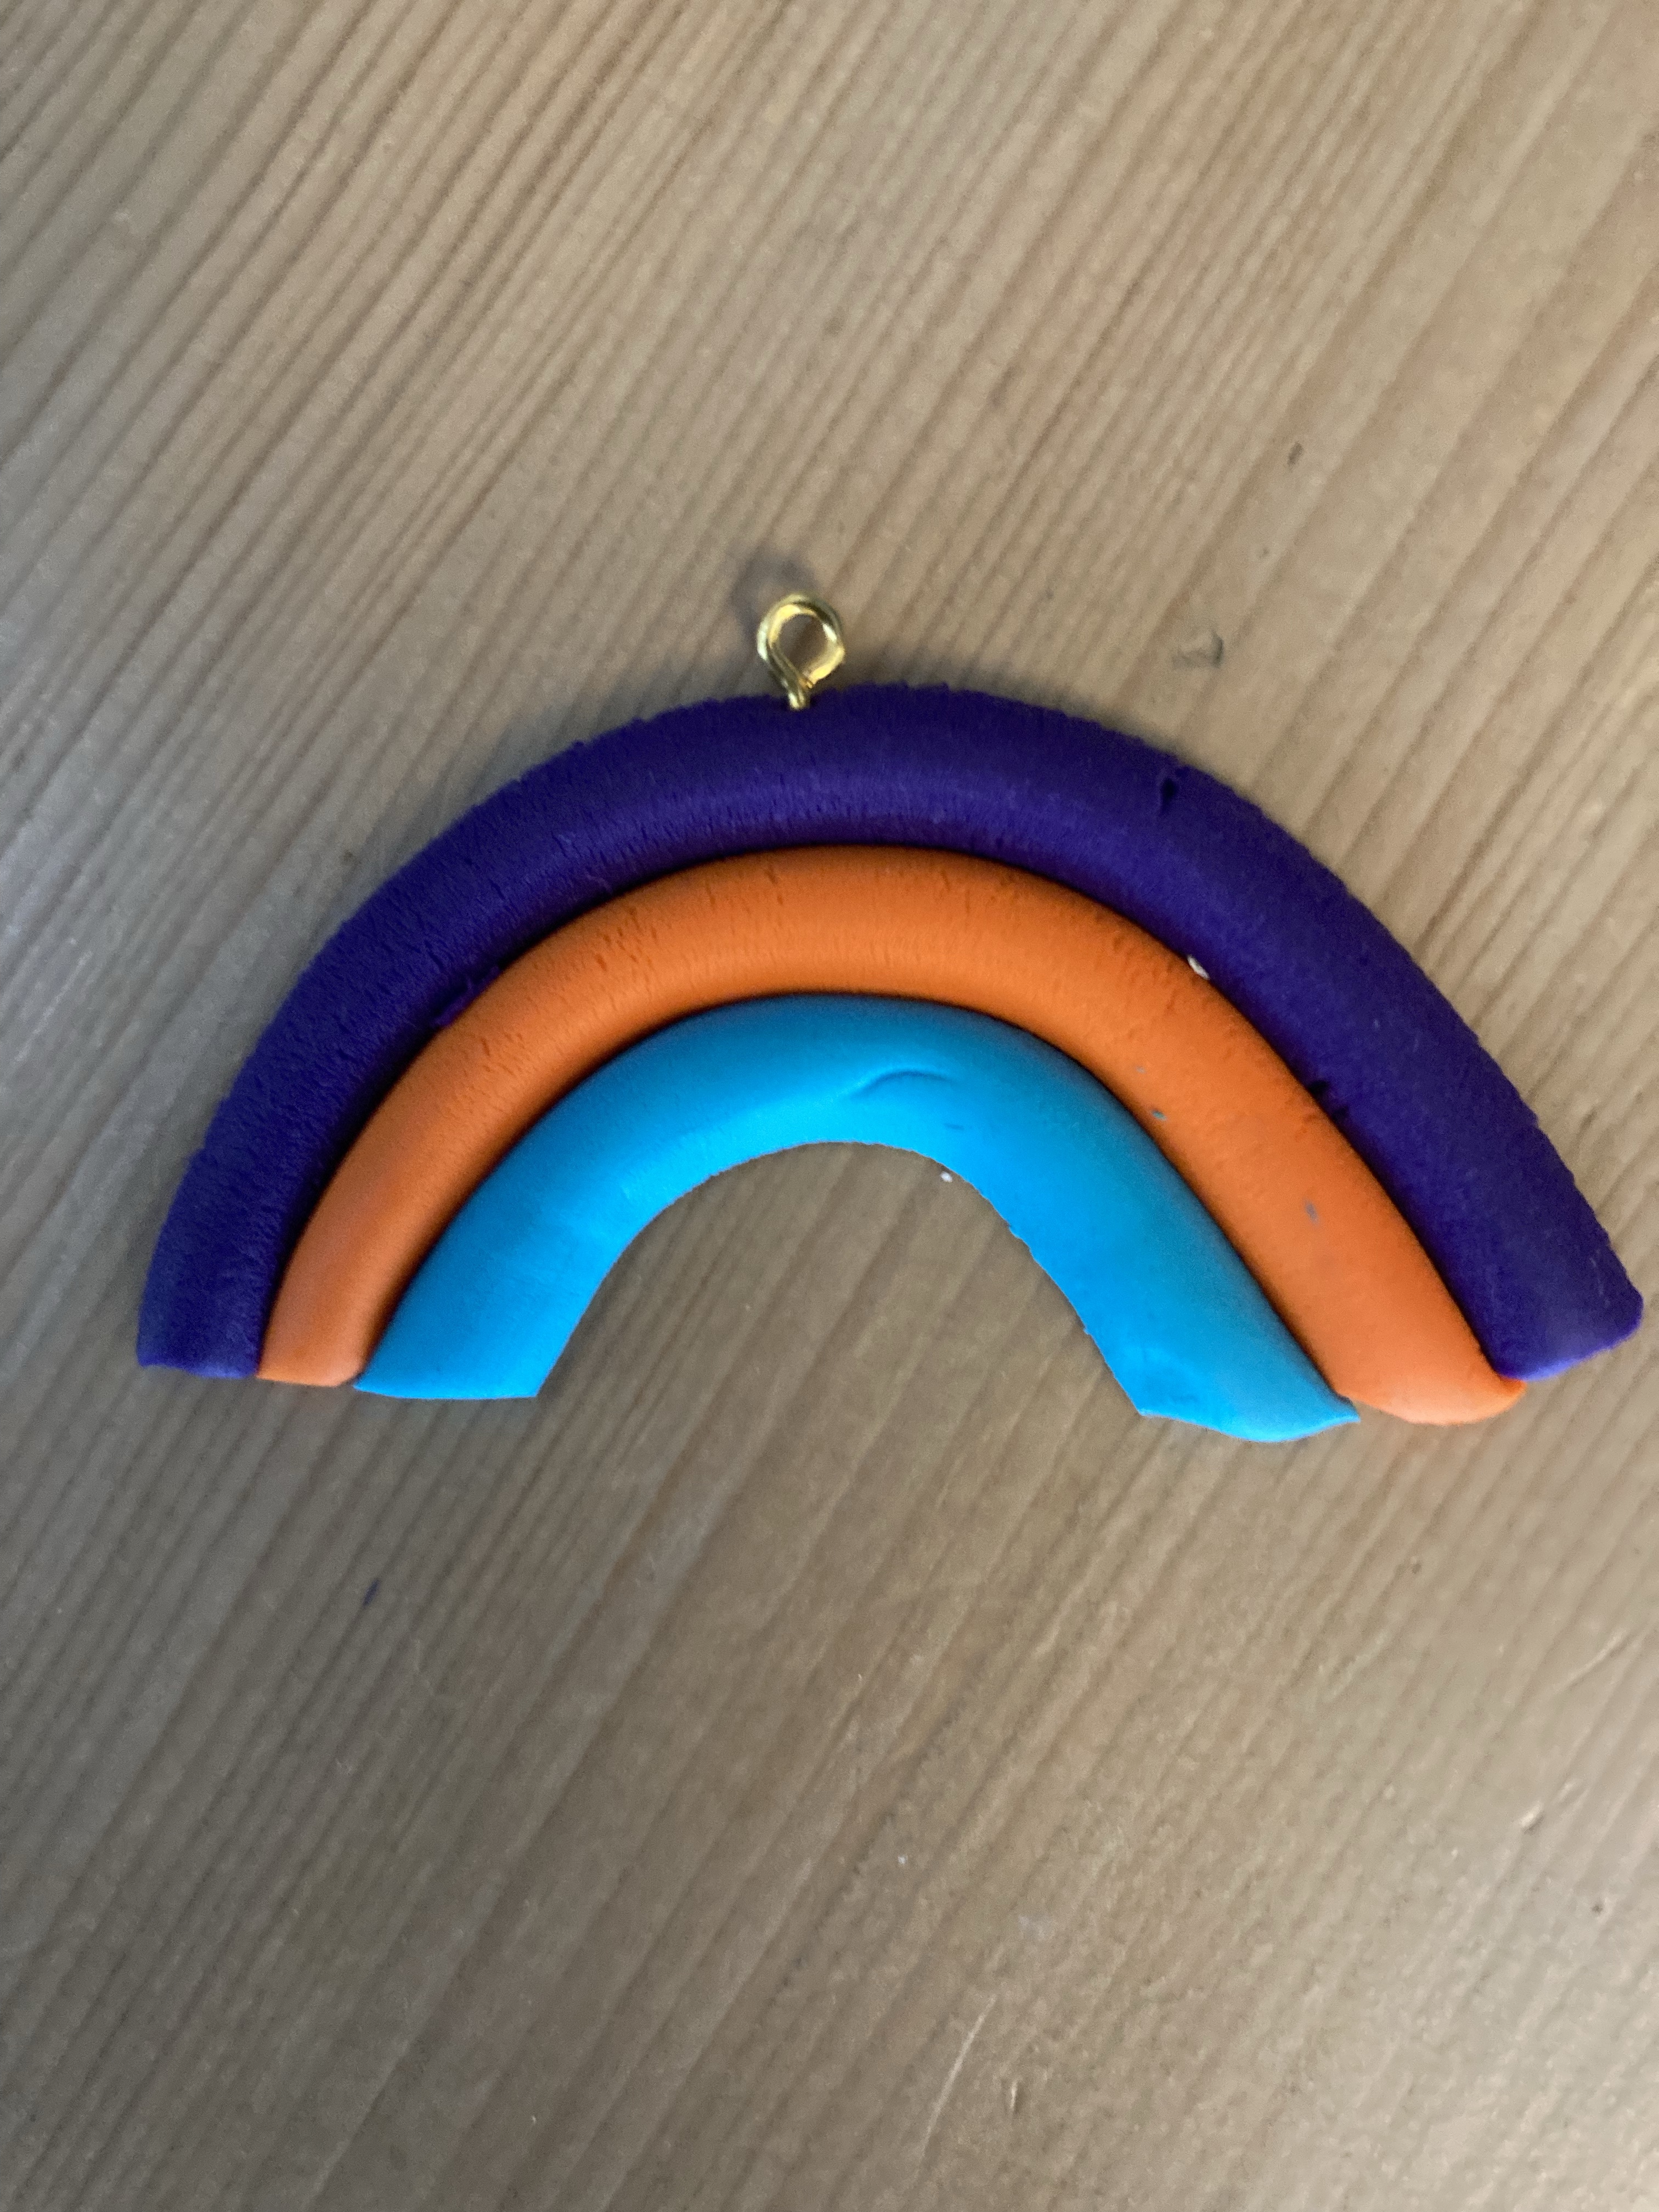
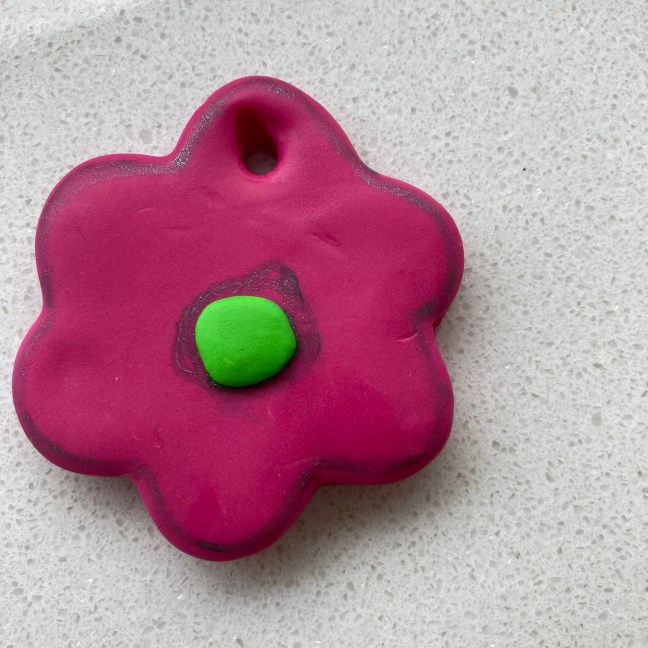
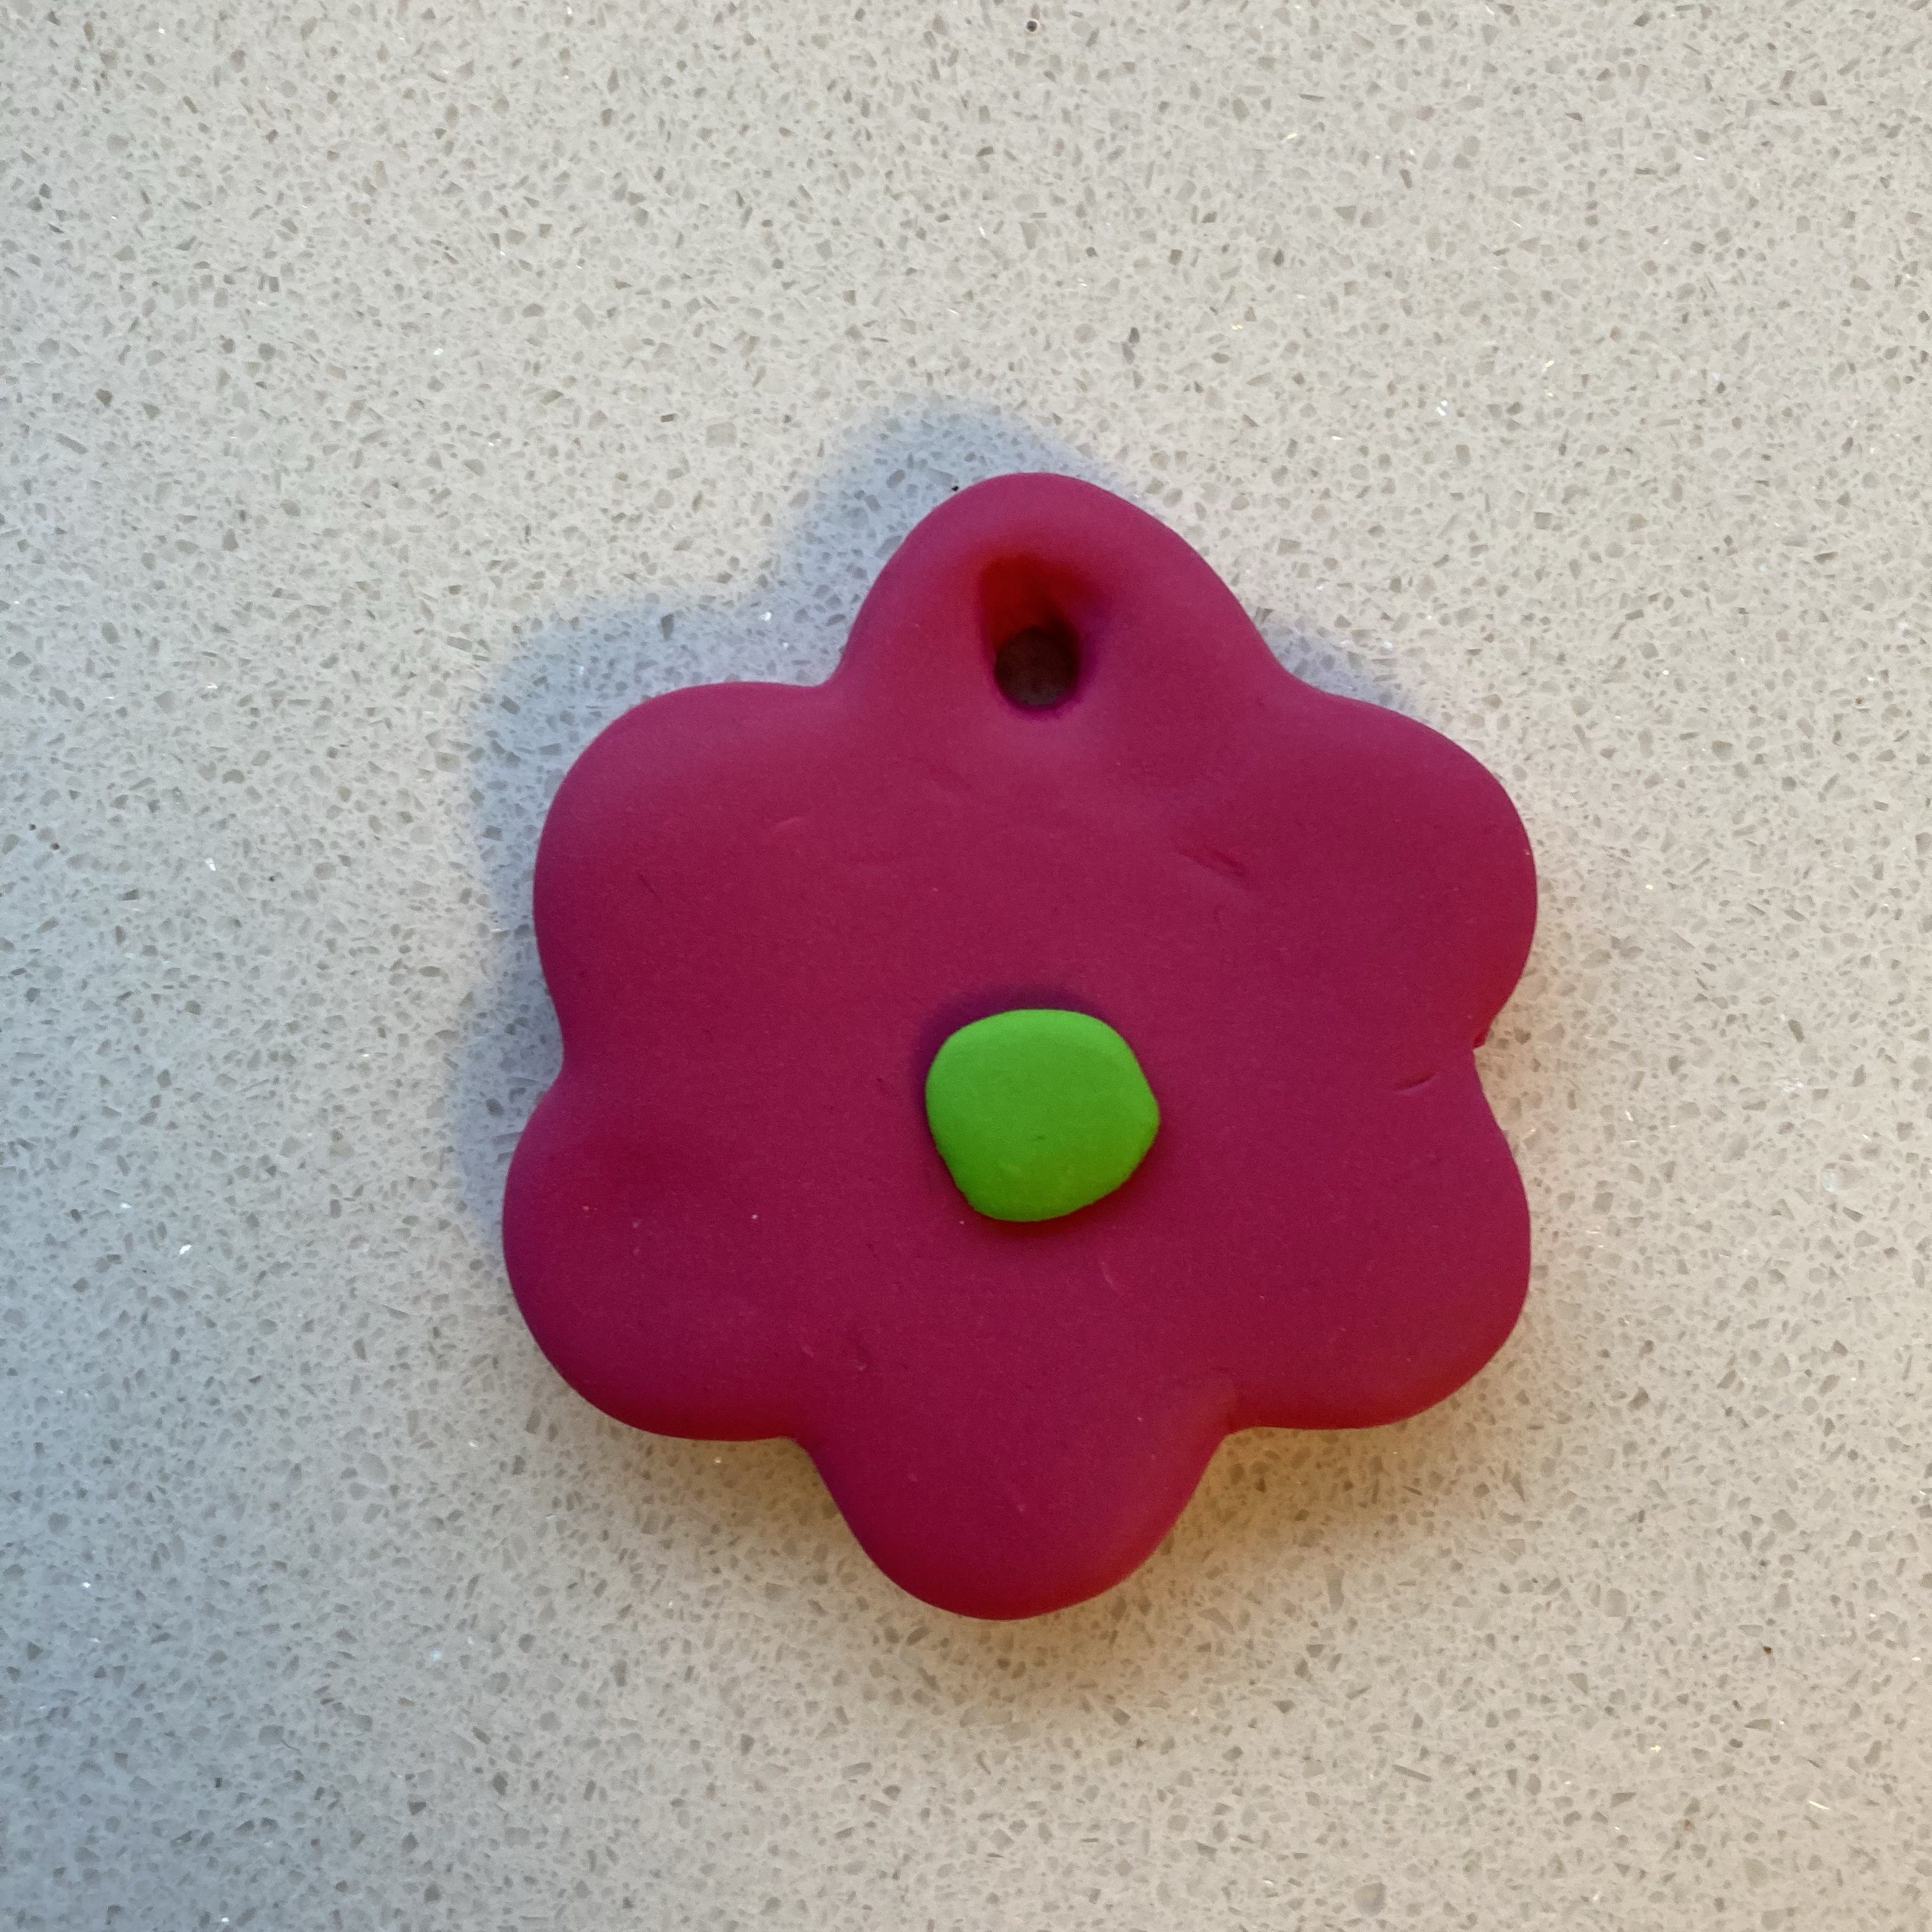
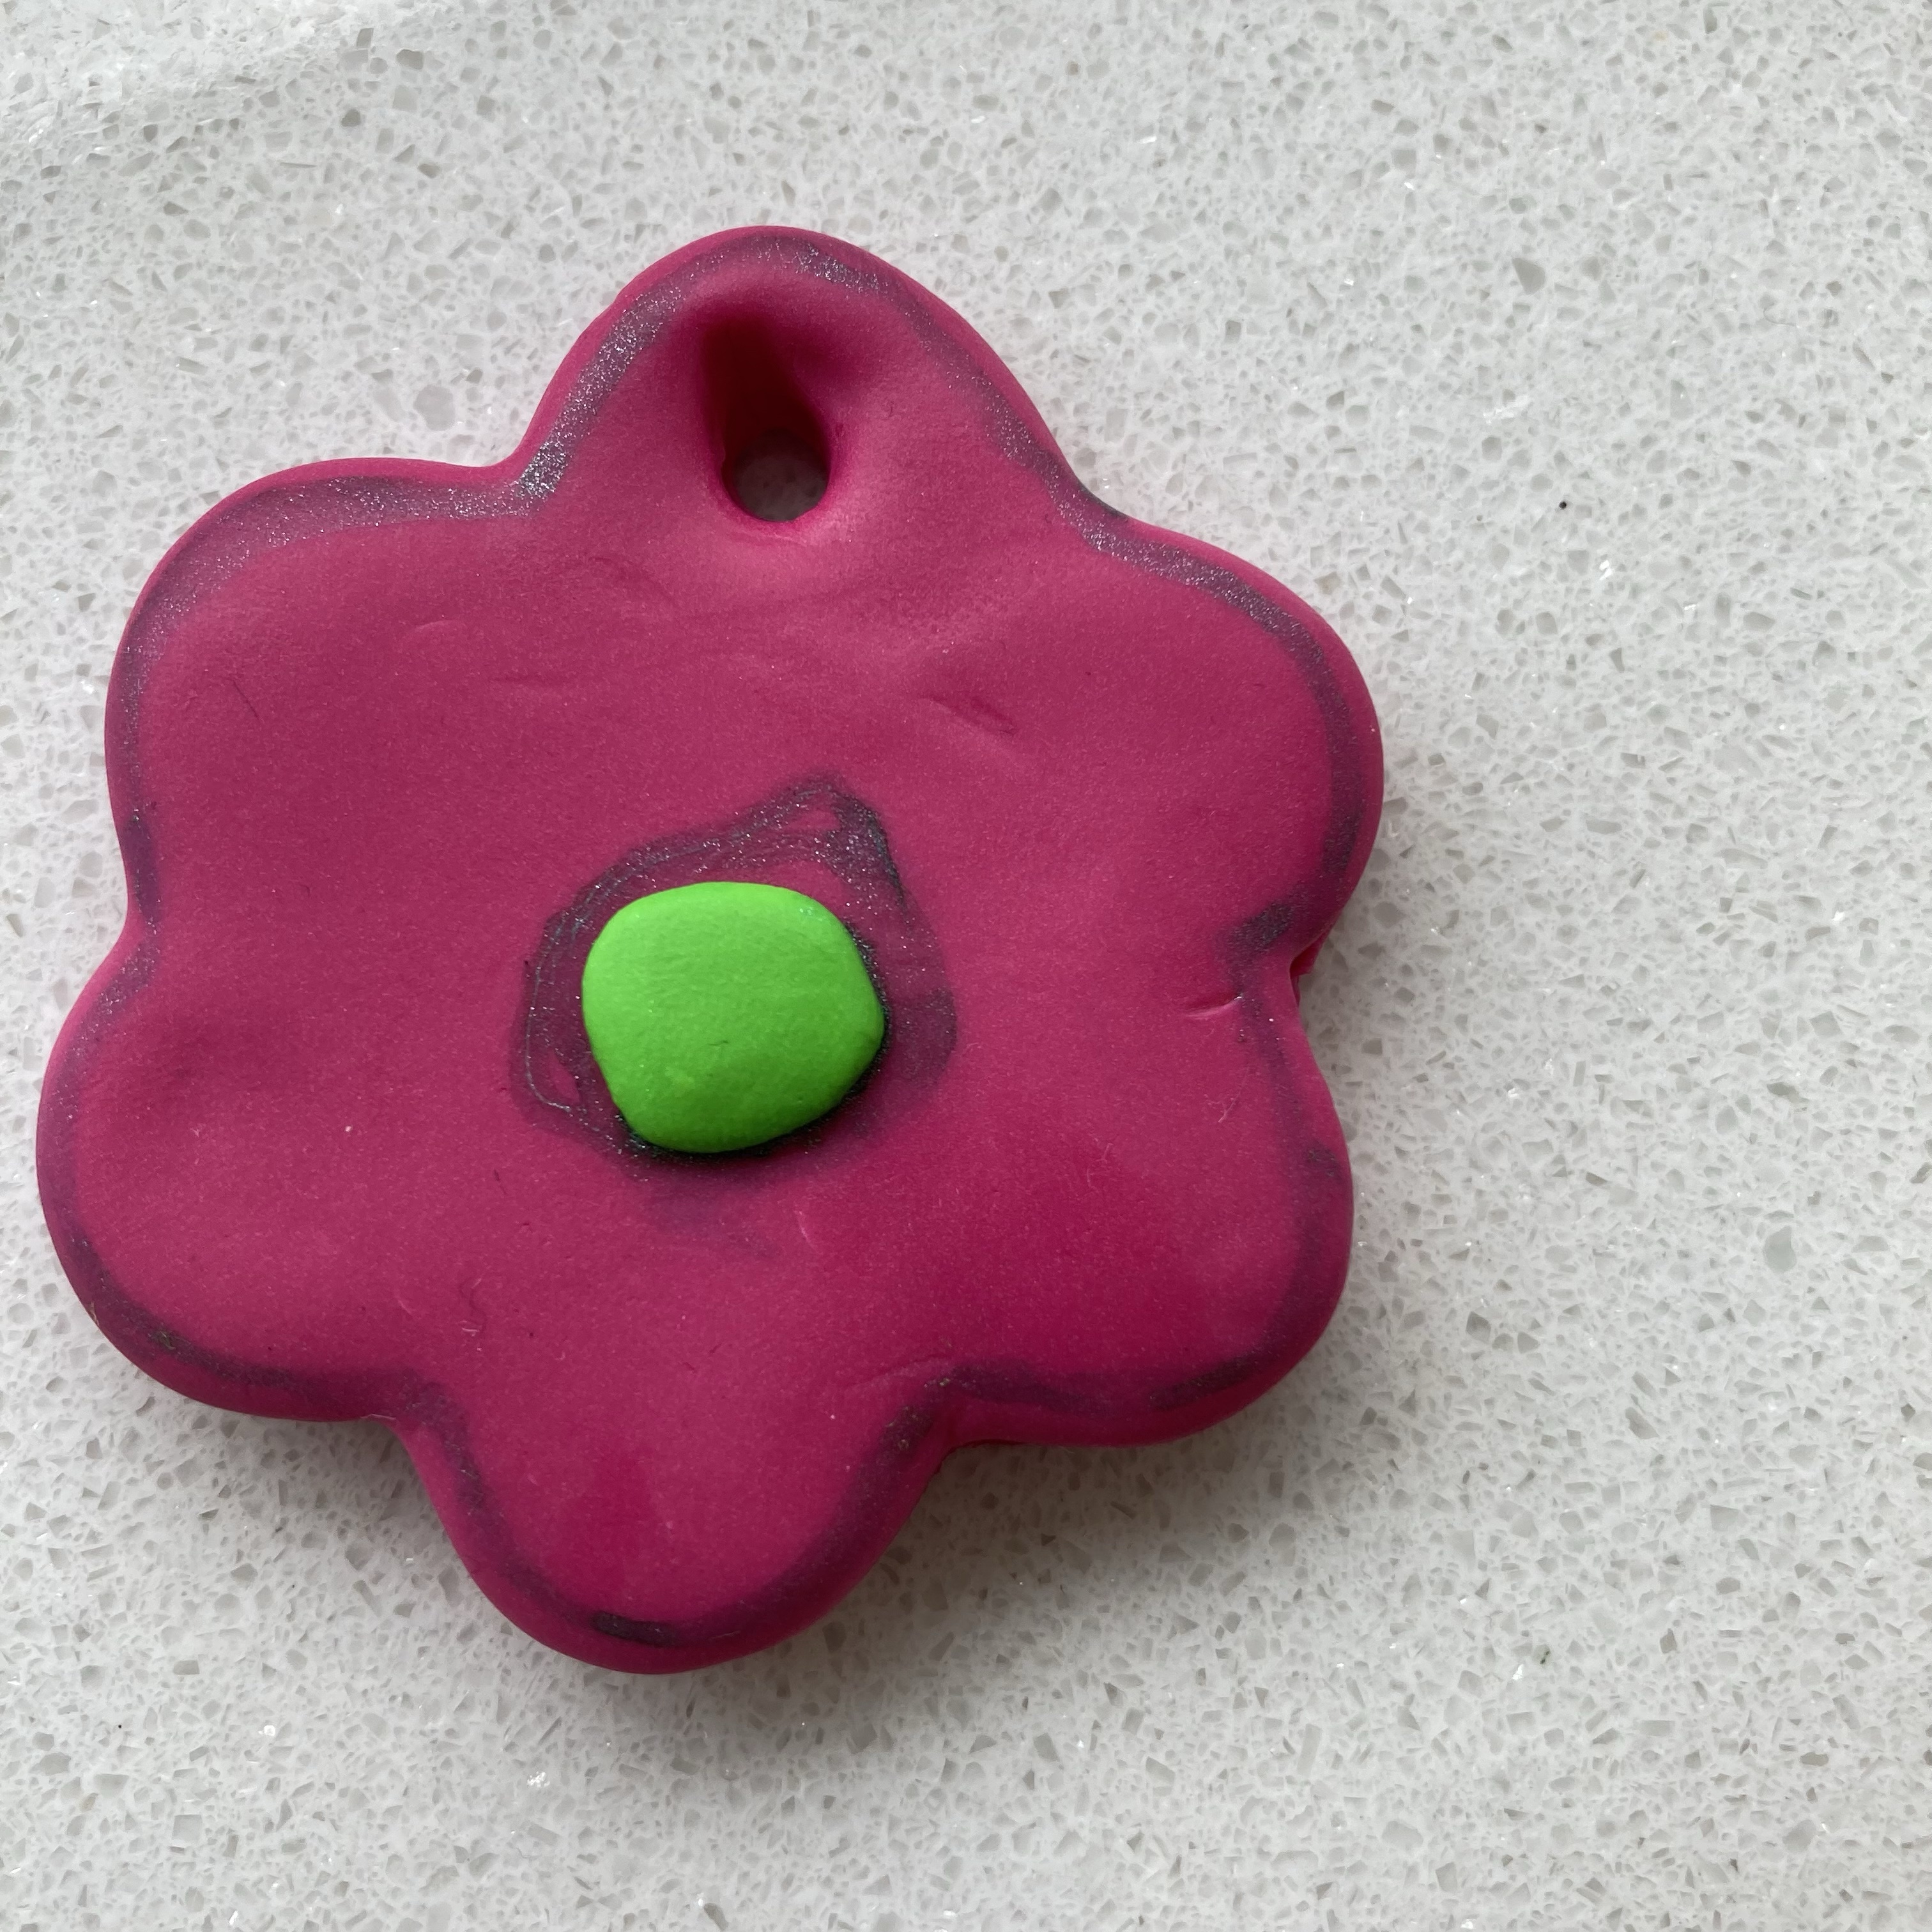
I also like to make my own beads and jewelry out of polymer clay. I created one pair of earrings back in the early days of my polymer clay journey, but glued the earring posts to the polymer clay using generic jewelry glue. Now some people do use E6000, but even that’s generally recommended against for polymer clay. The best way to attach polymer clay earrings to their posts is to cover the posts in an additional layer of polymer clay. If you want or need to use glue anyway, choose a brand of superglue gel, such as Gorilla or Loctite. I had my staff glue the below brooch to its pin using Gorilla superglue.

Color Mixing Recipes!

One of Mama Kat’s writing prompts this week asks us to write about something we collect or used to collect. Another asks us to write about something we’ve been working on this week. Yet another asks us to make one superficial wish. I am going to combine all of these and talk about color mixing recipes for polymer clay.

As regular readers of my blog will know, I am totally blind, but I did have a bit of useable vision growing up. As a result, I do still have a concept of color due to my memory of sight and also due to my synesthesia (in my case, ability to see Braille letters in color when I touch them).

As regular readers also know, my main creative hobby recently, besides blogging, is polymer clay. I love the fact that polymer clay comes in so many varieties of colors and that you can also color it with alcohol inks (which I’ve never used so far), soft pastels, acrylic paint, etc.

However, a few months ago, I discovered color mixing recipes. The vendor I impulsively bought a small collection of five recipes from, builds its recipes on four basic colors of Fimo soft: white, sunflower yellow, Indian red and brilliant blue. I immediately bought all four colors, but didn’t yet have a precision kitchen scale to be able to weigh out 0.25g, for example.

This past Sunday, I bought such a scale and also bought another collection, this time of 60 color recipes. Even though I can’t yet say I actually collect polymer clay color recipes, I would really like to.

That brings me to my superficial wish: an endless supply of free Fimo color recipes. There is an app that provides color recipes based on the colors in photos, but it’s available only on Android. Besides, one of my staff tried it yesterday and it constantly crashed. It also uses Fimo professional. Now I don’t mind that, since the advantage of Fimo professional is it actually comes in the true primary colors, such as true yellow, true magenta, etc. I would really love to be able to try to mix those colors too, as I’ve heard mixing actual true primaries creates more vivid colors than mixing fake primaries such as sunflower yellow and Indian red.

By the way, here is a blob of polymer clay in the first color I created using my new collection of color mixing recipes and my precision scale: moss green.

Of coursse, since I didn’t create anything with this color yet, it looks a bit weird, but I’ll be using it in a fall-inspired craft project I have in mind.

Since then, I’ve created two more colors, both for the fall-inspired project too: camel and burnt sienna. I have also been oohing and aahing at a ton of color recipes I would like to buy someday still. But they’re better if they don’t cost me money. So, if Mama Kat’s friendly genie would please pop by me and grant me that endless supply of free Fimo color mixing recipes, I could create all the colors I want.

Mama’s Losin’ It

Crafting Unicorns!

Hi everyone. I came up with today’s prompt for #JusJoJan and it’s “Unicorn”.

I love love love unicorns! I have two unicorn soft toys. One, I got when I left the first day center with my current care agency back in early August of 2018. The other, I got in my Christmas hamper at the next day center that year.

Other than soft toys, I also have a number of unicorns I crafted out of polymer clay. Today, I am going to show you a few of my recent creations.

First up is a white unicorn charm. It is mostly two-dimensional, which I don’t really like, because it means its horn sticks out up rather than forward. It has a rose on top of its head. That one took me about half an hour to craft, because my Fimo Soft polymer clay was just a little too soft for my liking. For the rose, I used the color Cherry Red and I used Tropical Green for the leaves. The horn is done using Metallic Gold Fimo Effect.

The next unicorn I’m going to show you is my favorite so far. It was done using Pastel Lilac Fimo Effect. I did the mane and tail in Metallic Gold and Metallic Silver and used Metallic Gold for its horn. I added some purple glitters to its legs and ears for some extra sparkle.

Then last Thursday, I tried to create the perfect unicorn. I originally wanted to create the same unicorn as above but put it onto a green, flower-shaped slab. Eventually, I ended up choosing a different color, Fimo Soft Lavender, for this unicorn’s body. I did create the mane and tail using Metallic Silver and Metallic Gold again. Again, I added glitters, gold this time, though just to its legs.

Unfortunately, I forgot to blend the unicorn’s horn into the head and/or secure it with liquid clay. Rather, I secured it using wire only. This means the horn is a bit loose, which I’m told isn’t really visible but it does bother me. This is the reason I don’t think this is my best unicorn so far.

What do you think of these? Do you like unicorns?

Christmas Crafting!

I have a confession to make: this is my first year ever actually doing Christmas decorations. I used to like them as a child. Particularly though, I liked fidgeting with the little wooden snowmen and angels and Santas in the Christmas tree.

When I left my parental home to go into independence training, it never occurred to me to decorate for the holidays. Besides, I was back with my parents over Christmas. I never celebrated Christmas in my independent living student accommodation and once in the mental hospital, I hated decorations with a passion. During my first year there, I even ripped them all off. I don’t think my husband cared much for decorations during the years I lived with him either. Then when I went into the care facility, for the first two years, apparently I wasn’t feeling stable enough to decorate my room. In fact, I never quite considered it “my room”. Now I sort of do. I consider that a major win, since it means I’m beginning to feel safe in the care facility. Maybe the fact that I started decorating for Christmas, has some symbolic meaning.

I don’t have a lot of decorations. I have a store-bought, simple, ready-made Christmas tree and a couple of smaller decorations here and there. The point is I have something though.

In addition, this is probably the first year I’ve genuinely crafted something for Christmas too. I mean, during the year I did card making (around eight to nine years ago), I did create Christmas cards too, but these were so ugly a five-year-old could have made them. This year, I actually added my very own home-crafted piece to my Christmas decor.

First, several weeks ago, I created a cookie cutter polymer clay Christmas tree charm. I fully intended on finishing it off with gold Fimo Liquid after adding the balls, but decided after it got out of the oven that I didn’t really like the way it turned out after all. I don’t have a picture for this reason.

Then, last week, I found out how to make an actual three-dimensional Christmas tree. I made it using the same color (Fimo soft Emerald) I’d used for the cookie cutter charm. It’s a shame Fimo doesn’t offer Christmas tree green! I added two colors of balls (Indian Red and Metallic Gold) and added a Metallic Gold star for its top.

Later that week, one of my staff told me about a project she’d been working on in which she’d used a metal ring, a part of a tree trunk, a string of lights and some washi tape to create a Christmas decoration. I thought to myself, how fun would it be to glue my polymer clay Christmas tree onto the tree trunk and work from there.

On Friday, fully having the tree trunk and metal ring project in mind, I created a polymer clay snowman too. That was a bit harder, because it had to be smaller than the Christmas tree and of course the snowman includes more intricate features.

On Saturday, when the staff who’d talked about the tree trunk project came by, she showed me the tree trunk. I think here’s where my concept development is a bit lacking, as I had absolutely no idea how huge a tree trunk would be. In my mind, I had imagined a small piece of wood, but it was the actual trunk of an actual, large tree. Yes, she’d said a tree trunk, right? Needless to say my Christmas tree, which isn’t even 10cm high or 5cm wide, would be invisible when used on this trunk.

Instead of the trunk, we decided to use a small piece of cardboard to stick the Christmas tree and snowman onto. I am not sure how well they will remain secured, as I’ve heard mixed messages about glue and polymer clay. The fake snow we used to spread around the tree and snowman, also hardly stuck at all, but for now, it’s in its place.

We decided to use a much smaller ring than the one my staff had had in mind, because of course the large ring would again drown out my polymer clay sculptures. Since the string of lights was meant for the large ring, we couldn’t use that, but we could use some mini Christmas balls and washi tape.

I couldn’t do much in creating this final project, as most of the parts had to be glued together using a glue gun, but I don’t mind. I like that I at least did the polymer clay crafting.

Do you usually do any Christmas-related crafting?

Linking up with Inspire Me Monday and #LifeThisWeek.

DIY Polymer Clay Owl on a Metal Ring

O(w)live

Hi everyone! I already shared a few times about the polymer clay owl I’d been making over the past few weeks. Now that it’s finished, I finally wanted to show you what the final product looks like and how I created it. I apologize in advance for not having photos of each of the steps.

What You’ll Need


  • A metal ring. Mine is about 12cm in diameter.

  • Polymer clay in your desired colors. You will need colors for the ring (this is the owl’s body), the wings (three pairs), eyes, beak and legs. I used the same color for the beak and legs and for one of the pairs of wings and the eyes.

  • Round (two sizes) and heart-shaped cutters to cut the different body parts.

  • Your usual polymer clay tools, such as a pasta machine or acrylic roller to roll out your sheets of clay before cutting. I used my pasta machine.

  • Plastic eyes to stick onto your owl once baked.

  • Glue for sticking the eyes onto the owl.

How I Made My Owl

First, I cut long, rectangular strands of clay out of my sheet of the color I used for the ring. I went with olive green thinking it meant the owl sat on a branch, because I didn’t realize this was supposed to be its body. I wrapped the strands around the ring. First, I tried curling, but that didn’t work. Then I just made sure the rectangle was just wide enough to cover the entire ring and folded it around it. That worked! I obviously had to cut several strands to cover the entire length of the ring, but that’s okay.

Then I added the wings. I started with the bottom wings, for which I chose the color ochre. I cut them out with round cutters and then attached them to the olive green ring.

Then I did the same with the two other sets of wings. I chose caramel and taupe for the middle and upper wings respectively. I said you need three pairs of wings, but really you need four wings of each of the three colors. At least if, like me, you want the owl to look the same on both sides. Similarly, you’ll need two pairs of eyes (including four plastic eyes), two pairs of legs and two beaks.

After attaching the wings, I went on to the eyes. I used slightly smaller round cutters for those and attached them in a similar way that I’d done the wings. I decided to use ochre again for the eyes. This may seem strange, but I didn’t want to use too many colors and make my owl look too overloading.

I used heart-shaped cutters for the legs and, as you will see in the finished product, attached them upside-down. Sorry, I don’t have a photo with just the legs.

For the beak, I used a kind of half heart shape that I had my staff help me with: I cut out the actual heart (same size as the legs) and my staff cut away the excess clay with a knife. I used an actual feather to stick the pointy holes in the beak, but I’m pretty sure any pointy object will do.

Then the owl went in the oven. I baked it for 60 minutes at 110°C. I know, I know, Fimo and other brands recommend 30 minutes, but, like I’ve mentioned before, there is no way you can bake polymer clay for too long. I let it fully cool before attaching the eyes. I used my jewelry glue for this, but I’m pretty sure E6000 or something like it will work too. I then strung a ribbon between the eyes to hang my owl onto. Voila, here’s O(w)live!

O(w)live

I am linking up with Party in Your PJ’s and Wonderful Wednesday.

DIY All-Natural Hand Cream Using Essential Oils

I finally seem to have found a bit of inspiration to create things again lately. Last Tuesday, I decided to buy the essential oil safety files at Lea Jacobson’s website. For $47 one-time, you’ll have access to the safety guidelines for over 240 essential oils and absolutes. This seemed a bit expensive to me at first, but given how hard it otherwise is to find exact topical dilution maxes etc. online, I finally gave in.

Regular readers will know that I love to make melt and pour soap and have occasionally made massage oils and body butters. I also made one hand cream. I however usually use fragrance oils, as essential oils can be more irritating to the skin and cause sun sensitivity. Now, with Lea’s safety files, I felt more confident that I’d properly dilute my essential oils. This means I could finally make an all-natural hand cream.

Ingredients


  • 50 g cocoa butter

  • 50 g coconut oil

  • 50 g sweet almond oil

  • 20 g beeswax pellets

  • Essential oils (see below on dilution)


You can use shea butter or mango butter instead of cocoa butter and any liquid carrier oil instead of sweet almond oil. If you want a vegan option, I think you can even use candellia wax instead of beeswax.

Now for the essential oils. I wanted to create a relaxing blend of essential oils. It is hard to find ready-made skincare blends online, so I used a diffuser blend and adapted it for topical use. This required me to know whether the essential oils I would be using, are skin-safe and, if so, in what dosage. For this, I used Lea’s safety files.

The blend I found online that I liked, contained lavender, clary sage and vetiver essential oil. Since I didn’t have lavender essential oil on hand anymore, I decided to use lavandin instead. I found out that, while lavandin essential oil is pretty skin-safe, lavandin absolute is not. For this reason, I made extra sure my staff checked that what I had in my box was the essential oil. It was!

The diffuser blend called for two drops of each oil. I decided to use three drops in my hand cream. This totals nine drops of essential oil, which isn’t even a 1% dilution. Usually, natural skincare makers use a 3% dilution, which would be safe with these oils. However, I felt the scent was strong enough already as it was now.

Making the Hand Cream


  1. Mix together the cocoa butter, coconut oil, sweet almond oil and beeswax in a microwave-safe bowl.

  2. Microwave in one-minute increments, stirring afterwards, until melted.

  3. Let the mixture cool for about 10 minutes before adding the essential oils. You could use a thermometer to check the temperature. I’ve heard most EOs require a temperature below 45°C. I don’t own a thermometer though, so I just wait until the mixture starts to set a little.

  4. Add in the essential oils.

  5. Stir with a whisk to make the hand cream more fluffy.

  6. Pour the mixture into a jar or pot.

  7. Let fully cool before screwing on the lid.

Since my hand cream will be a gift, I haven’t touched it myself after fully cooling. My previous attempt turned out a bit too thick for my liking, which is why I cut back on the beeswax a little this time.

I will probably be making a melt and pour soap with the same scent soon too. Then, I’ll add them both into a package I’ll send to my assigned home staff, who, as regular readers know, is on sick leave. I really hope she likes it.

PoCoLo
Keep Calm and Carry On Linking Sunday

Crafting Lately: Polymer Clay and a Bracelet

Hi all! It’s Friday evening and it’s been thundering a bit outside. I’m scared of thunderstorms. Thankfully, they’re not too bad. To get my mind off the weather, I’m sharing some of my recent crafting endeavors with you all.

I bought a whole lot of new polymer clay supplies earlier in the week. Among them are a bead roller, which I have yet to try out, bead piercing pins to put holes in the beads I create with the bead roller, and brooch pins.

I also bought both transparent and gold Fimo Liquid. I haven’t yet decided what to do with the transparent one other than to use it to soften crumbly clay.

The gold-colored kind though, I intend to use to color in my letters that I’ve been stamping into my polymer clay pieces lately. I think I didn’t even share those pieces with you yet. I got the stamping kit a few weeks ago and love it! Below is a not-yet-colored piece.

I tried to color it with the gold Fimo Liquid this evening. First, I was unsuccessful trying it on my own, but when my staff guided my hand, it worked. Here’s the finished piece.

I also got a new pasta machine. Probably needn’t have bought it after all. I mean, I thought the old one was shredding my clay but with these particular clays, the new one was doing the same. However, I’m still grateful I got it.

A few weeks ago, I downloaded a few color recipes from Polymer Clay Loves. I didn’t have any of the four colors of Fimo Soft needed for mixing those colors, but I bought those too. Thing is, I just bought the small, two-ounce packets for three of the four colors and will likely need at least one of those for another project (which is still a secret) due to my other clay being too crumbly. You can totally see I’m still learning, eh? However, I definitely enjoy my craft!

In other crafts, I’ve also been enjoying basic beading again. The day center reopened this week and so I met some people from other homes for the first time in a long while. The staff told me one of them wore a lot of bracelets, so I immediately decided I’d make her a bracelet to add to her collection. Here it is!

As you can see, it is a simple threaded bracelet made with wooden beads on elastic wire. I personally don’t like wooden beads, as they connote child’s play beads to me, but these look pretty grown-up or so I’m told.

Have you been doing any crafting lately?

PoCoLo

My Very First Polymer Clay Earrings

Oh my, I’m really losing my blogging mojo or so it seems. Thankfully, I’m finding other creative outlets, like polymer clay.

Yesterday, I was watching a YouTube video in which the creator made some polymer clay earrings with the image of daisies on them. I wanted to recreate those, but really was pretty much clueless.

Like her, I started out with blue (well, Fimo Soft #39, “peppermint”, the closest to blue polymer clay I have). I then added little yellow dots. I still don’t have white, so used porcelain for the petals. The YouTuber hadn’t created individual petals, so neither did I. Rather, I extruded a strand of clay to go around the little dots. That was hard enough. I didn’t flatten my slab, because I feared I’d distort the design if I did. I also really liked the texture in my design.

Unfortunately, when I baked these, they stuck to the tile and got a hole in them when I pulled them off. I threw them straight into the bin, so no pics of these.

Yesterday evening though, I did create some earring pieces that were more or less a success. I used purple as the background color this time and again, yellow dots and white strands to go around them for the daisies. This time, I tried to flatten my slab using my acrylic roller, but that didn’t create an even surface. Then, I ran my slab through the pasta machine, which of course distorted the design a little. Or a lot.

I decided to bake my earring pieces anyway. I had four of them and this morning, had my staff pick the best two to be glued to the earring posts. That worked surprisingly well considering I didn’t use super glue. I had to let them dry for about three to four hours and they look and feel pretty sturdy now.

Polymer Clay “Daisy” Earstuds

VoiceOver Recognition does say they look like boiled eggs rather than daisies. I guess it has a point.

For the photo, I attached them to a piece of blue cardstock. That will do okay as an earring card for keeping my earstuds safe while waiting for me to actually get my ears pierced.

What do you think of these?

Linking up with Party in Your PJ’s.

Polymer Clay Fantasy Tricolor “Rainbow” Pendant

I haven’t written a blog post or anything at all in the past few days. I haven’t been too inspired. It looks like my elated mood of the past few weeks is diminishing a little. That being said, I still find my creative juices haven’t dried up completely, far from it in fact. Over the past couple of days, I have finished several things. I don’t really call them “projects”, as they’re relatively simple, but that’s beside the point. One such crafty thing I finished is my polymer clay fantasy tricolor “rainbow” pendant.

Over the weekend, I had been looking at making polymer clay earrings. I am not yet good enough with plain slabs to make those, but one of the ideas I saw was a rainbow. I checked my colors and found that I have some clay at least remotely resembling each color except for indigo. I might be able to mix indigo myself, but then again making an actual, seven-color rainbow would use up so much clay and what if it was a massive fail? For this reason, I decided to make a tricolor “rainbow”.

Polymer Clay Fantasy Tricolor “Rainbow” Pendant

I also shied away from mixing my own colors, because I have none of the classic primaries. I mean, I do have a shade of red, yellow and blue, but I didn’t know what these shades would do together. So I asked my staff for feedback on colors that looked good together and that’s how I came up with the three colors of clay I used for the “rainbow”: Fimo Professional #6 (purple), Fimo Soft #42 (tangerine) and Fimo Soft #39 (peppermint).

I made the three layers of the “rainbow” using a half-round disc in my extruder. Oh, I haven’t even told you all yet that the same staff who brought me a pasta machine a few weeks back, brought me an extruder last Saturday. I’m so totally over the moon about it!

I also decided at the last minute to try to insert the eyepin. That way, I will be able to make a pendant out of this. With this particular piece, my staff did the actual inserting of the eye pin. However, I have been practising doing this myself and can now do this too.

I baked my piece on a tile yesterday. Unfortunately, since I’d used a glass oven dish lid to cover the piece, the first time it wouldn’t cure. The second time around, I decided not to cover my piece and it turned out pretty nice. It is slightly shiny at the back, but well, that’s okay. And best of all, the eye pin didn’t fall out!

What do you think of this piece?

Linking up with Party in Your PJ’s.

First Steps With Polymer Clay

Hi everyone. I’ve been pretty busy lately, but in a good way. My day activities staff ordered some packages of Fimo soft polymer clay, which arrived in the mail Tuesday afternoon. We went round for a trip to Action that afternoon too to get some other supplies. I was pleasantly surprised at how little they cost, as once again of course I bought far more than I had on my grocery list.

That evening, I set out to work with my one-on-one staff. I wanted to create a pink (the color of Fimo soft is 22 “Raspberry”) flower with a green (color 53 “Tropical Green”) center. So I rolled out my Fimo. Of course, not having checked all the beginner’s instructions for polymer clay, I used a wooden roller pin. Ah well, having used it once can’t hurt, I hope and my acrylic roller should arrive tomorrow.

Then I cut out the flower shape with a cookie cutter that was in my Christmas present from day activities last year. I can’t remember how many times I had to try before I was relatively satisfied with how even it turned out. Later, I learned about burnishing your clay before baking.

I randomly formed the green ball center and put it on top of the flower. To make it sit in the flower itself, I later learned, you need a ball stylus. Mine should arrive on Friday.

When I was inspired to do polymer clay by this post by Ann, I read that Ann used a straw to cut a hole in the polymer clay. That would make the hole a little too large for my liking and, besides, I don’t have plastic straws. Instead, I used a Rainbow loom needle that came in the surprise beading package I got for my birthday last month. To be honest, it turned out okay, though of course the pros on Facebook tell me I shouldn’t have made the hole before baking.

Then I baked the clay. I did read up instructions on not baking it for too short a time, so I baked my clay for about 35 minutes. It was a bit of a struggle finding the right equipement to bake it in, since I didn’t want the clay to fly around the oven or get too close to the heating element. Eventually, it worked though.

After I posted the hardened product on Facebook, I got a lot of tips on how to handle it better before baking. Ah, oops. Better luck next time.

I had decided beforehand that I was going to experiment with decorating my ornament like Ann had. The first products I came across at Action, were glitter and metallic markers rather than glitter glue pens. I found glitter glue later though and decided to buy both. This ornament is decorated using one of the glitter markers. I did the circling of the green center myself, so you may see a slight spotting on the edge of the actual center itself. After this mishap, I asked my staff to accentuate the edge for me.

What do you think of my first attempt at using polymer clay?

Linking up with the Creatively Crafty Link Party and Party in Your PJ’s.