A Pink, Heart-Shaped Object #SoCS

SoCS Badge 2019-2020

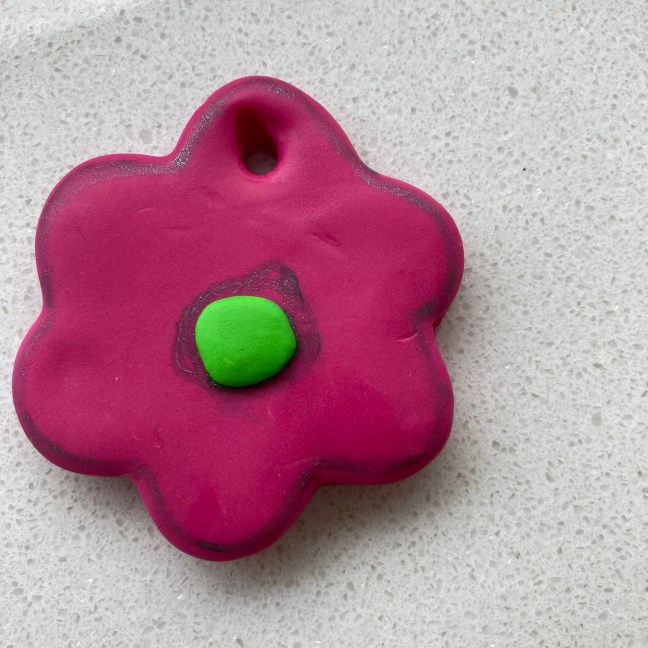
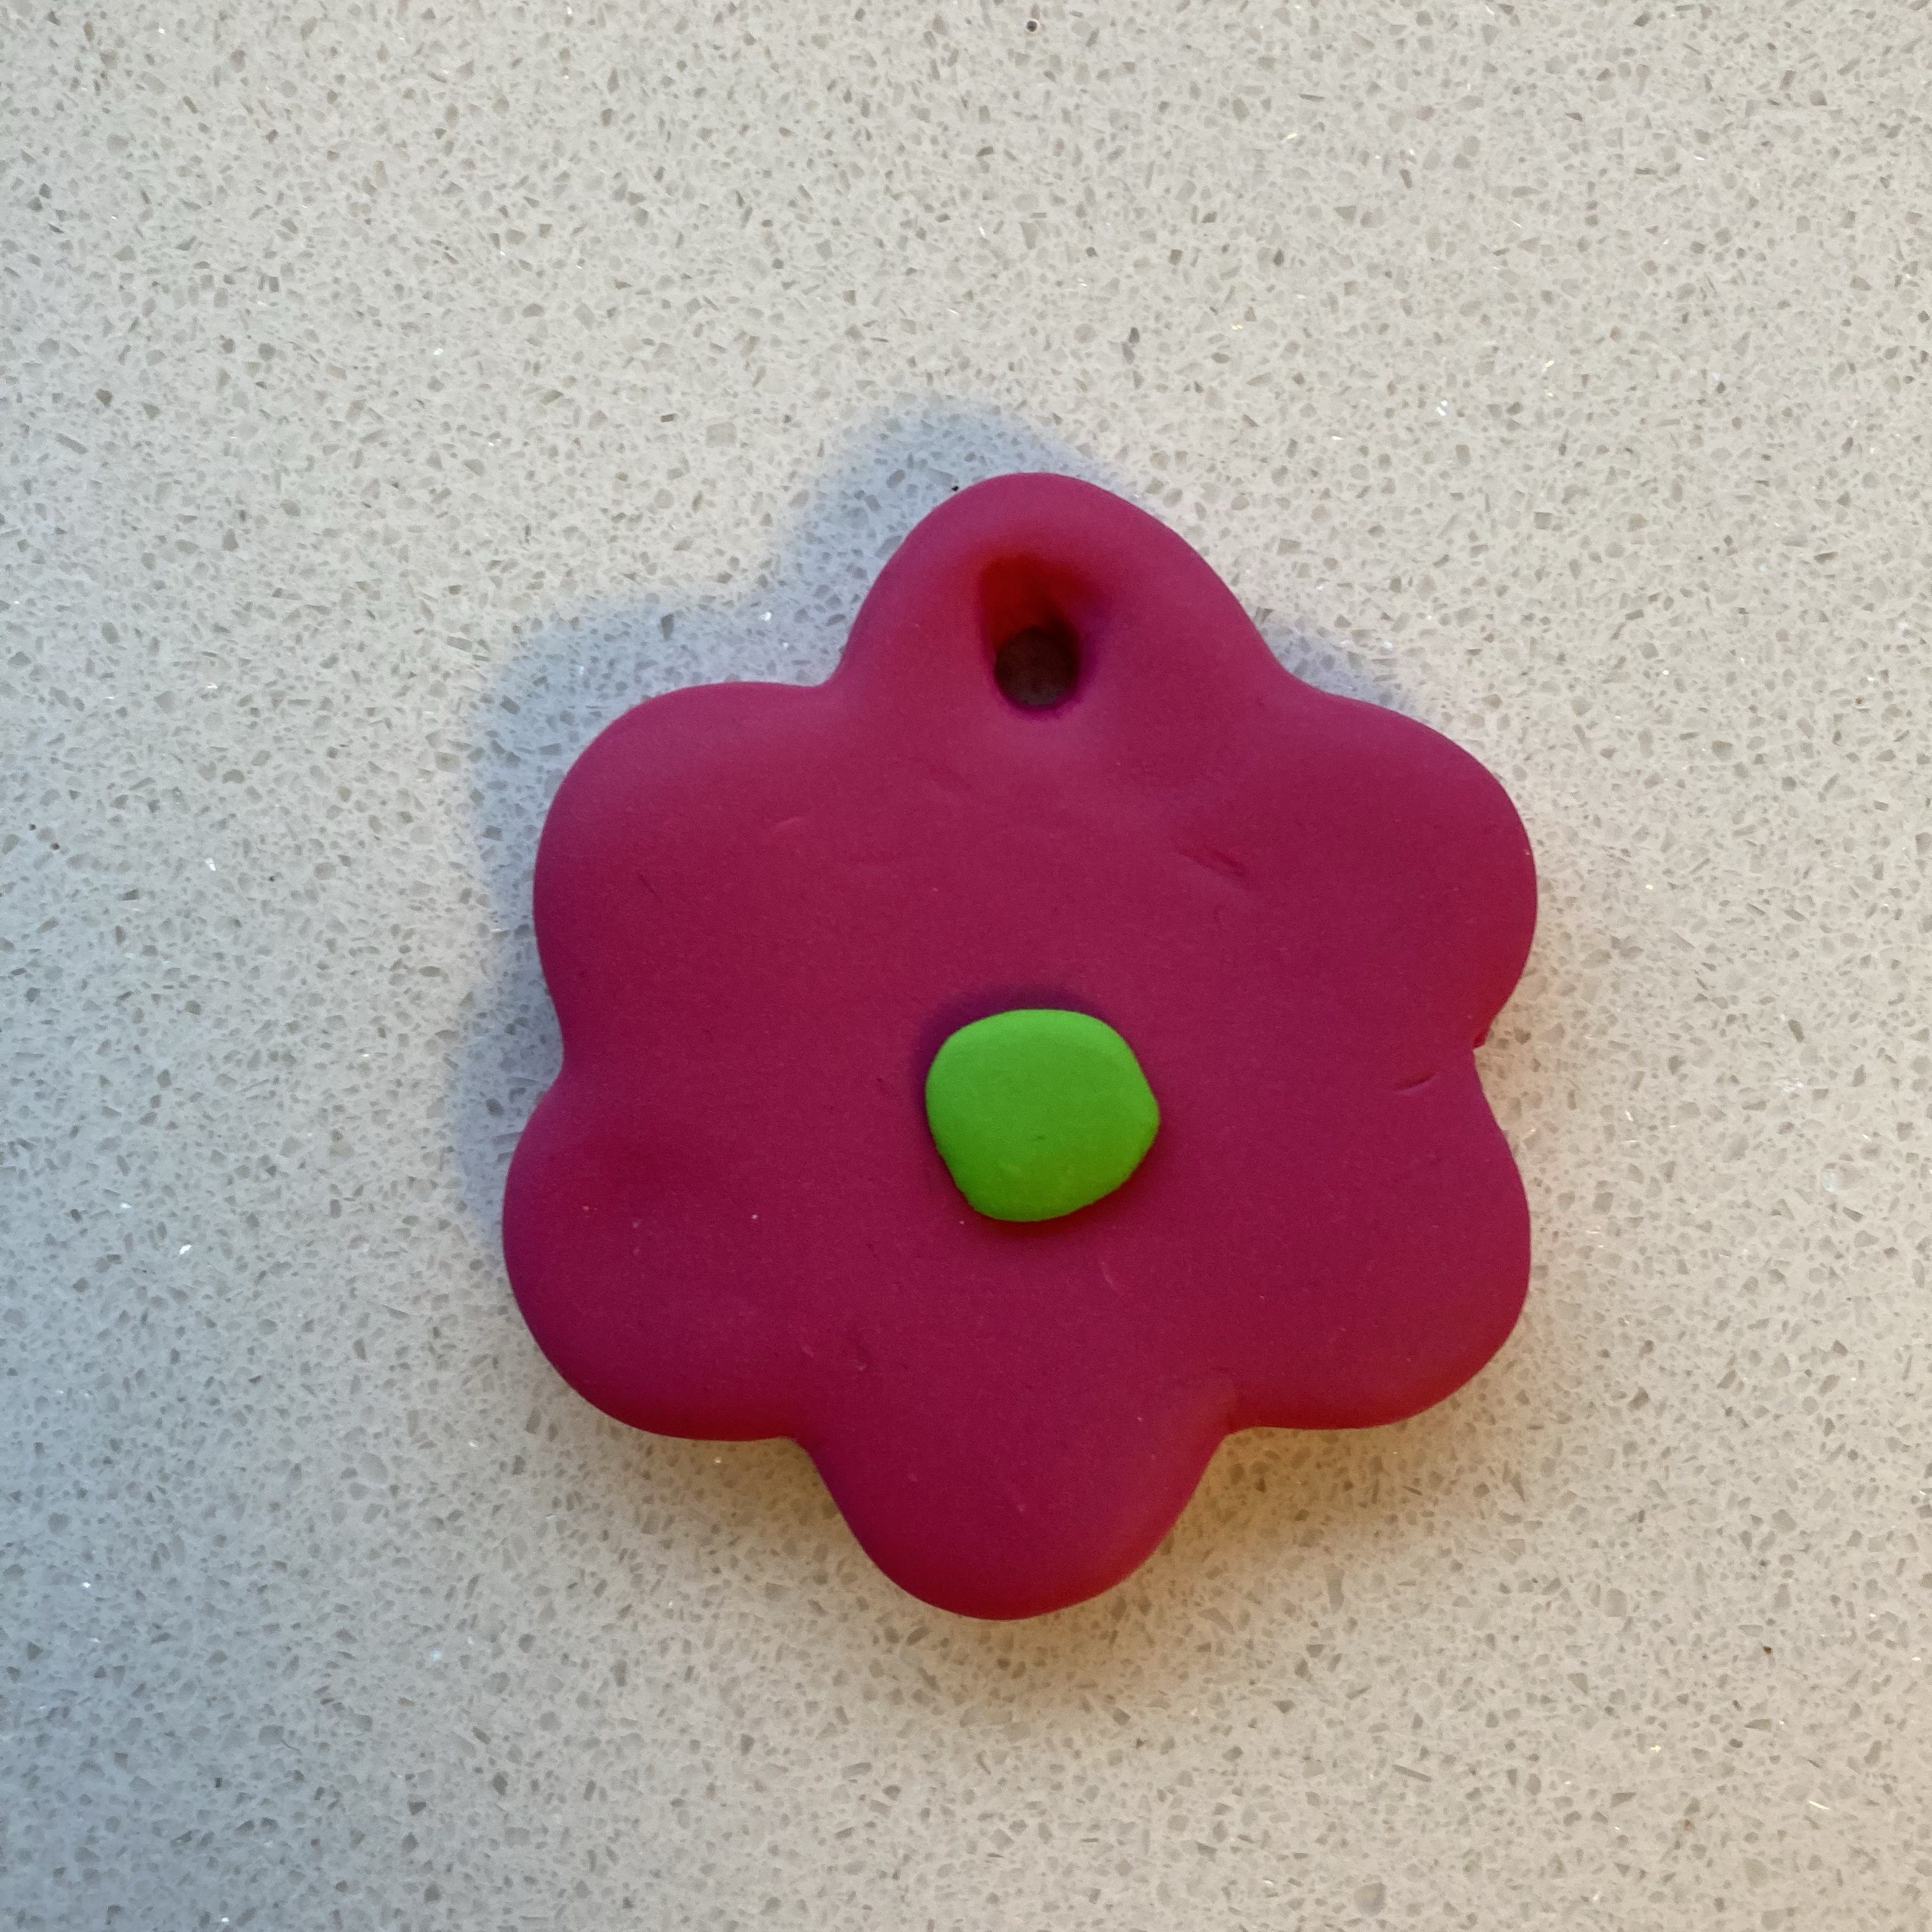
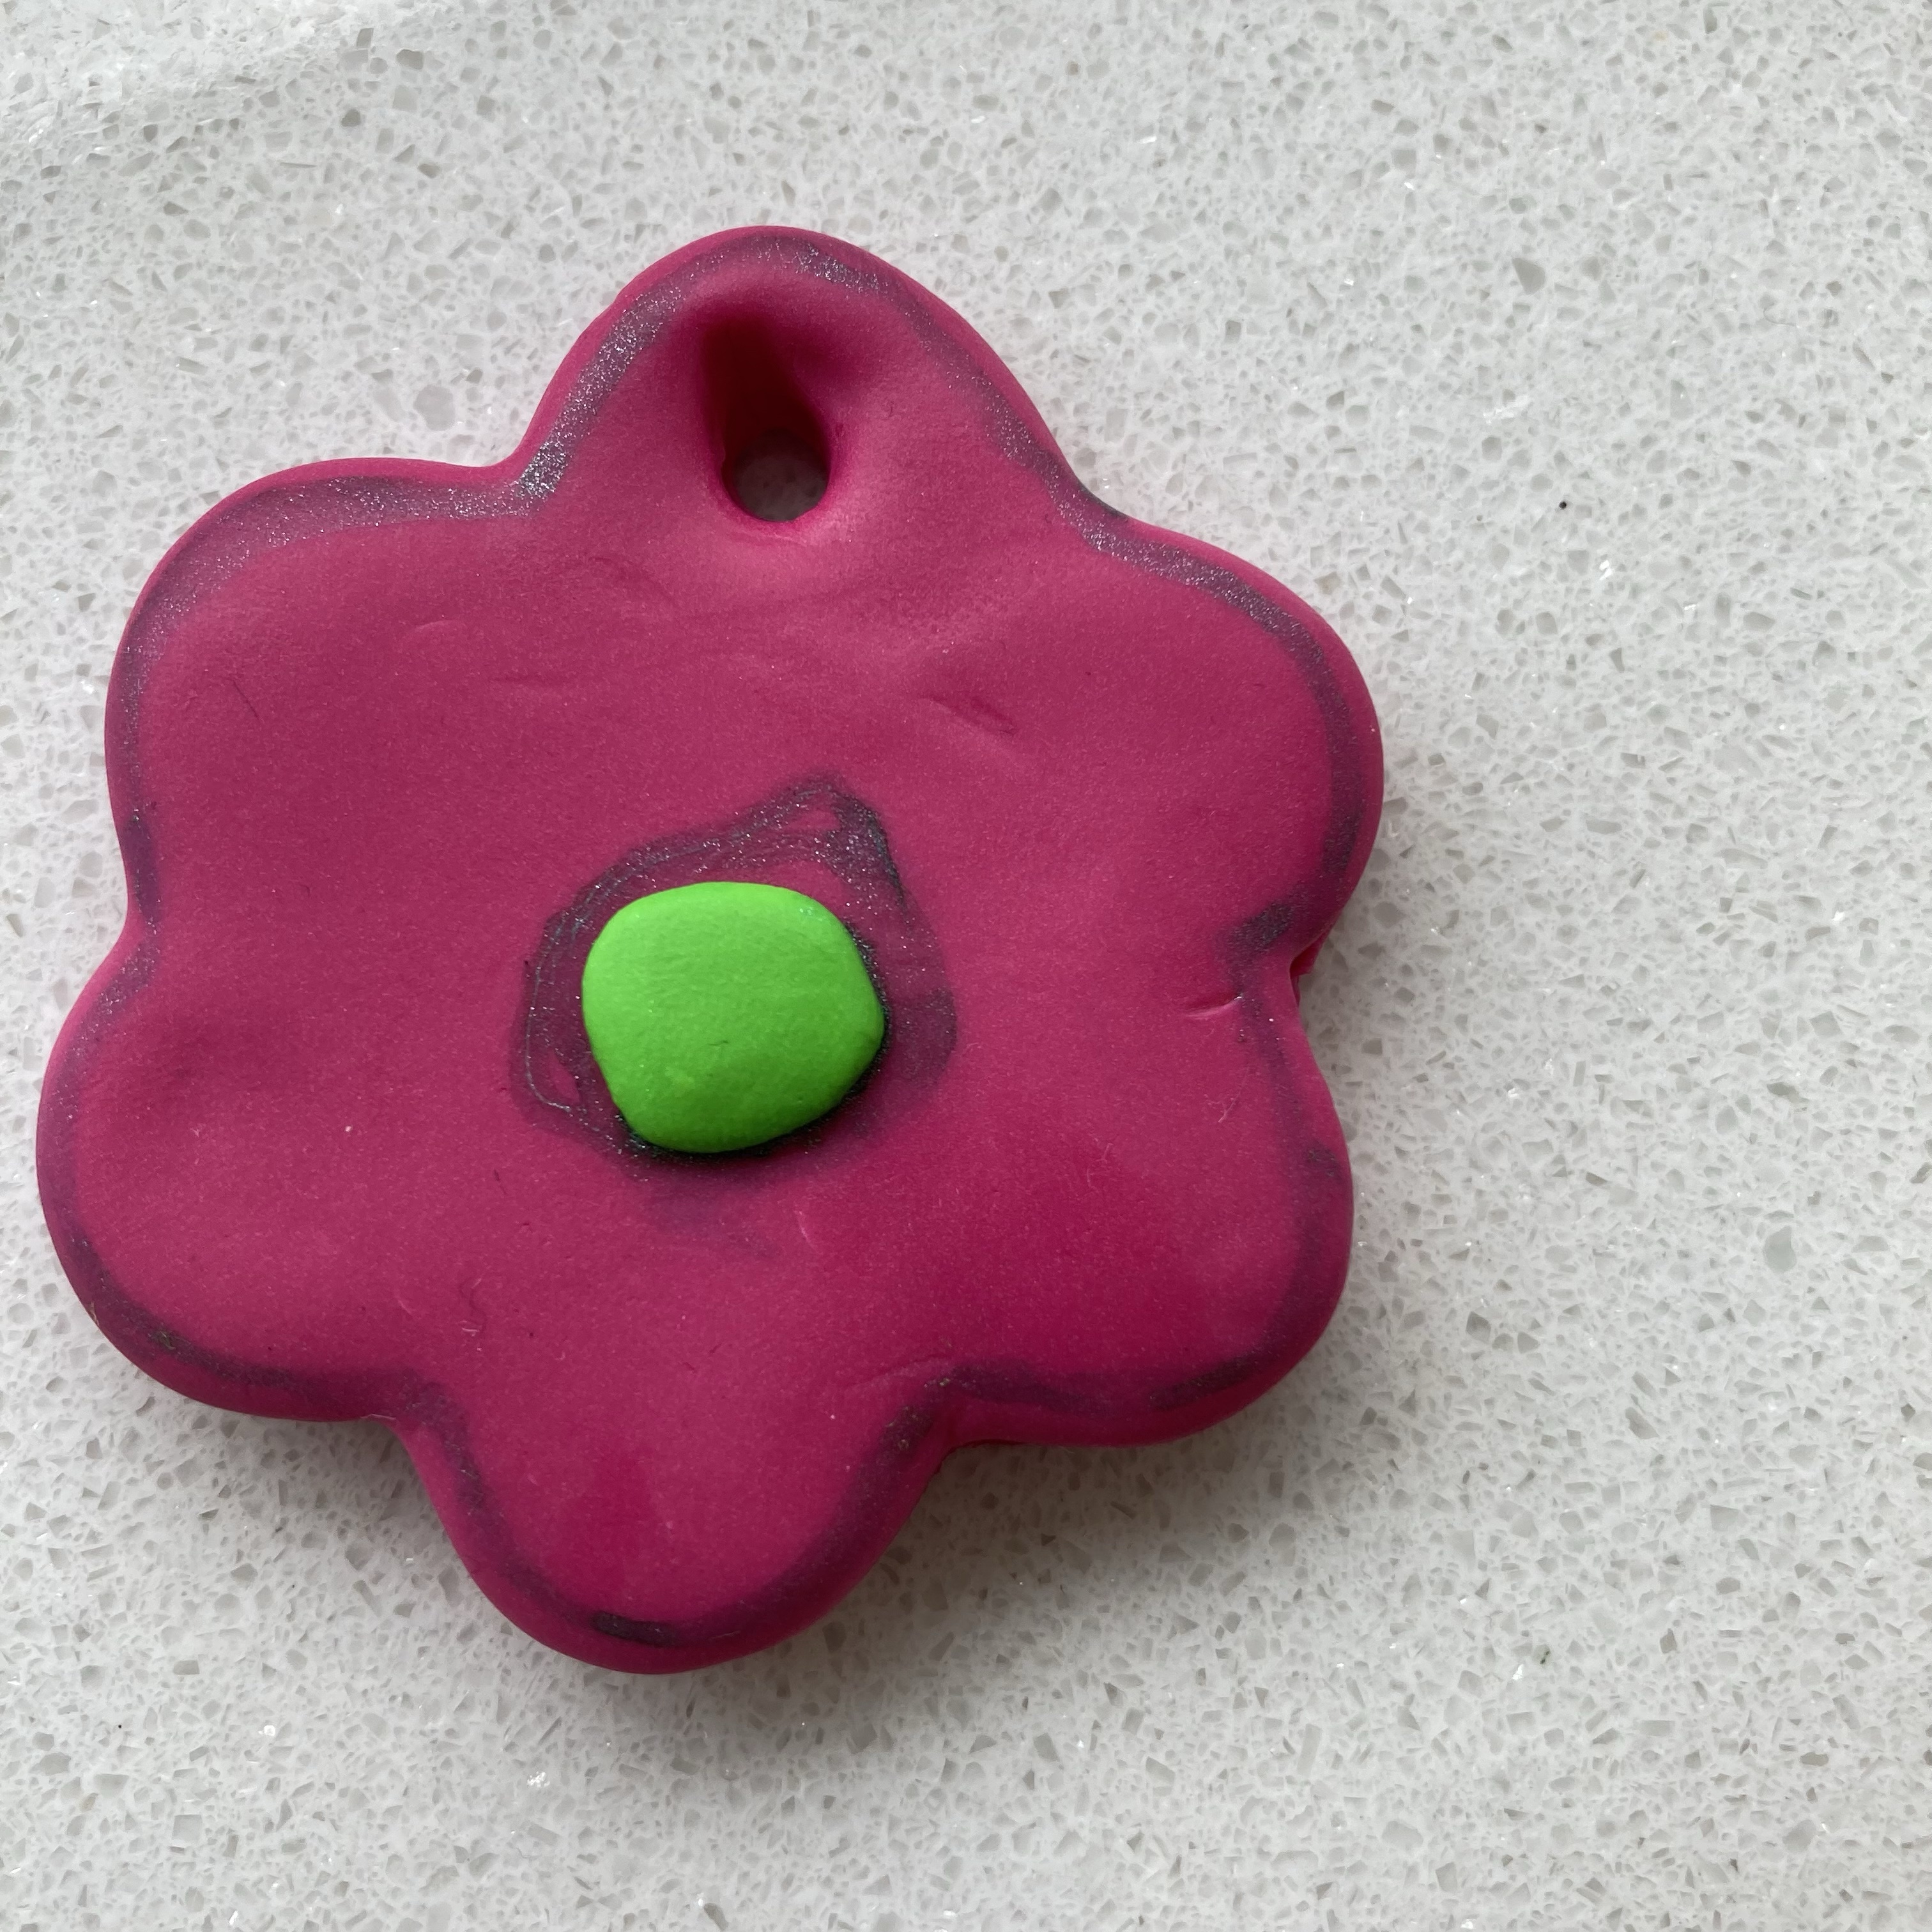
A pink, heart-shaped object. That’s what VoiceOver Recognition said about the below picture. It’s my latest polymer clay work in progress. It’s still a work in progress because I intend on sanding it once I get my sanding paper and because I intend on adding an edge of a different color polymer clay, probably purple.

I have been really obsessing over polymer clay lately. I love it. That being said, I keep finding imperfections with my work. This one turned out okay, but the back is a little raw from the parchment paper I used to bake it on. I guess I should’ve used cardstock, but I forgot about that.

Overall, I’m really loving polymer clay though. I think I will develop some level of skill in it one day eventually. This evening, I may try to create a shape without asking for help as much as I did with this one. After all, I don’t need to bake my creations right away and can let them sit there to wait for me to decide whether I want to use them or knead the clay back into a ball.

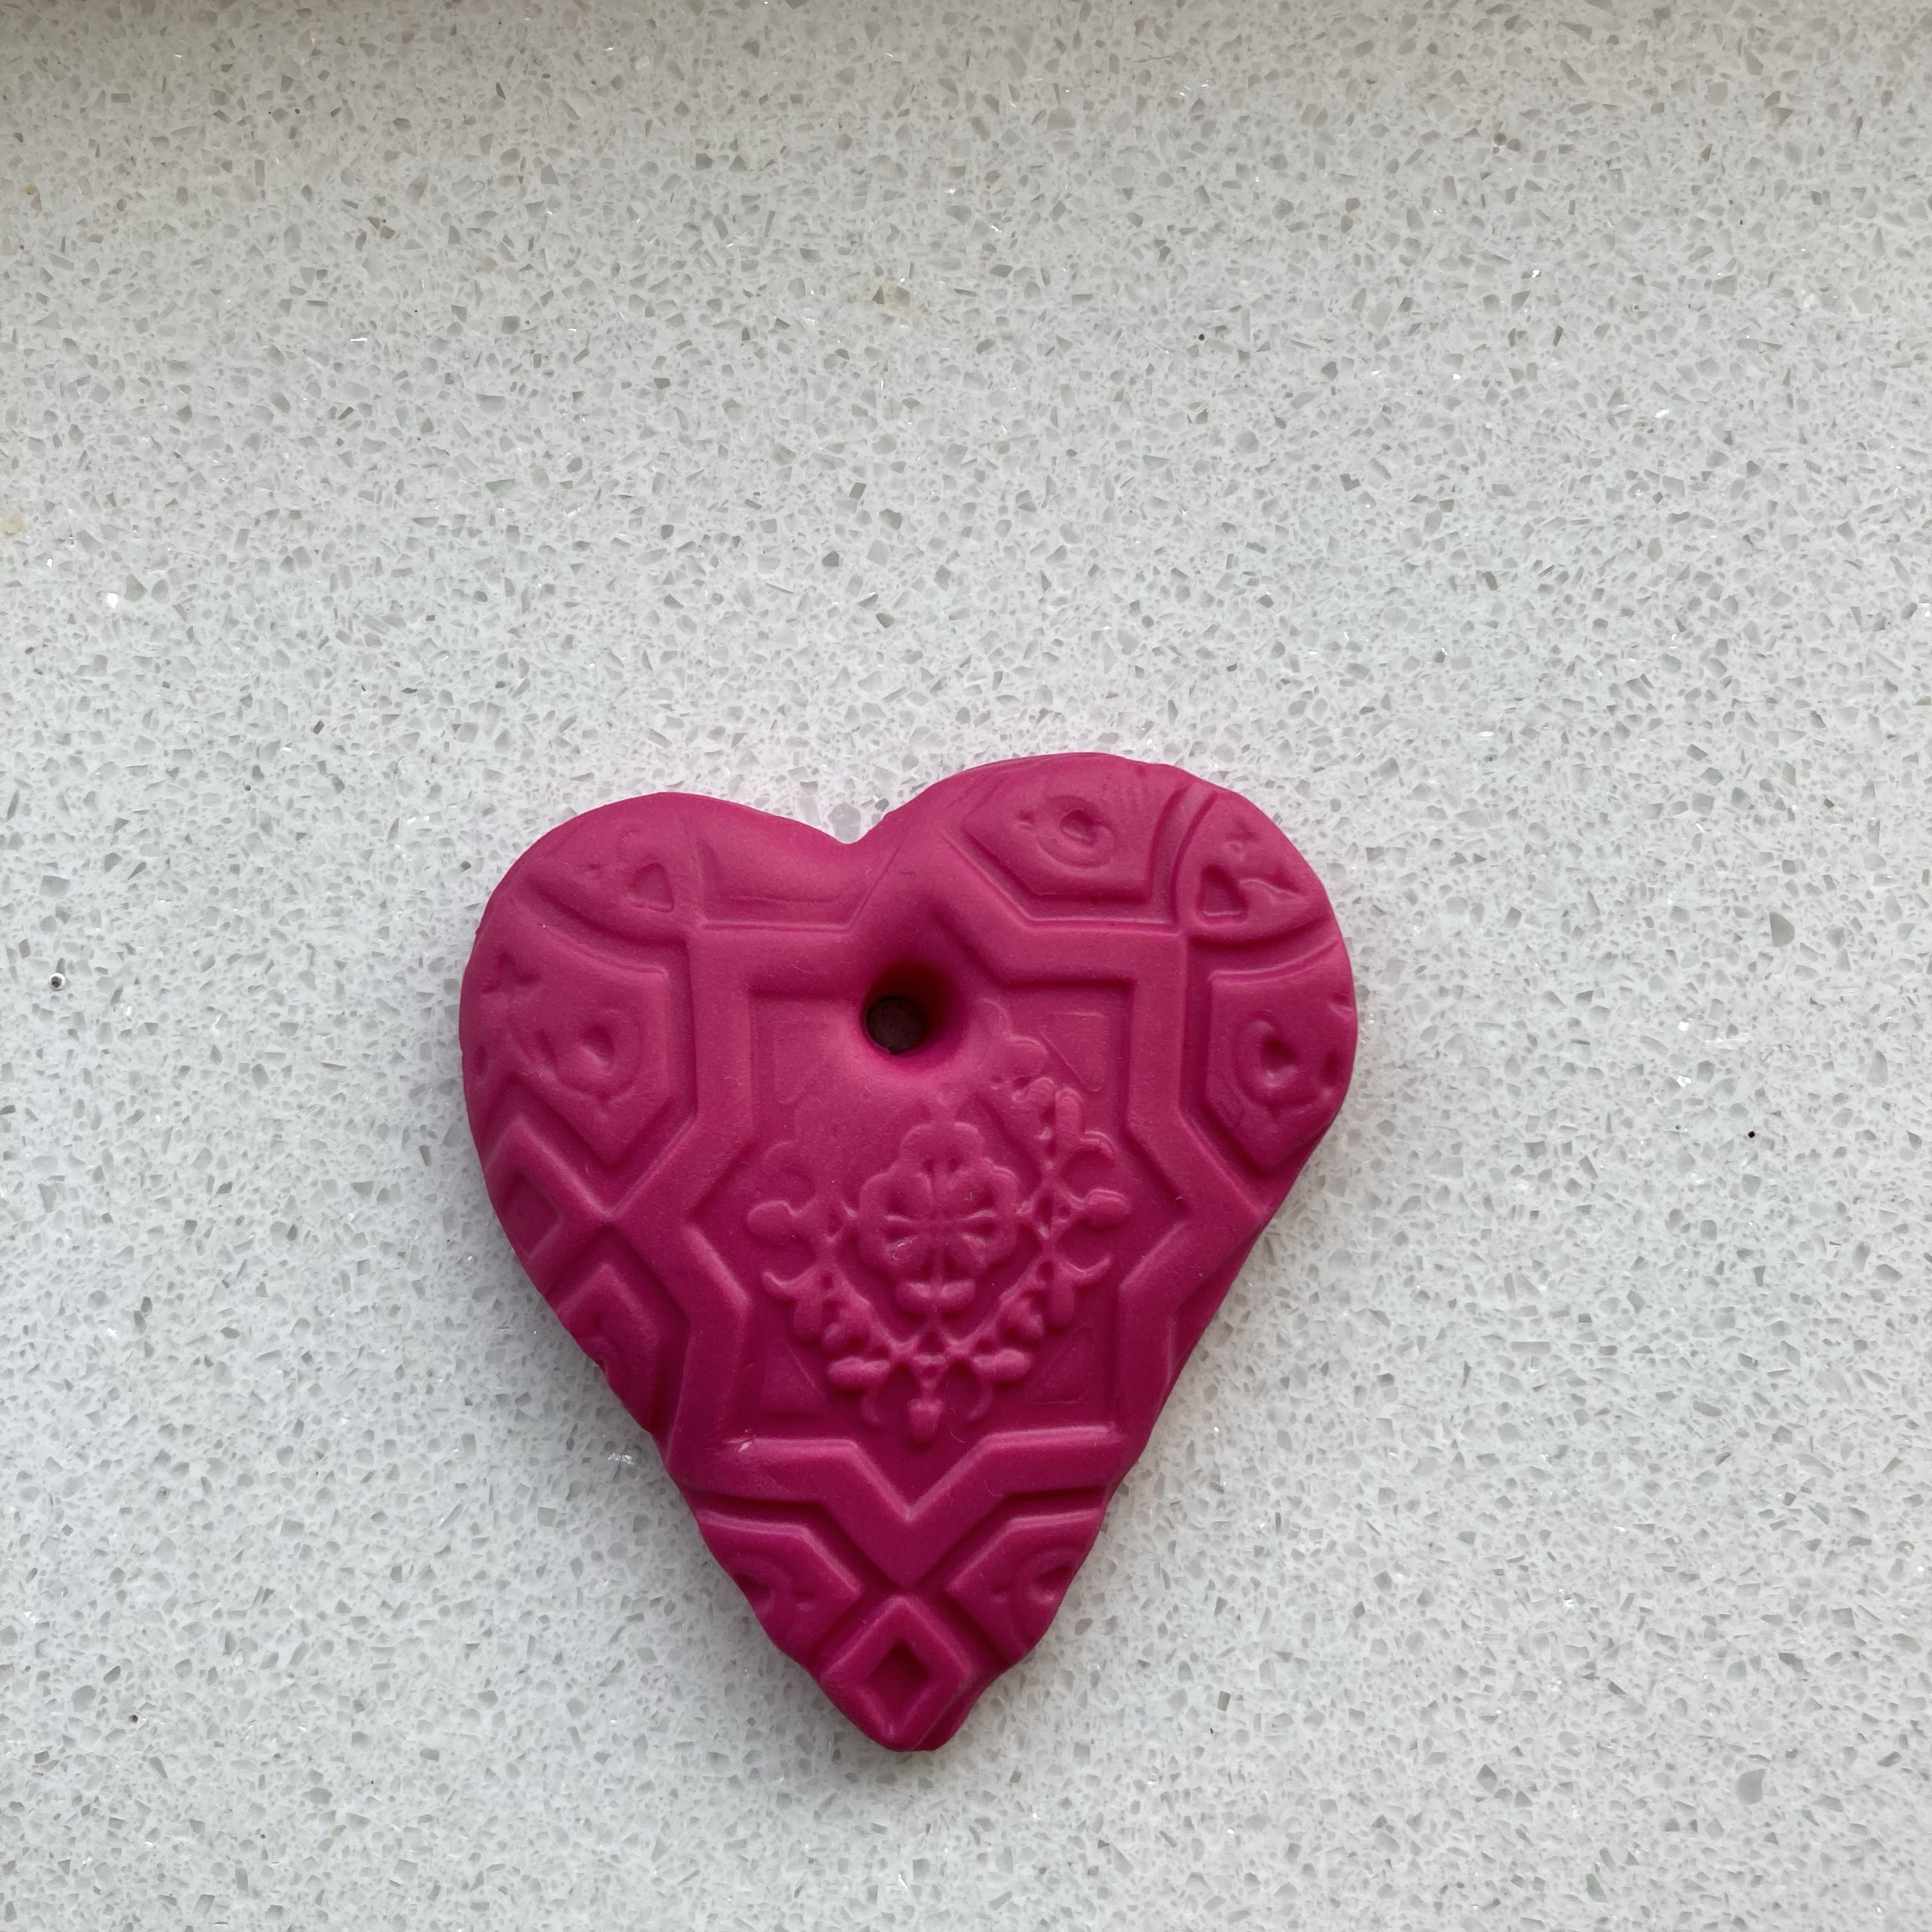
Back to VoiceOver Recognition. It’s a great feature. However, with my previous creation, it guessed the colors all wrong. You see, the below object is purple and pink and VO said it’s black and red. I think that might’ve been the lighting conditions though. Or something. Not sure.

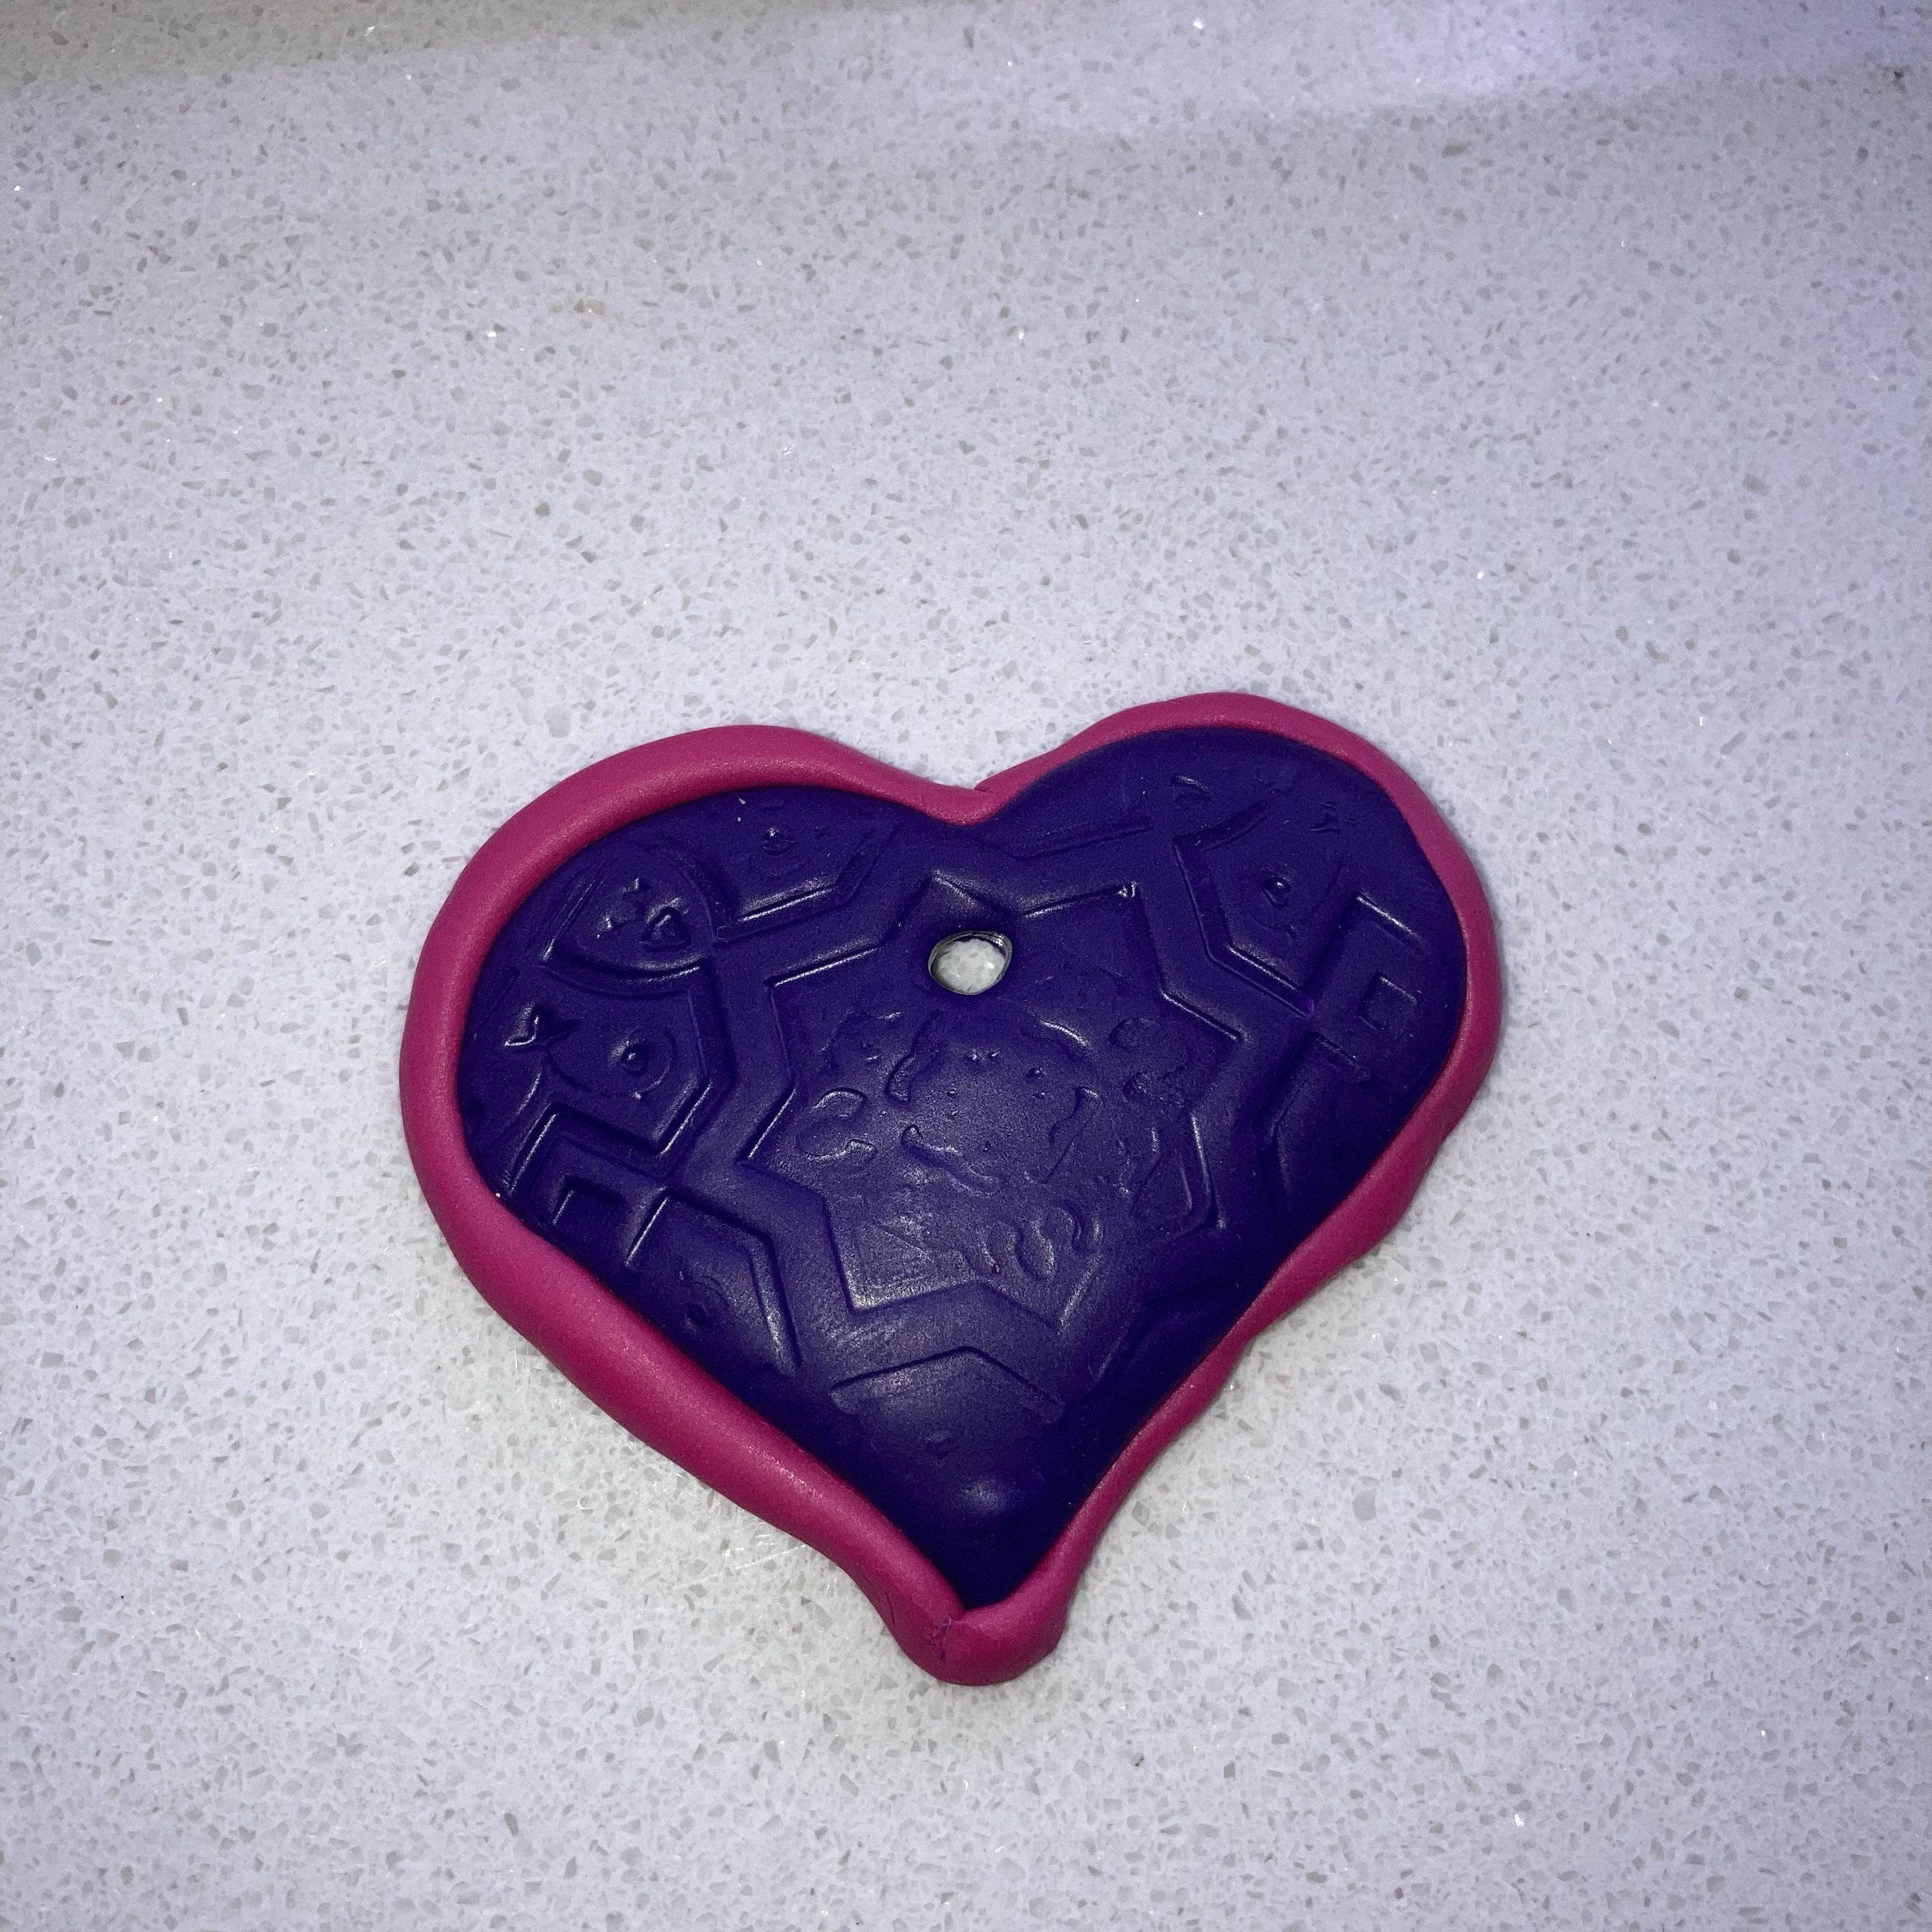
That polymer clay work, not quite in progress anymore, didn’t turn out as well as I’d hoped. Of course, I recognized that the snake edge I used around the heart shape is all uneven, but it’s also unevenly attached to the heart. I don’t like it, but I probably could not have reused this clay anymore anyway, since the colors had already attached to one another. That is, I could have mixed the colors and tried to see what color got out of it, but well, maybe it’d turn out all brownish. Oh well, now it’s a crooked heart with an uneven snake around it, but it’s a learning curve, right?

This post was written for Stream of Consciousness Saturday (#SoCS), for which the prompt today is “The last photo you took”.

First Steps With Polymer Clay

Hi everyone. I’ve been pretty busy lately, but in a good way. My day activities staff ordered some packages of Fimo soft polymer clay, which arrived in the mail Tuesday afternoon. We went round for a trip to Action that afternoon too to get some other supplies. I was pleasantly surprised at how little they cost, as once again of course I bought far more than I had on my grocery list.

That evening, I set out to work with my one-on-one staff. I wanted to create a pink (the color of Fimo soft is 22 “Raspberry”) flower with a green (color 53 “Tropical Green”) center. So I rolled out my Fimo. Of course, not having checked all the beginner’s instructions for polymer clay, I used a wooden roller pin. Ah well, having used it once can’t hurt, I hope and my acrylic roller should arrive tomorrow.

Then I cut out the flower shape with a cookie cutter that was in my Christmas present from day activities last year. I can’t remember how many times I had to try before I was relatively satisfied with how even it turned out. Later, I learned about burnishing your clay before baking.

I randomly formed the green ball center and put it on top of the flower. To make it sit in the flower itself, I later learned, you need a ball stylus. Mine should arrive on Friday.

When I was inspired to do polymer clay by this post by Ann, I read that Ann used a straw to cut a hole in the polymer clay. That would make the hole a little too large for my liking and, besides, I don’t have plastic straws. Instead, I used a Rainbow loom needle that came in the surprise beading package I got for my birthday last month. To be honest, it turned out okay, though of course the pros on Facebook tell me I shouldn’t have made the hole before baking.

Then I baked the clay. I did read up instructions on not baking it for too short a time, so I baked my clay for about 35 minutes. It was a bit of a struggle finding the right equipement to bake it in, since I didn’t want the clay to fly around the oven or get too close to the heating element. Eventually, it worked though.

After I posted the hardened product on Facebook, I got a lot of tips on how to handle it better before baking. Ah, oops. Better luck next time.

I had decided beforehand that I was going to experiment with decorating my ornament like Ann had. The first products I came across at Action, were glitter and metallic markers rather than glitter glue pens. I found glitter glue later though and decided to buy both. This ornament is decorated using one of the glitter markers. I did the circling of the green center myself, so you may see a slight spotting on the edge of the actual center itself. After this mishap, I asked my staff to accentuate the edge for me.

What do you think of my first attempt at using polymer clay?

Linking up with the Creatively Crafty Link Party and Party in Your PJ’s.